
Start With the Right Film for the Job
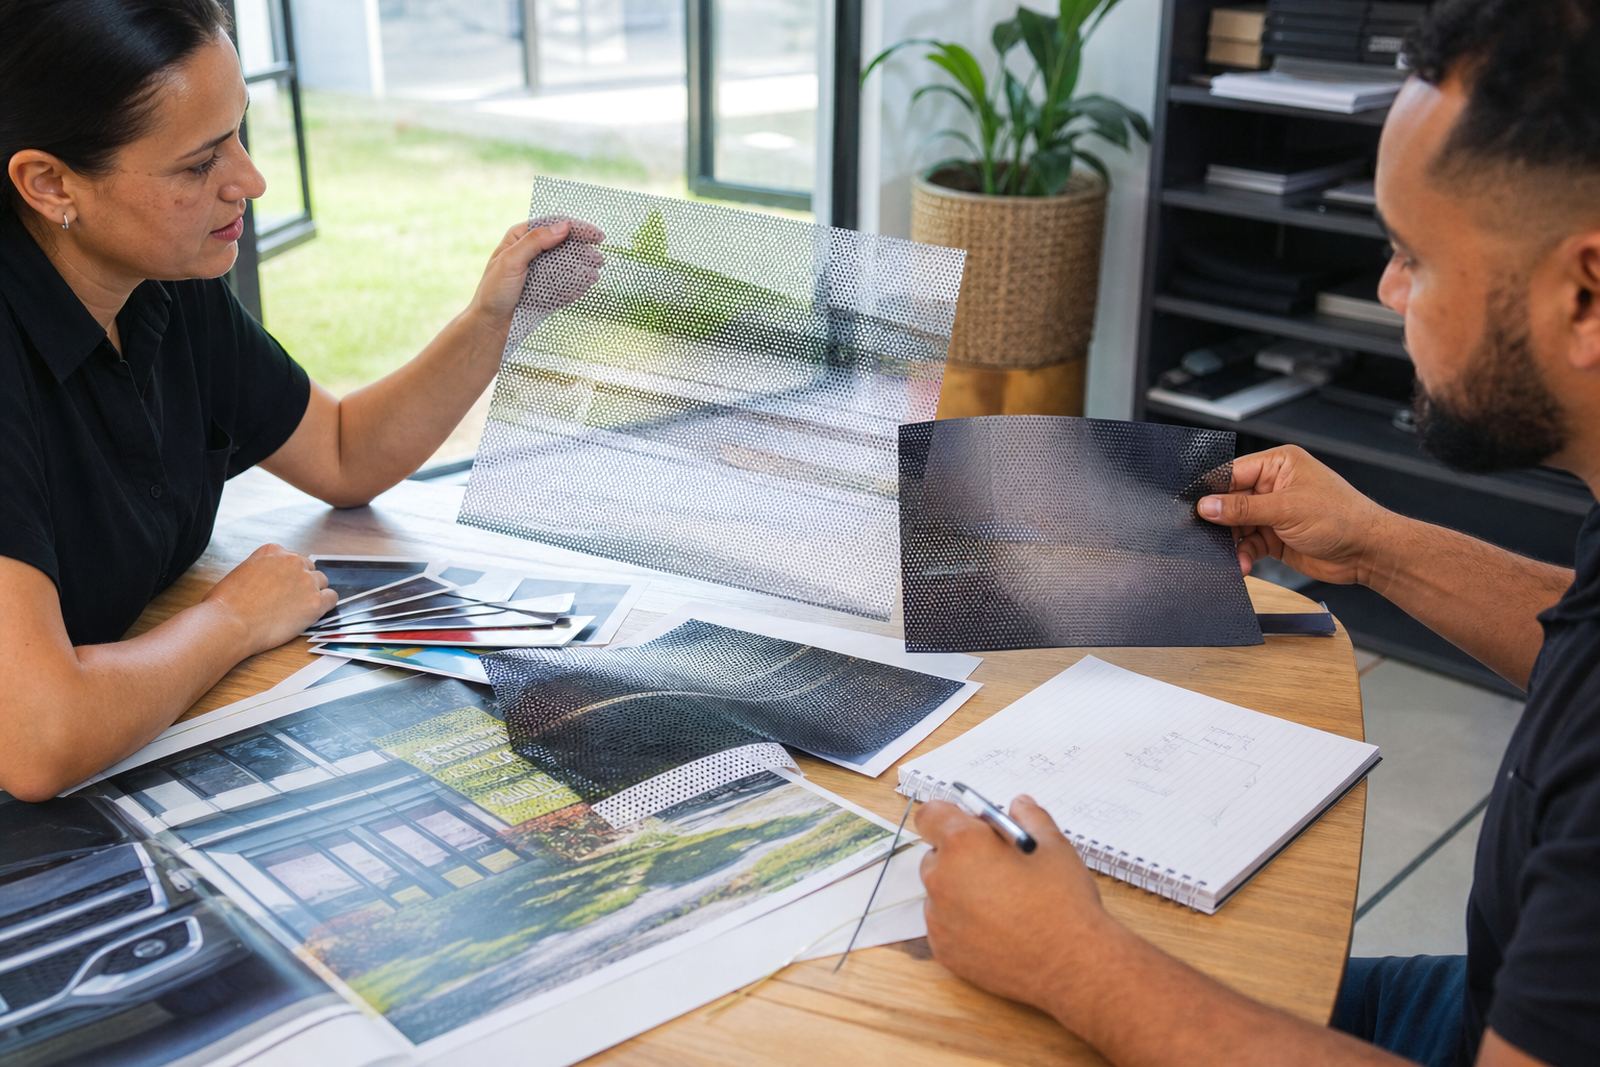
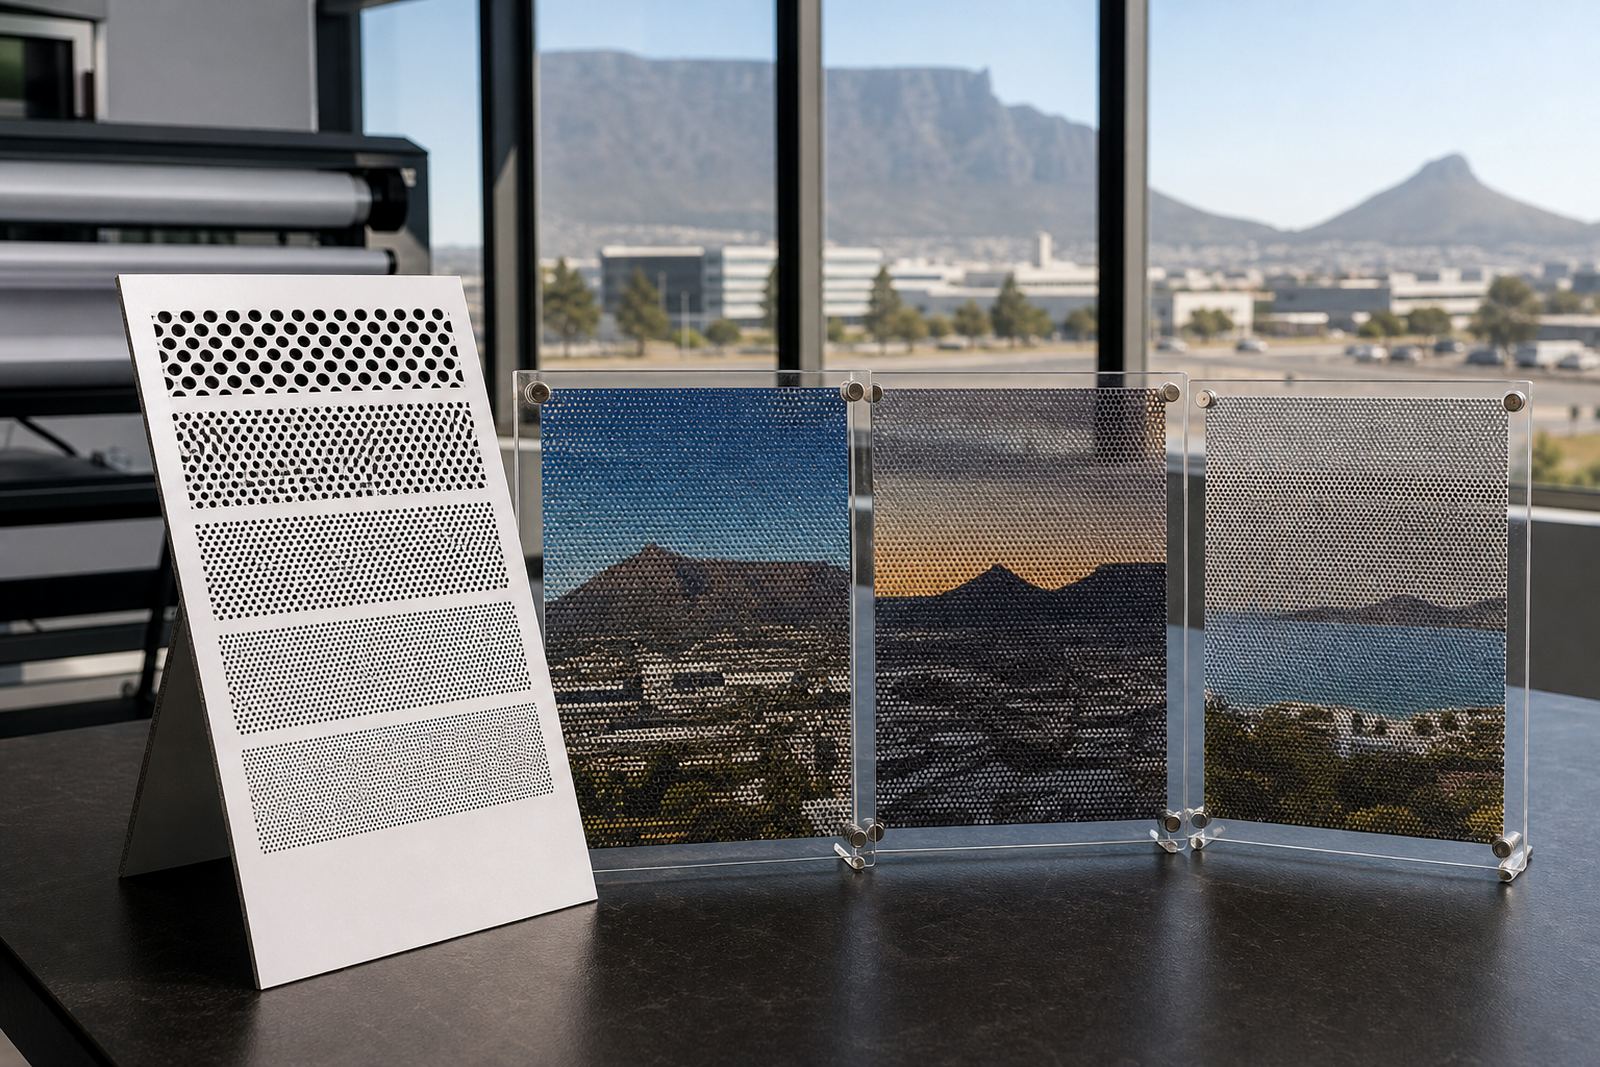
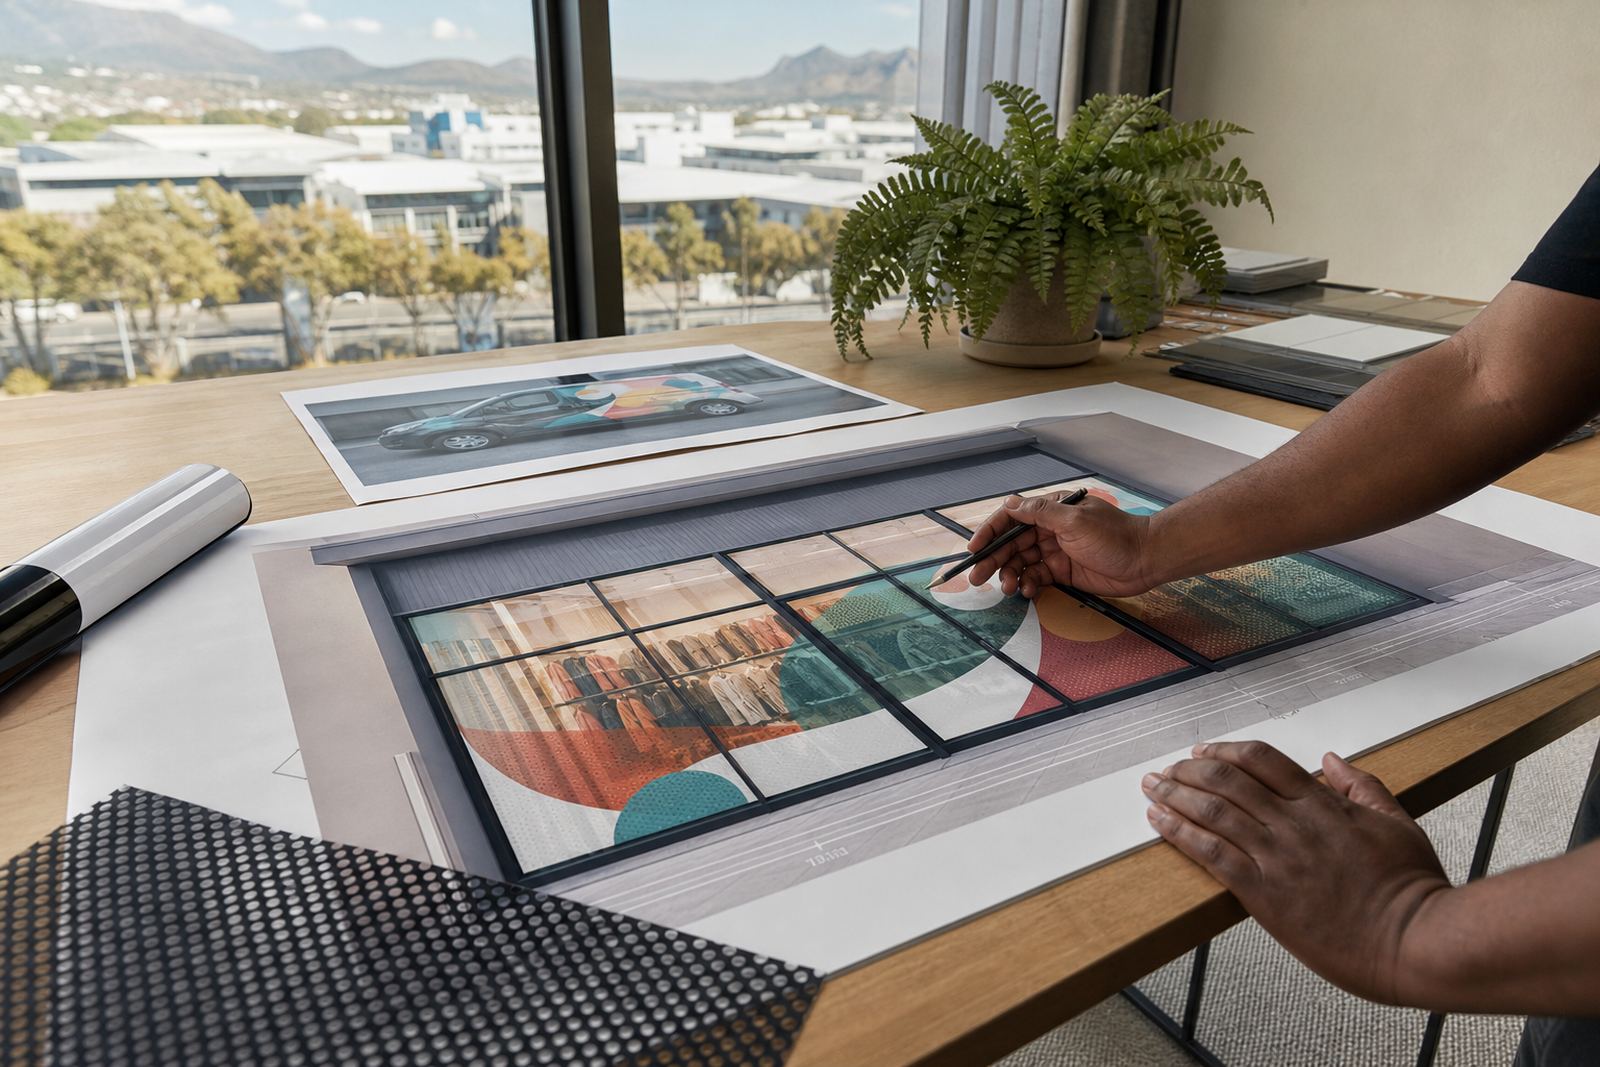
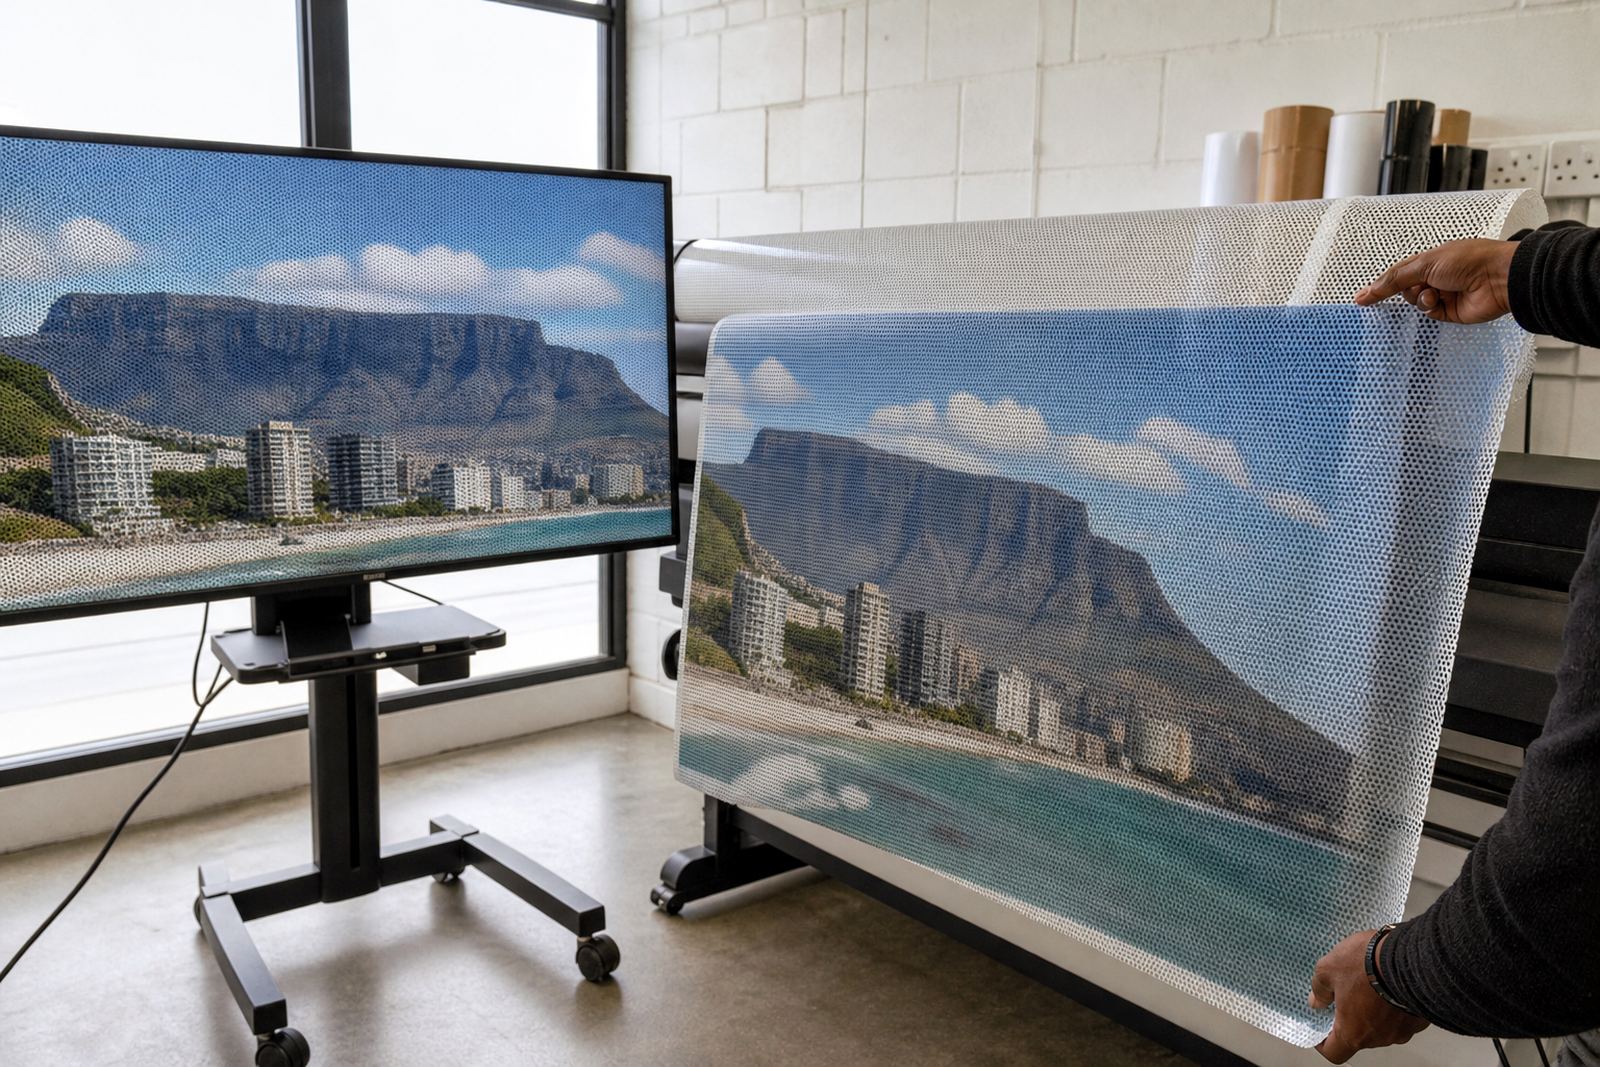
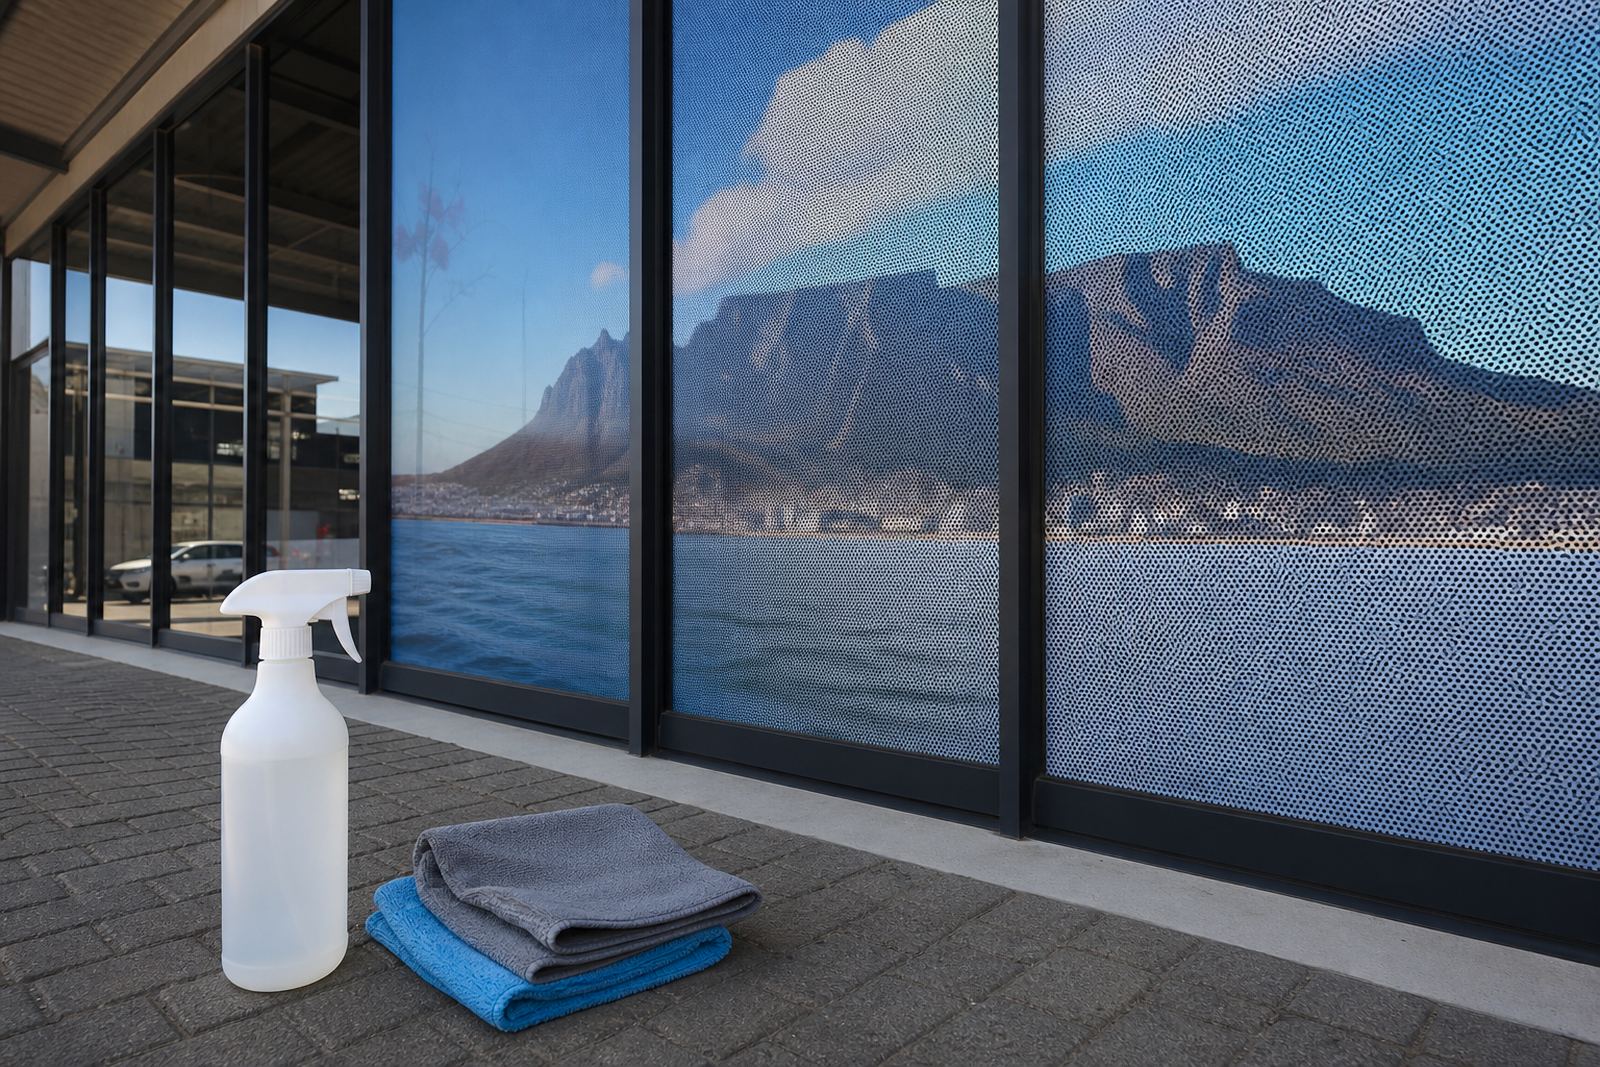
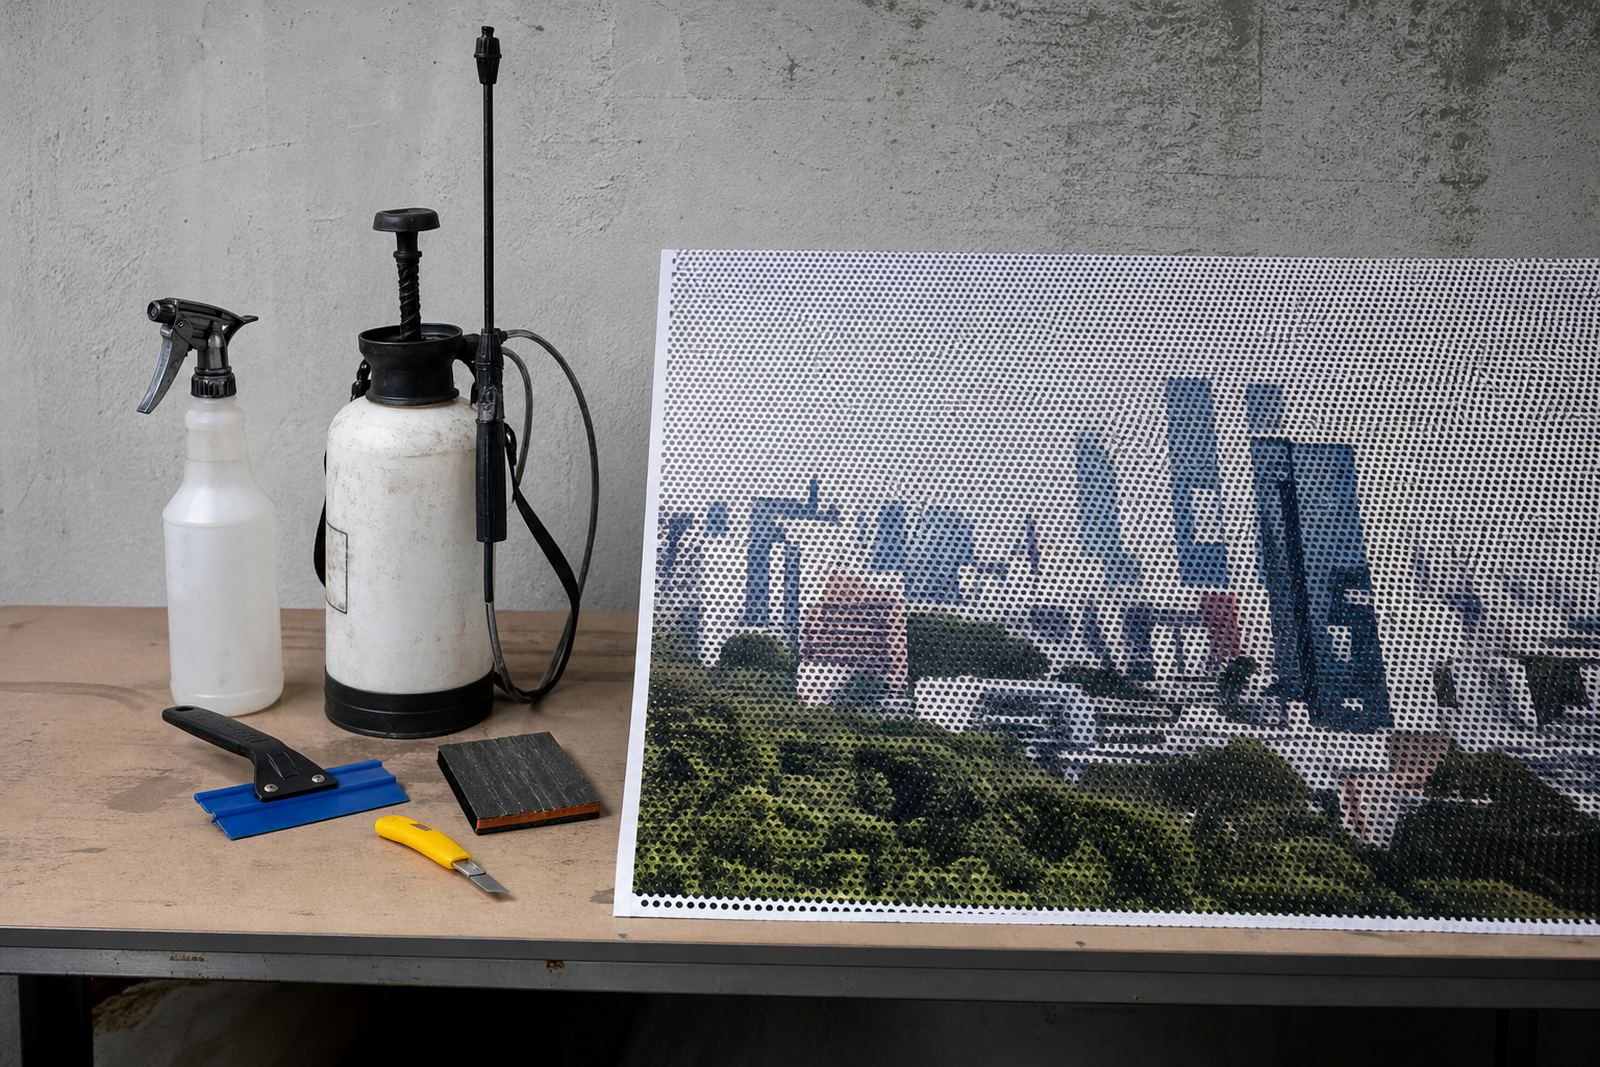
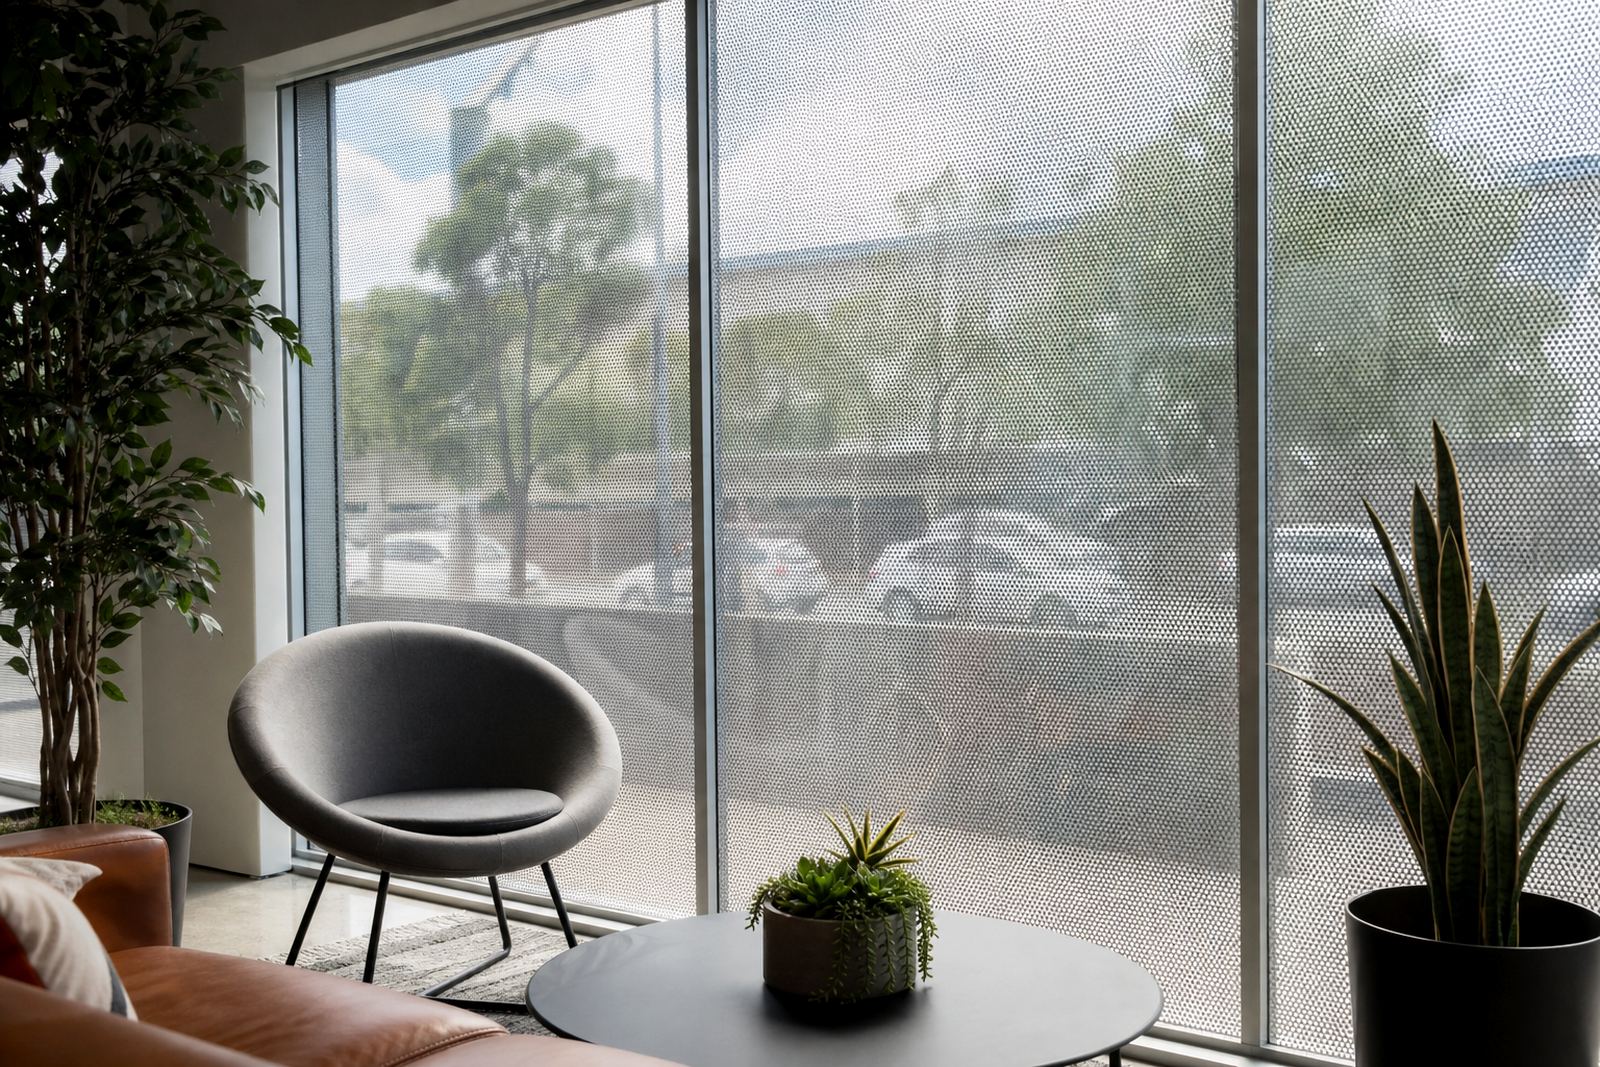
Small holes across the printed surface allow perforated one-way vision film to show the graphic outside while people inside still keep a clear view out. The balance between visibility and print coverage depends on the perforation ratio, hole size and how much light is coming through the glass. For most shopfronts and vehicle windows, the aim is a clean graphic from the outside without making the interior feel closed in.
When you choose a film, think about where it will live. A sunny street-facing window in Cape Town has different needs to a shaded showroom in Pretoria, and a delivery van in Durban needs a different finish to a fixed shop window. Humidity, heat and regular cleaning all affect how long the film looks neat. In coastal areas, the edges and the adhesive need care too.
- Decide whether the film is for glass, vehicle windows, or both
- Check how much inside visibility you need during the day
- Match the film style to the site lighting and viewing distance
Printing, Colour and What the Viewer Sees Outside
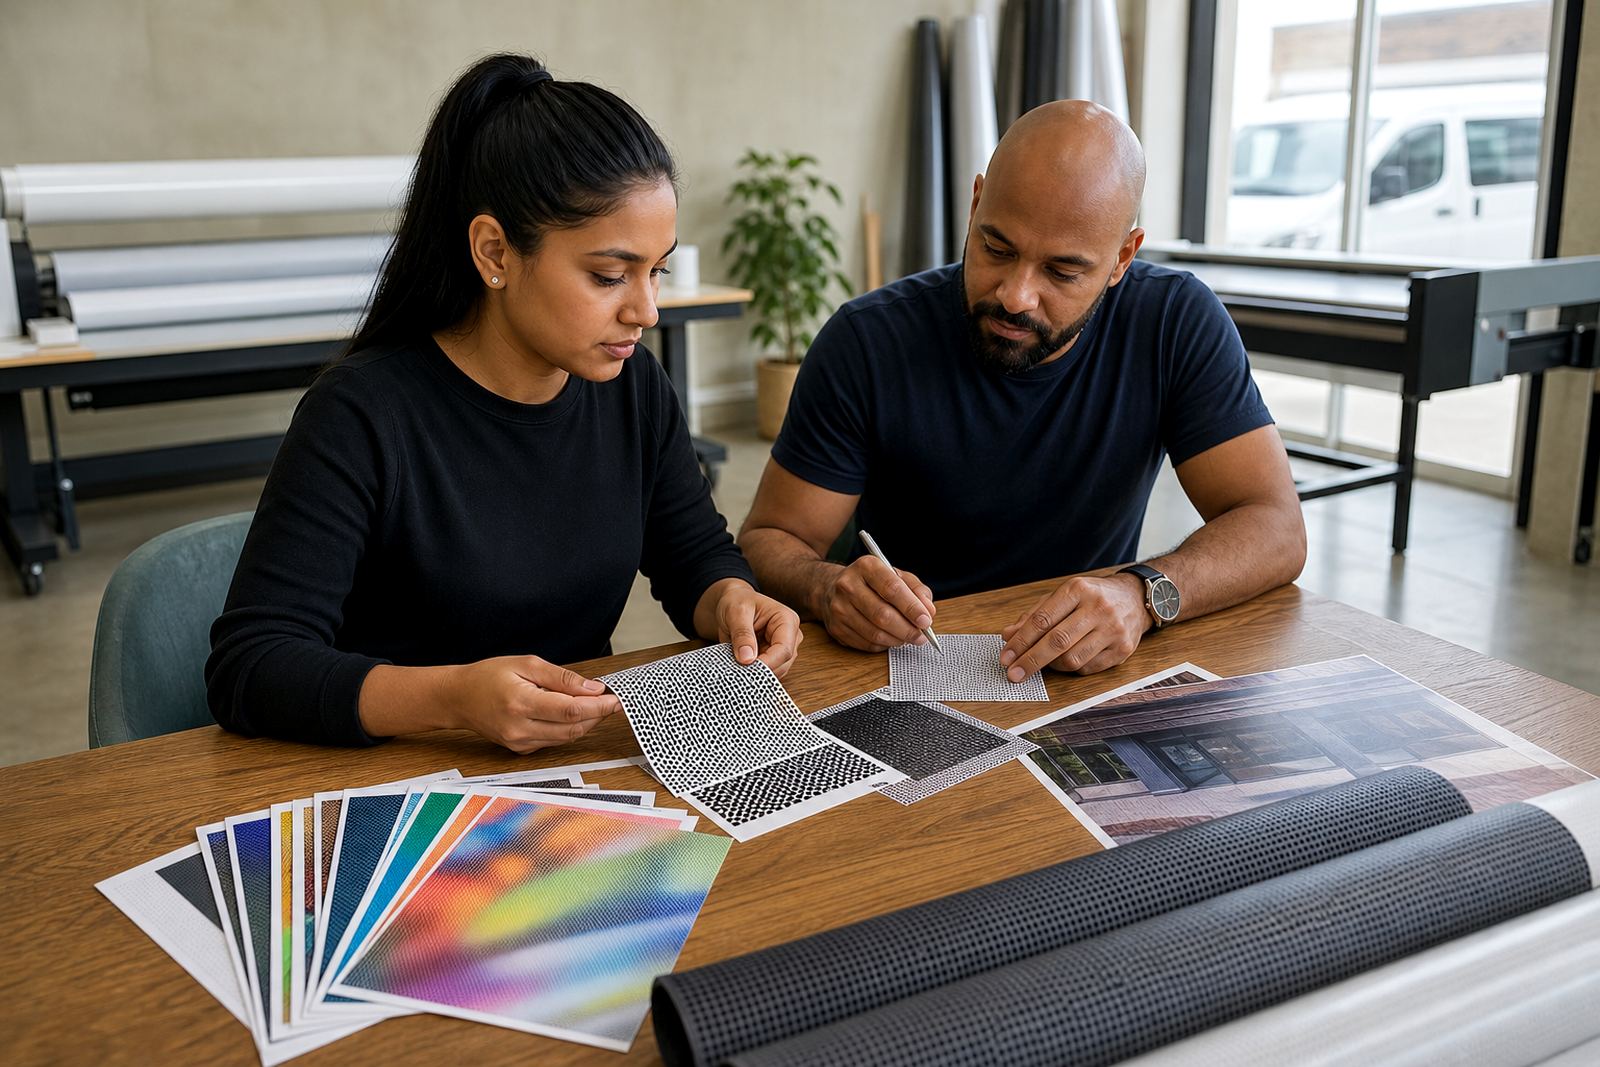
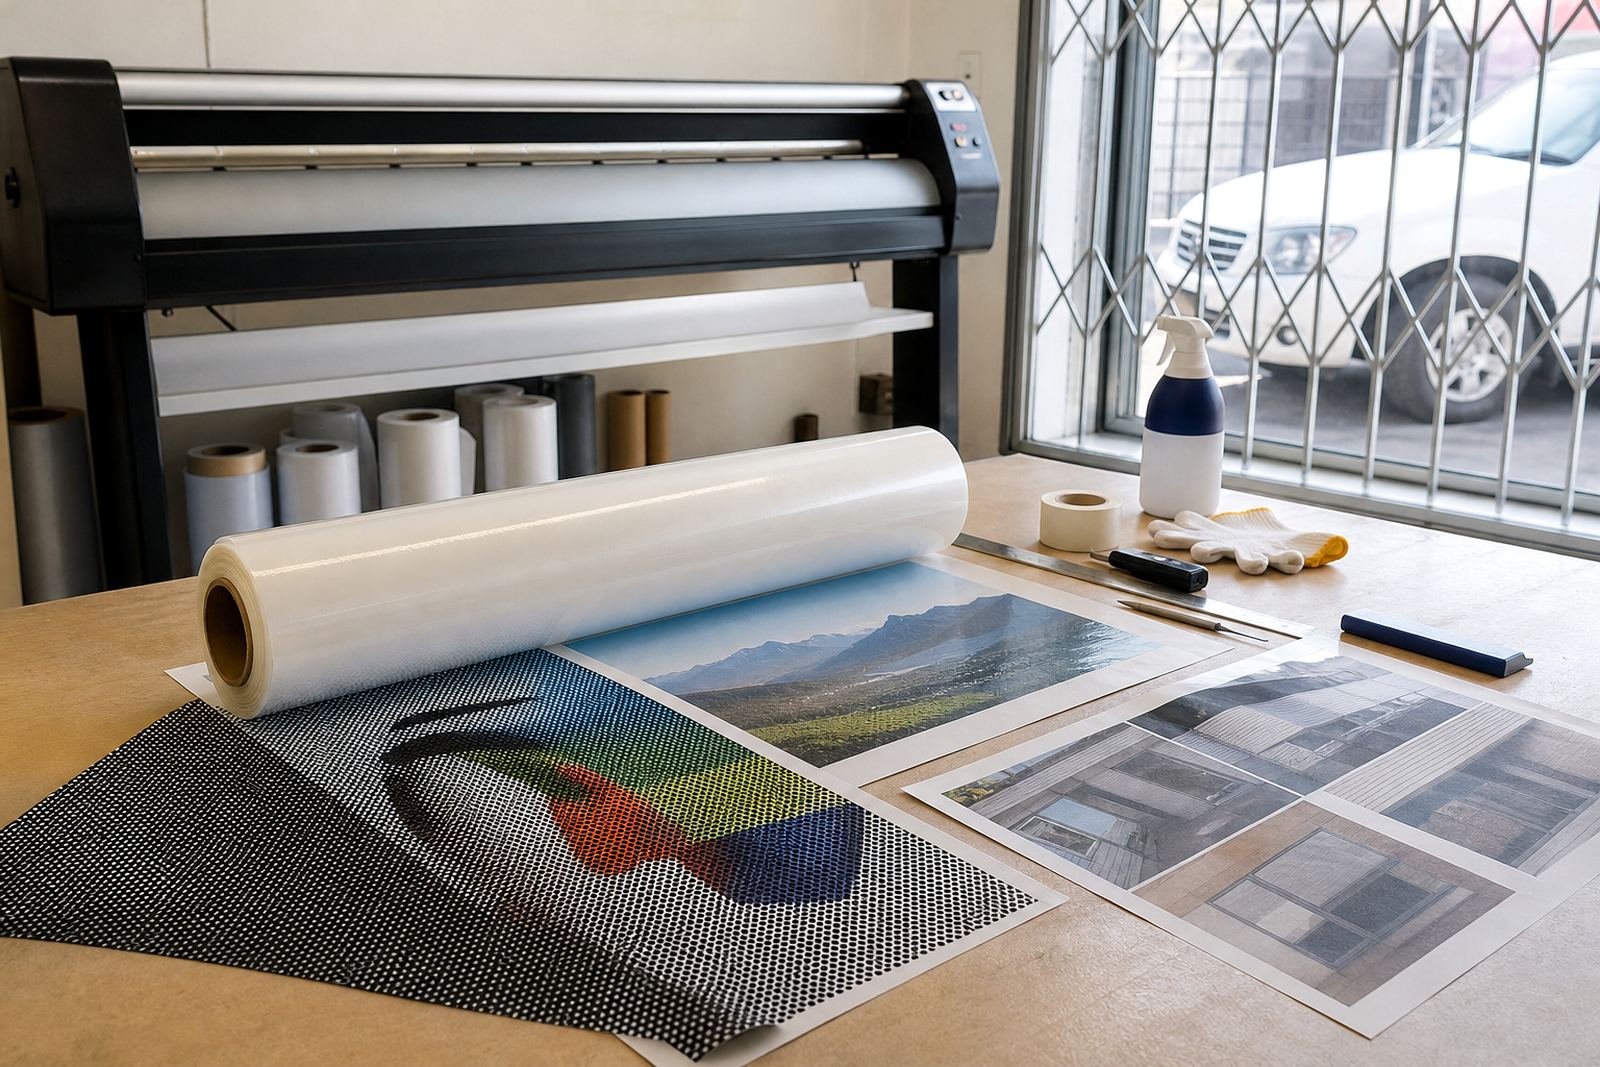
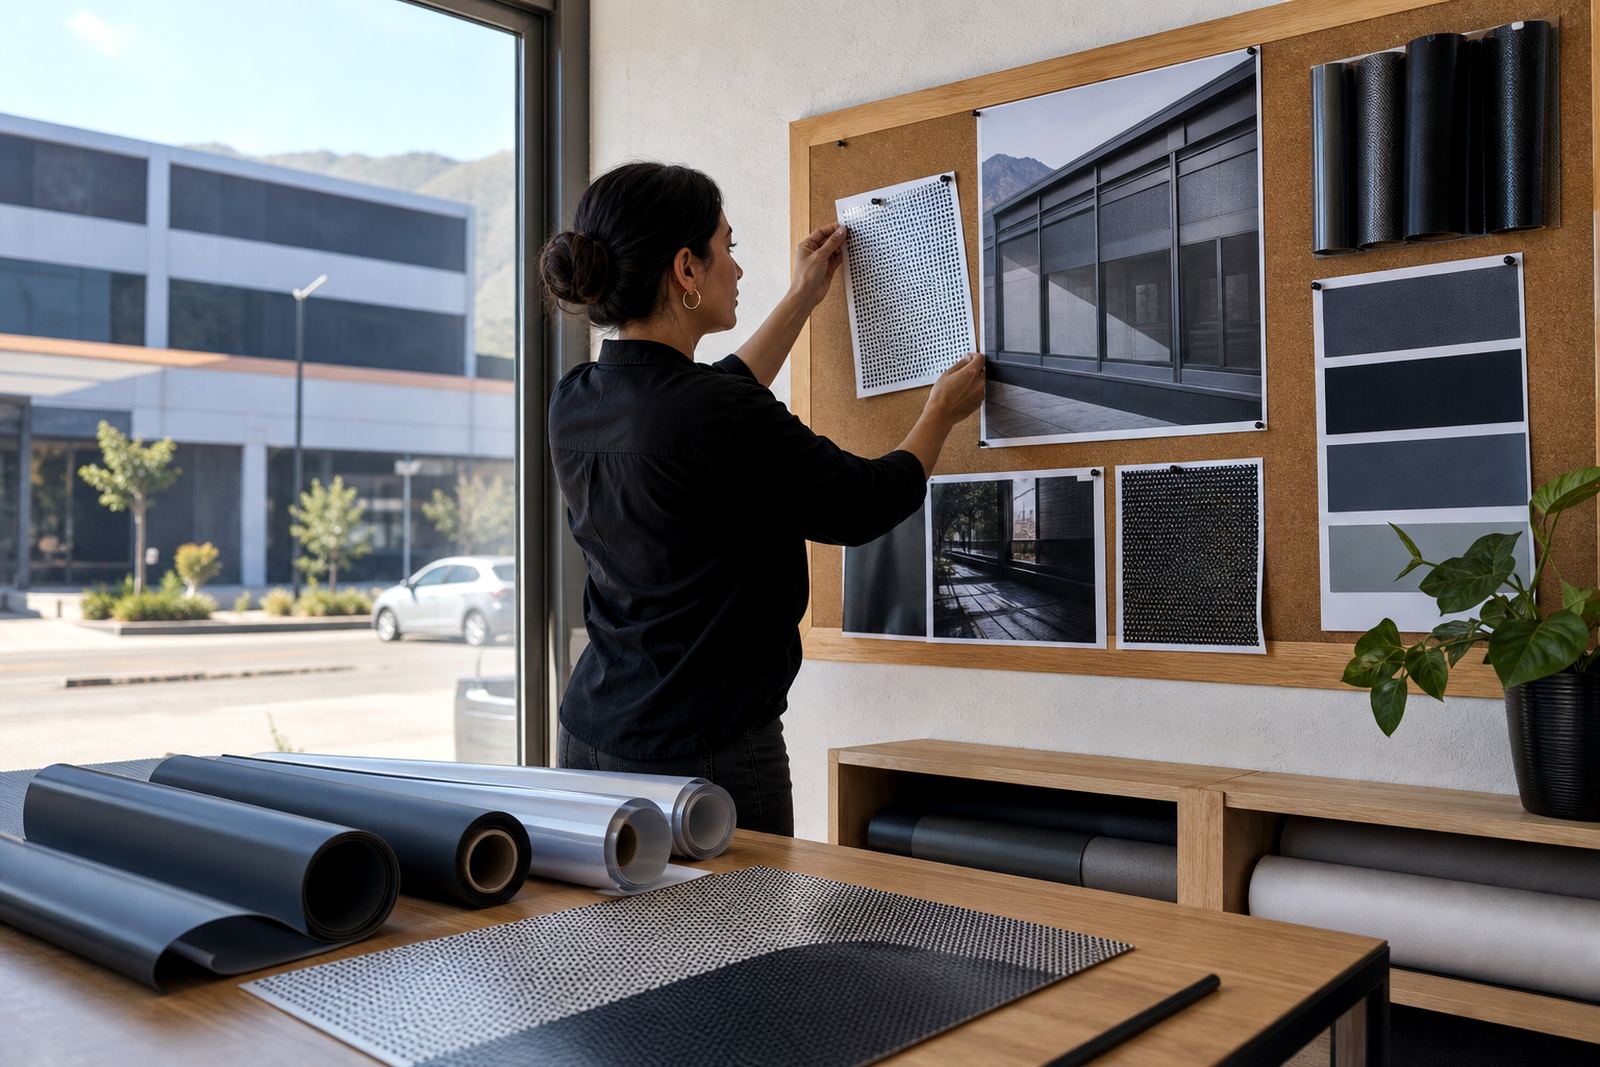
Printed perforated film is normally produced through wide format printing, then checked against a colour proof before it leaves the production table. Strong blocks of colour, clear lettering and simple layouts usually hold up best because tiny details can disappear at viewing distance. On busy roads in Johannesburg or along retail strips in Cape Town, a sign needs to read quickly.
Colour shifts can happen when artwork is moved from screen to print, so good artwork setup matters. Dark graphics tend to give stronger exterior impact, while lighter panels can help keep more internal light. The final result also depends on the glass itself, because tinted or reflective windows change how the printed side is seen. This is why a proper proof and site check save time later.
- Use bold wording and clear contrast for viewing from the street
- Allow for glass tint, reflections and background light
- Keep fine detail to a minimum where the message must read fast
Lamination and Why It Matters on Vehicles and Glass
Lamination is often used to help protect printed film from scuffs, handling and regular cleaning. On vehicle windows, it can add a layer of protection during washing and road use, while on shopfronts it can help the graphic stay neat in areas with dust, fingerprints and frequent contact. Not every job needs the same finish, so the coating choice should suit the site and the cleaning routine.
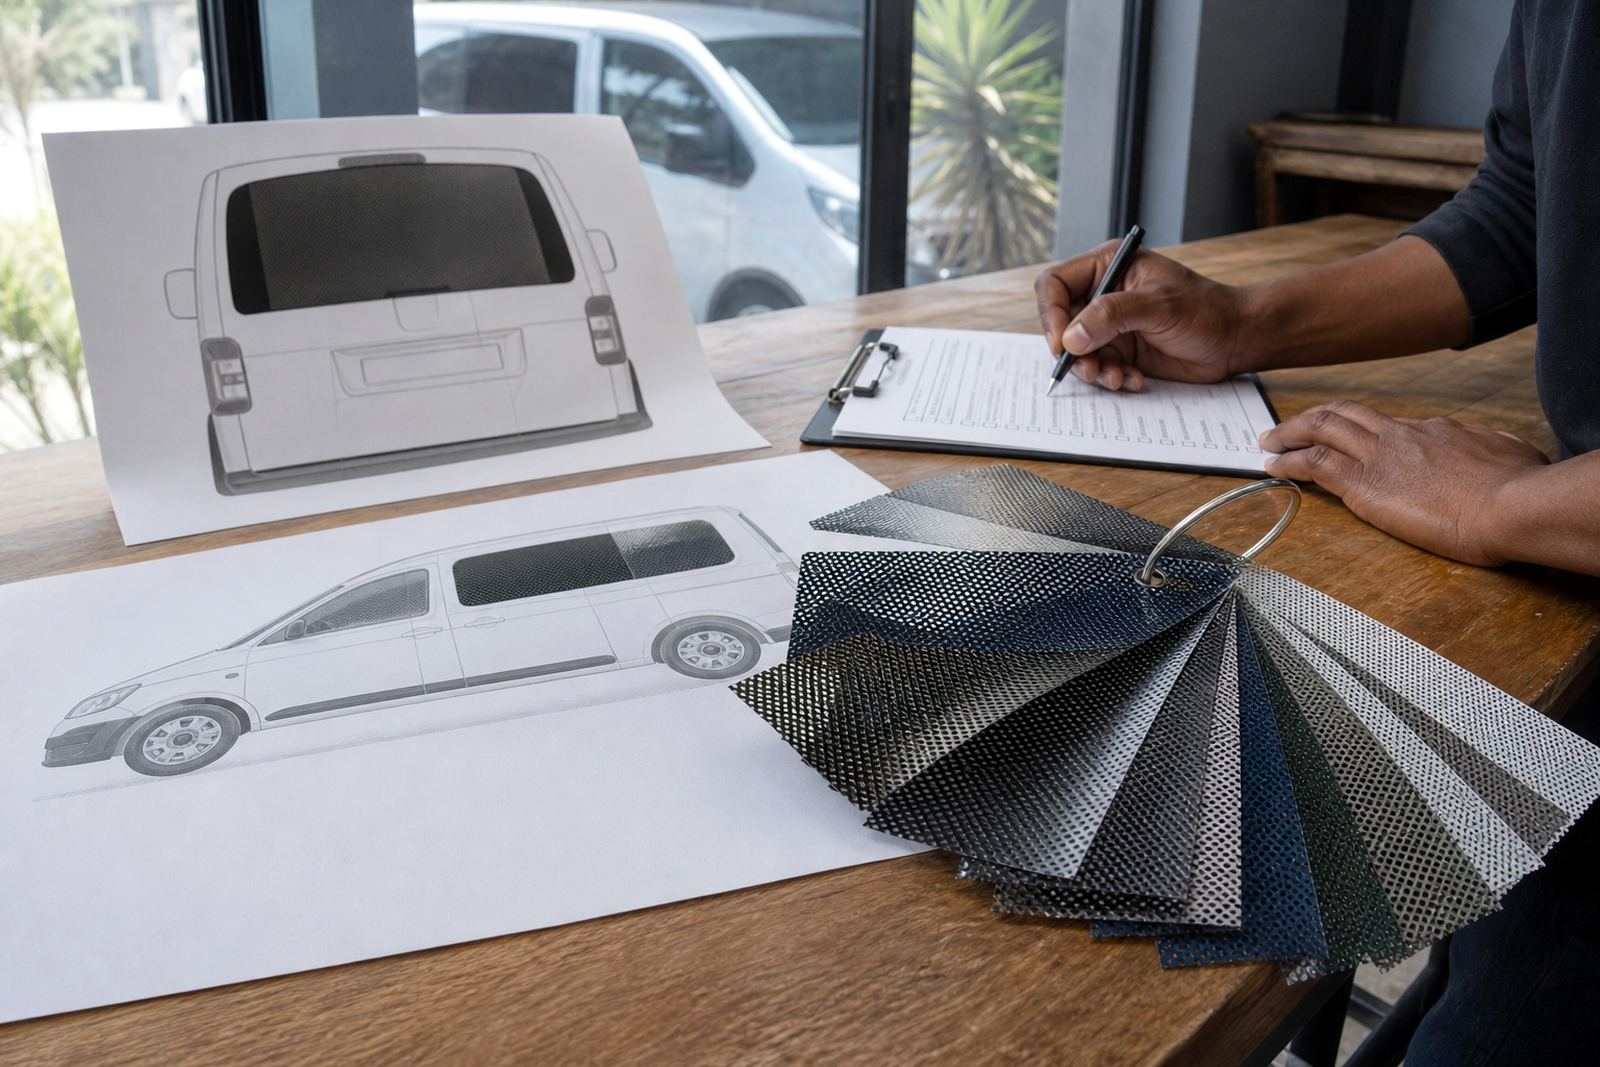
For vehicles, the film must not interfere with the driver view in a way that breaks current road traffic rules. That means checking the latest legal requirements before installation, especially on front side windows and any area that affects safe driving. If the film is going onto a fleet, the same standard should be applied across every unit, so the result is consistent and legal.
- Choose lamination where the surface will be cleaned often
- Confirm legal visibility for all vehicle glass before fitting
- Use the same spec across a fleet to keep branding consistent
Measuring, Templating and Getting the Fit Right
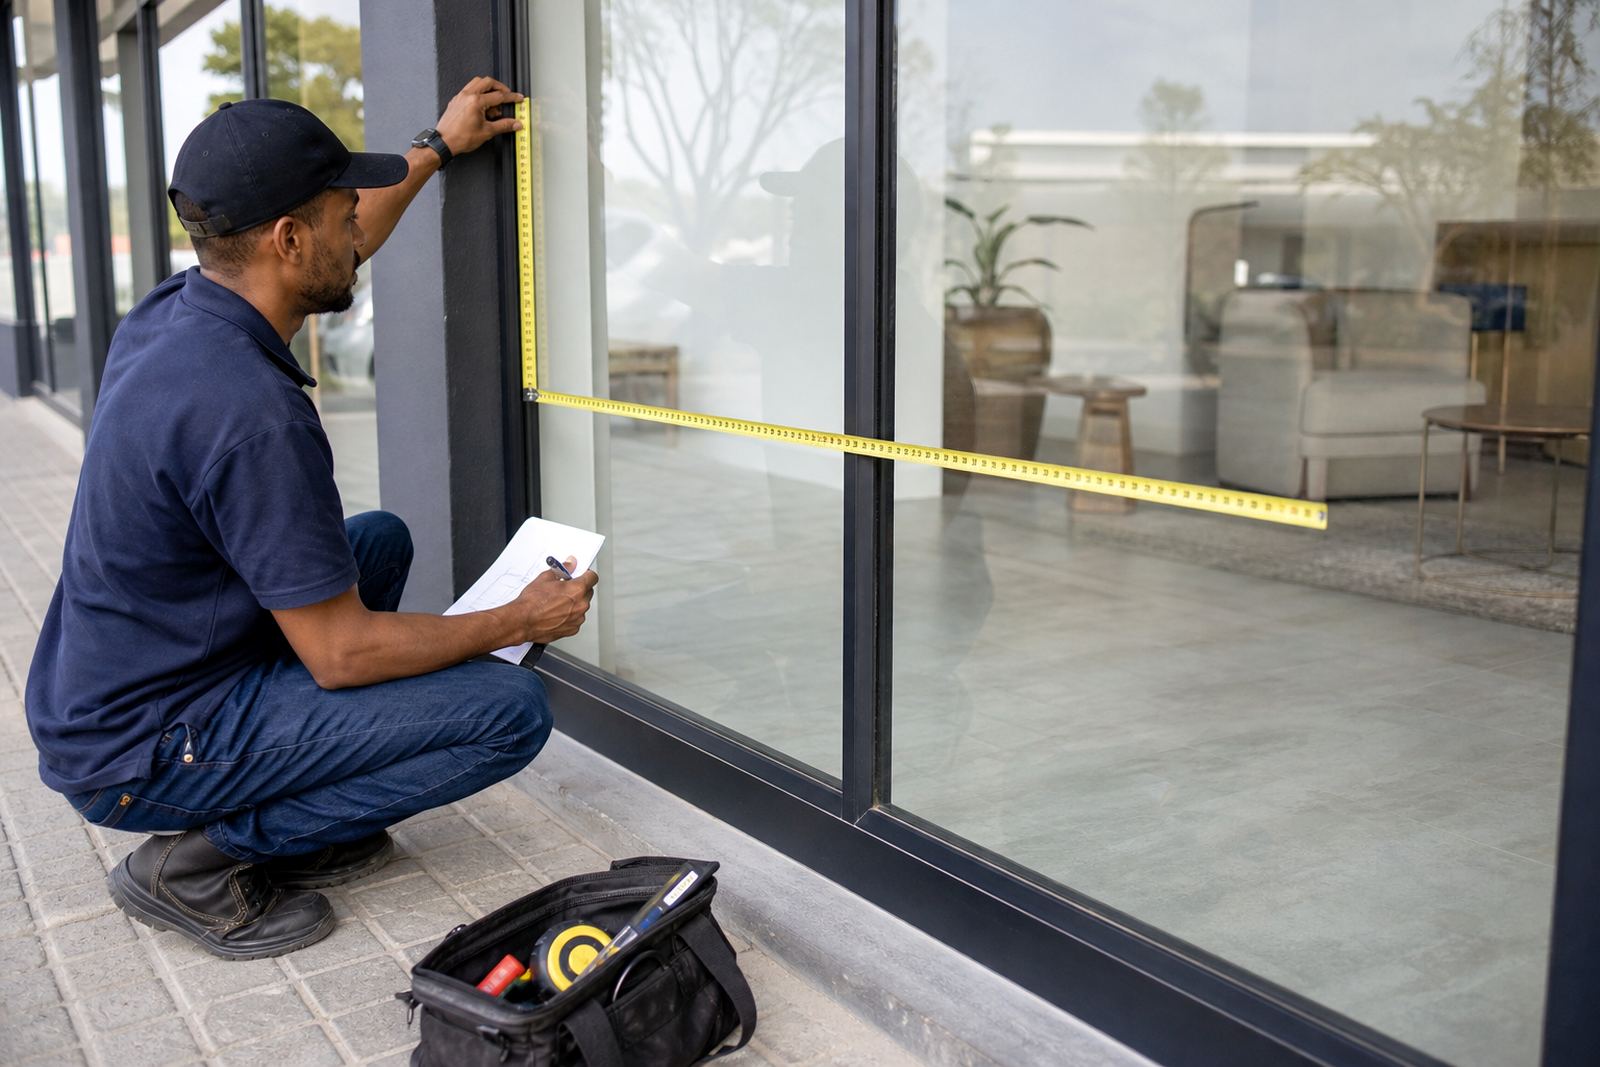
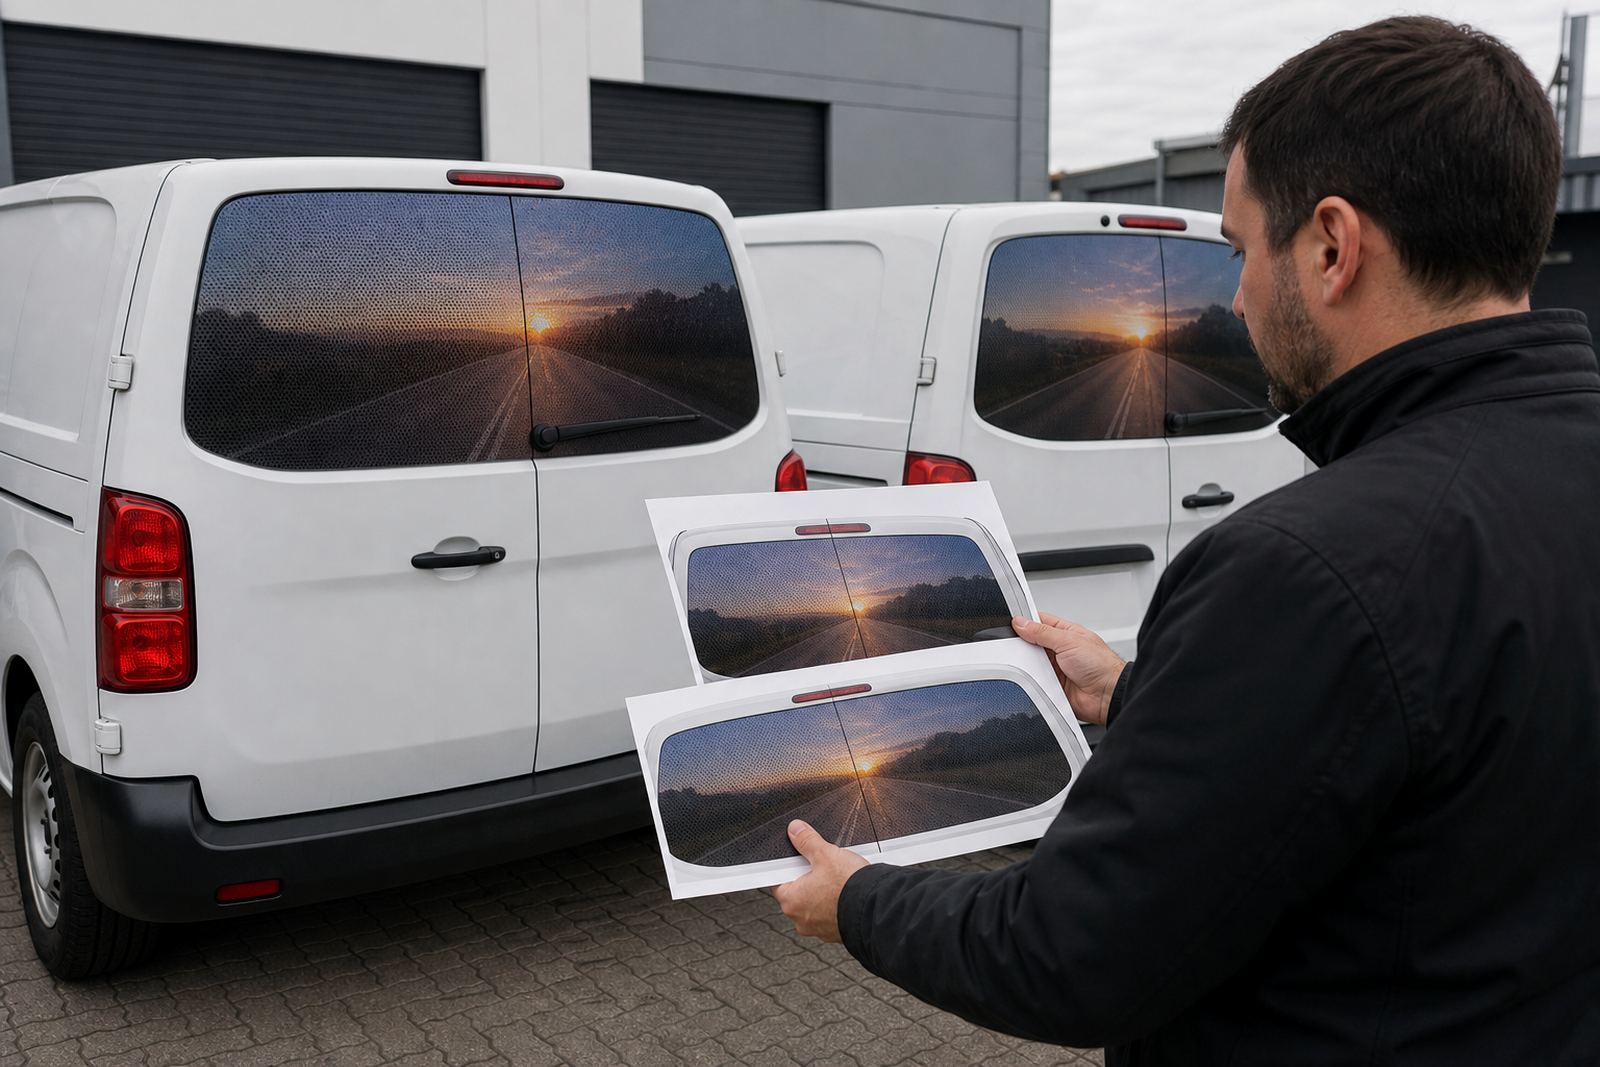
Good measuring avoids awkward joins and costly rework. Shopfronts often need site measuring because frames, seals and glass sizes vary from one branch to the next. Vehicles usually need templating so the film can follow curved or segmented windows properly. A few millimetres can matter, especially around handles, rubbers and heated rear glass.
At the Montague Gardens workshop, the team takes care of site measurements, vehicle templating and artwork preparation before production begins. That keeps print dimensions, cut lines and installation planning in step. For branch rollouts across Cape Town, Johannesburg, Durban, Pretoria and Gqeberha, a clean template also makes fresh store artwork easier when a branch is refitted or a campaign changes.
- Measure the visible glass area, not just the frame size
- Allow for seals, curves, wipers and heating elements
- Keep a template for future refreshes and branch rollouts
Installation on Shopfronts and Vehicle Windows
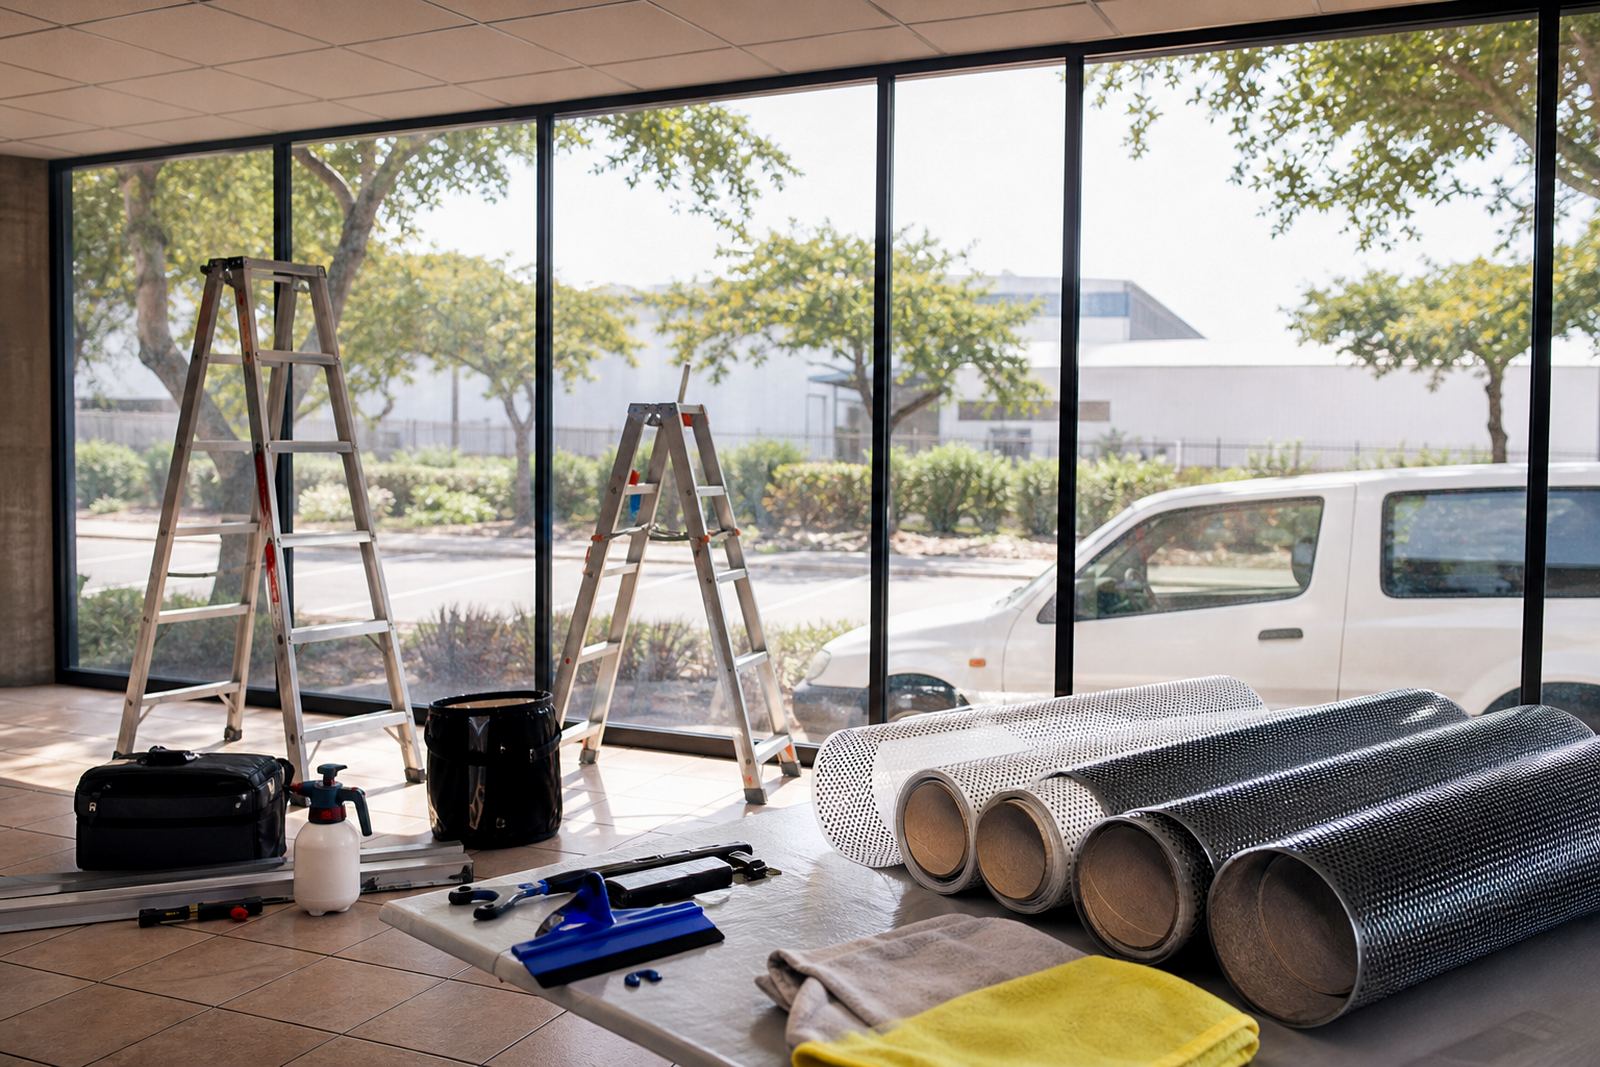
Glass installation starts with proper surface preparation. The glass must be clean, dry and free of dust, old adhesive and heavy residue. If old film is still in place, old film removal should be done before the new application, otherwise bubbles and edge lift become a problem later. On shopfronts, installers also need to work around opening doors, handles and security fittings.
Vehicle installation takes a steadier hand because curves, seals and tight edges are common. The film needs to sit flat without stretching the print too far, and the edges should be trimmed neatly so they do not catch when a window moves. A careful refit and refresh is often the best route when a fleet changes branding or an older campaign has faded.
- Prepare the surface before any application begins
- Remove old film fully where required
- Check edges, seals and window movement after fitting
How to Plan a Project With Fewer Surprises
The cleanest projects are the ones planned in the right order. Start with the goal, then confirm whether the film is for a promotion, privacy, branding or a mix of all three. Next, decide where it will be seen from, what the glass looks like, and whether the project needs one branch or many. After that, artwork, proofing and production can move ahead without guesswork.
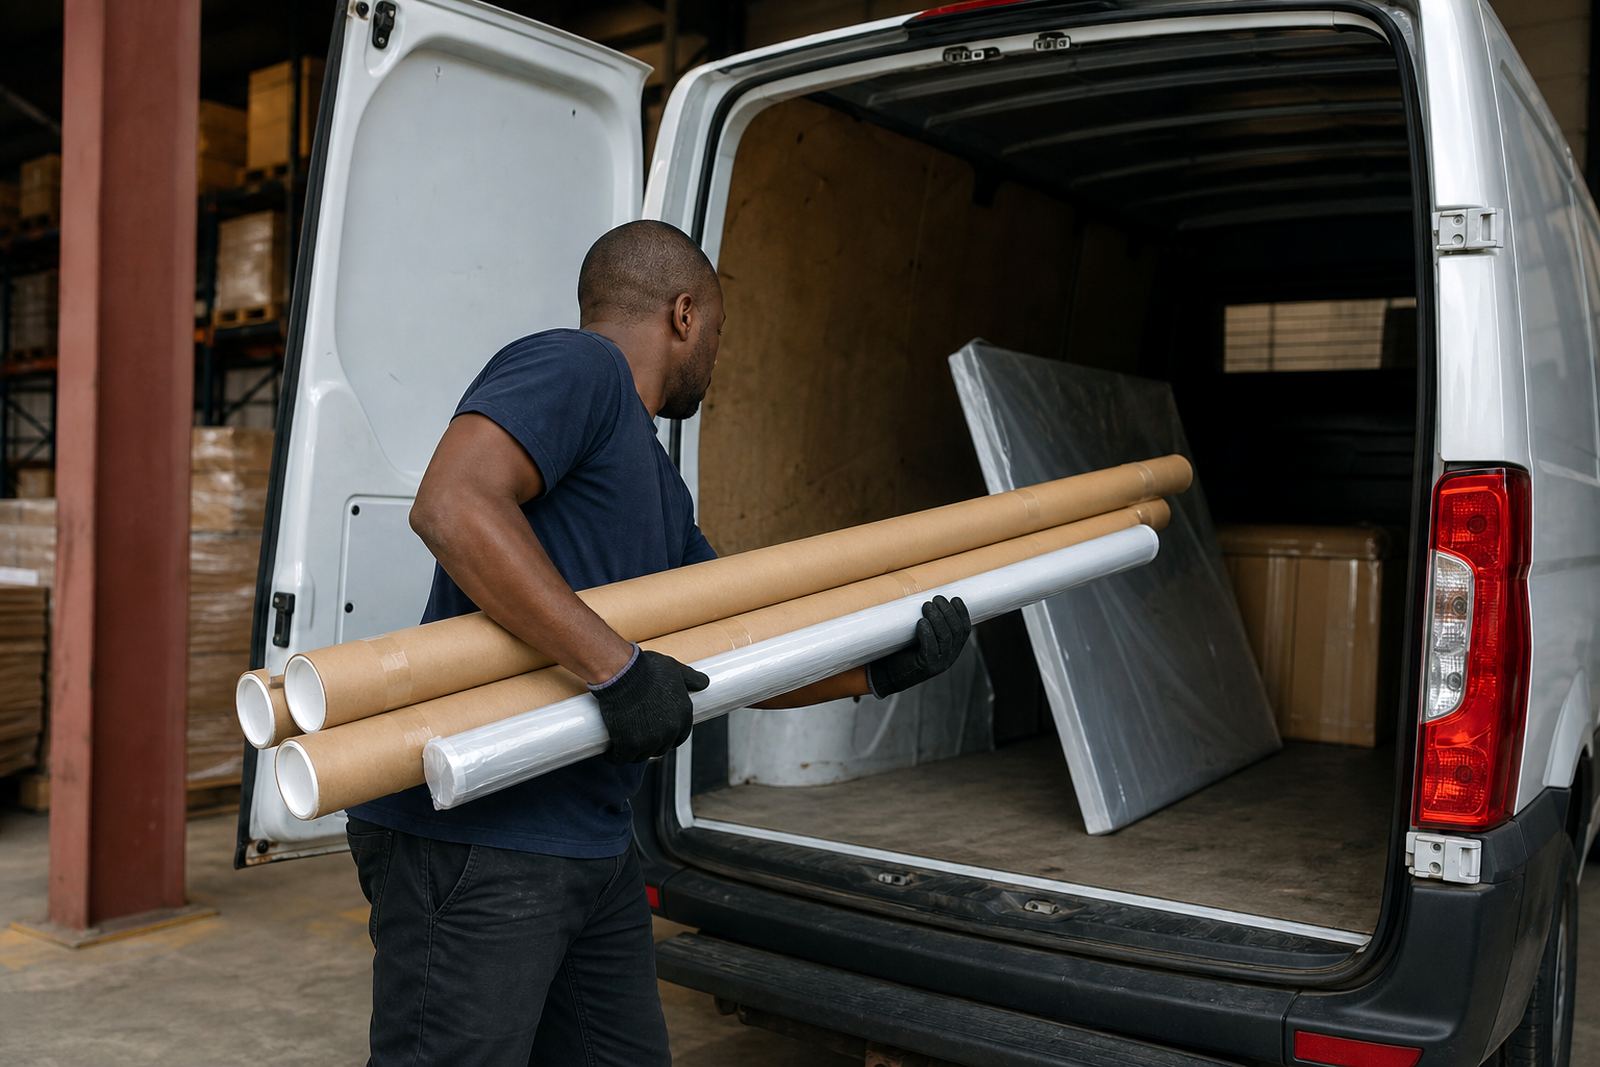
OneWayVision supplies perforated one-way vision window film from Montague Gardens, Cape Town, with nationwide dispatch and support for branches and vehicle work across South Africa. Buyers, marketers and site teams can use these guides to plan around the practical side of the job, from printed finish to installation and legal use on vehicles. For queries, use the enquiry form on our contact page.
- Set the purpose before you order the film
- Confirm site conditions and legal requirements early
- Use the guides to brief your installer, marketer or branch manager