
Plan the Change Before You Touch the Film
Start with the reason for removal. A seasonal promotion, new logo, tenant change or fleet refresh all affect the timing, artwork and the amount of labour needed. For shopfronts in Cape Town, Johannesburg, Durban, Pretoria or Gqeberha, it also helps to choose a time that suits trading hours, cleaning schedules and security access.
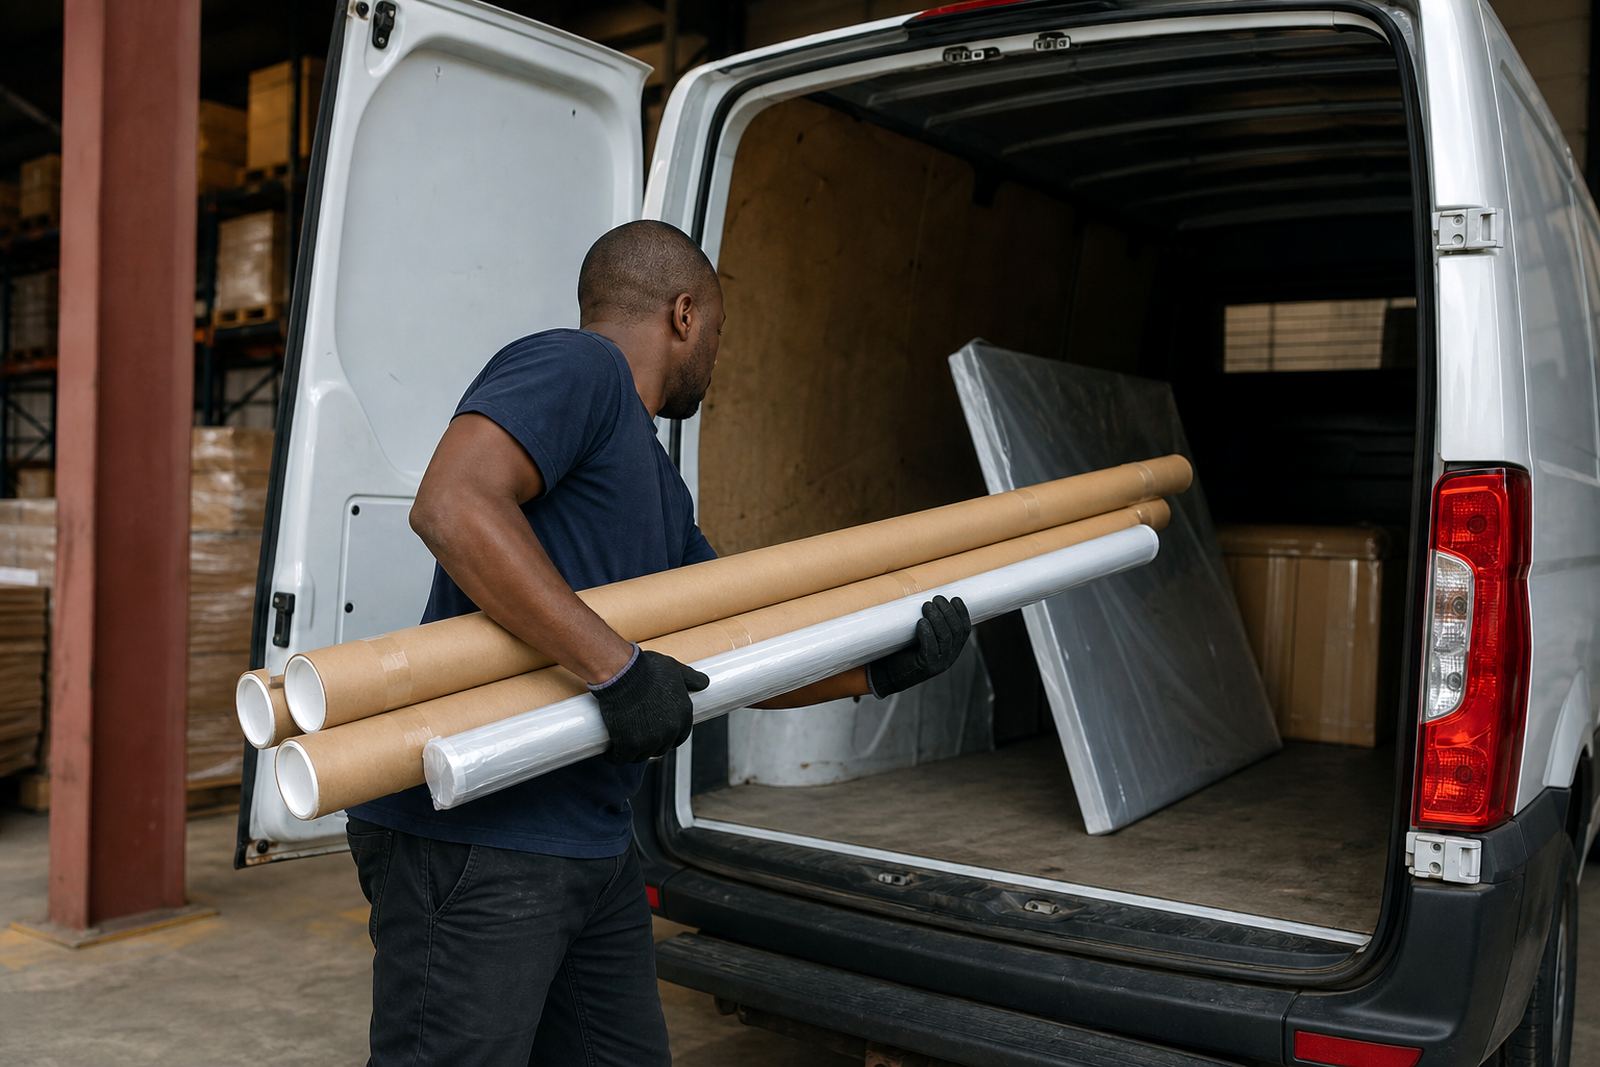
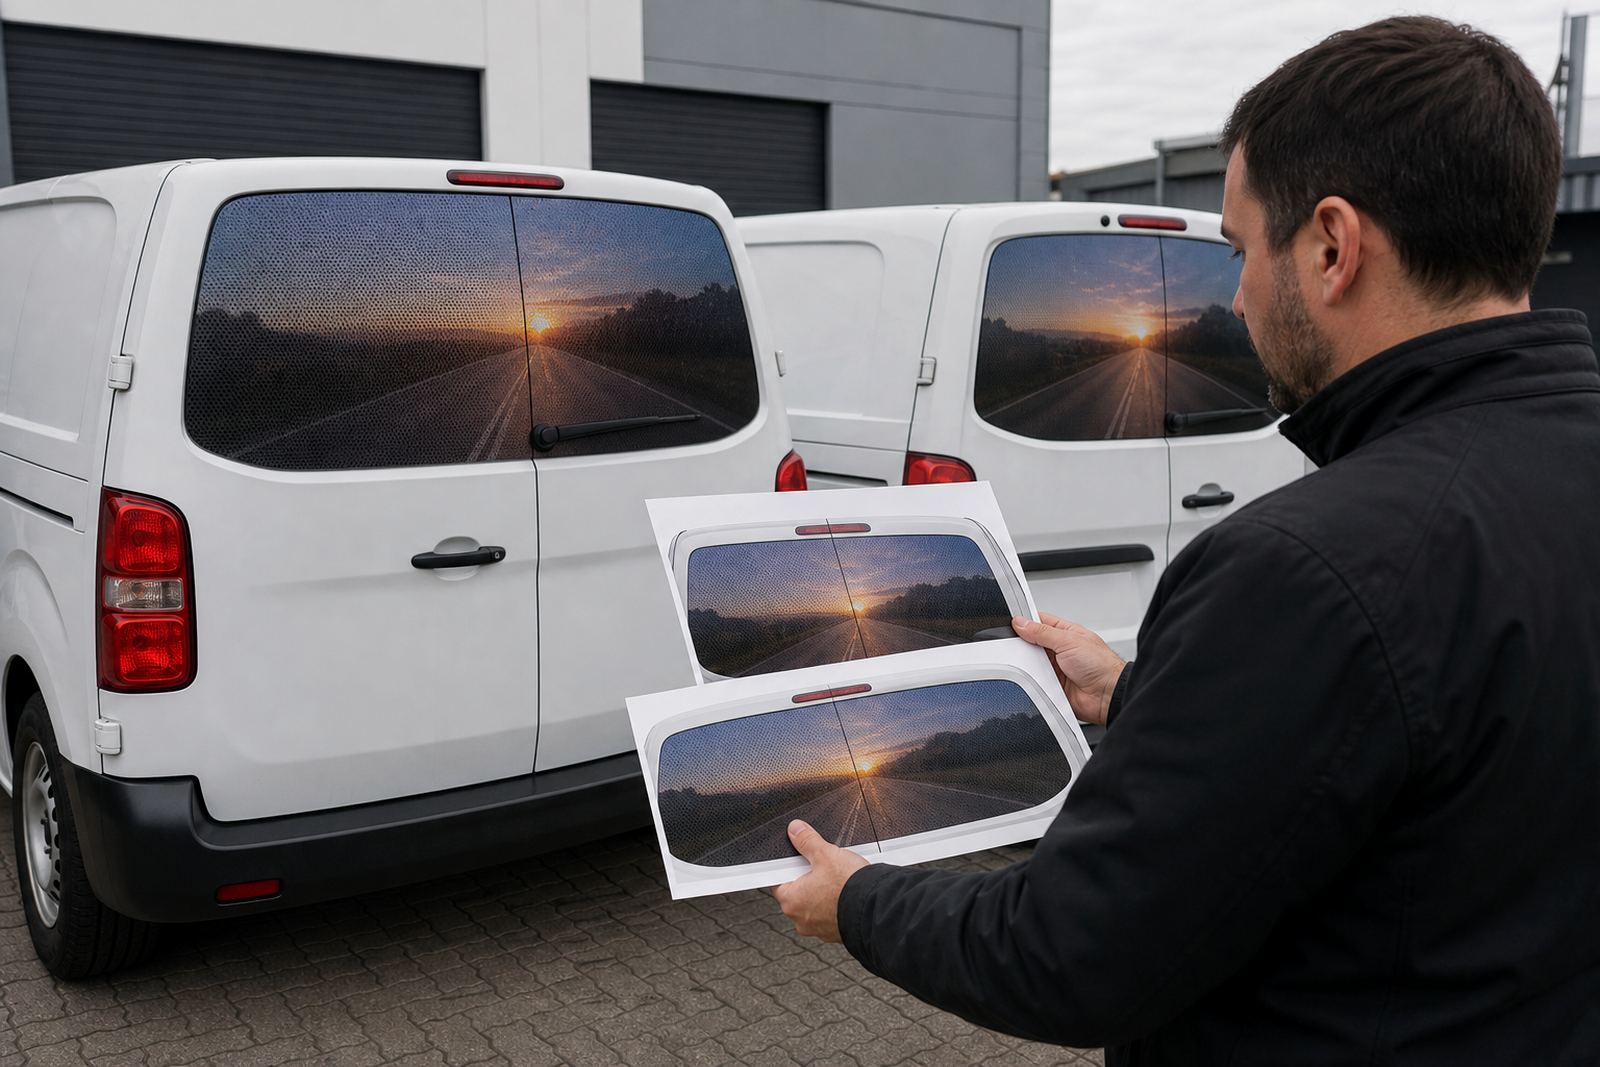
Before any work begins, check whether the film is on plain glass, framed glazing or vehicle windows. Perforated film can be fitted to both, but removal methods differ. Glass installation often leaves more adhesive residue on older panes, while vehicle panels and windows need extra care around seals, defrosters and trim.
Check What Was Installed and How Long It Has Been Up
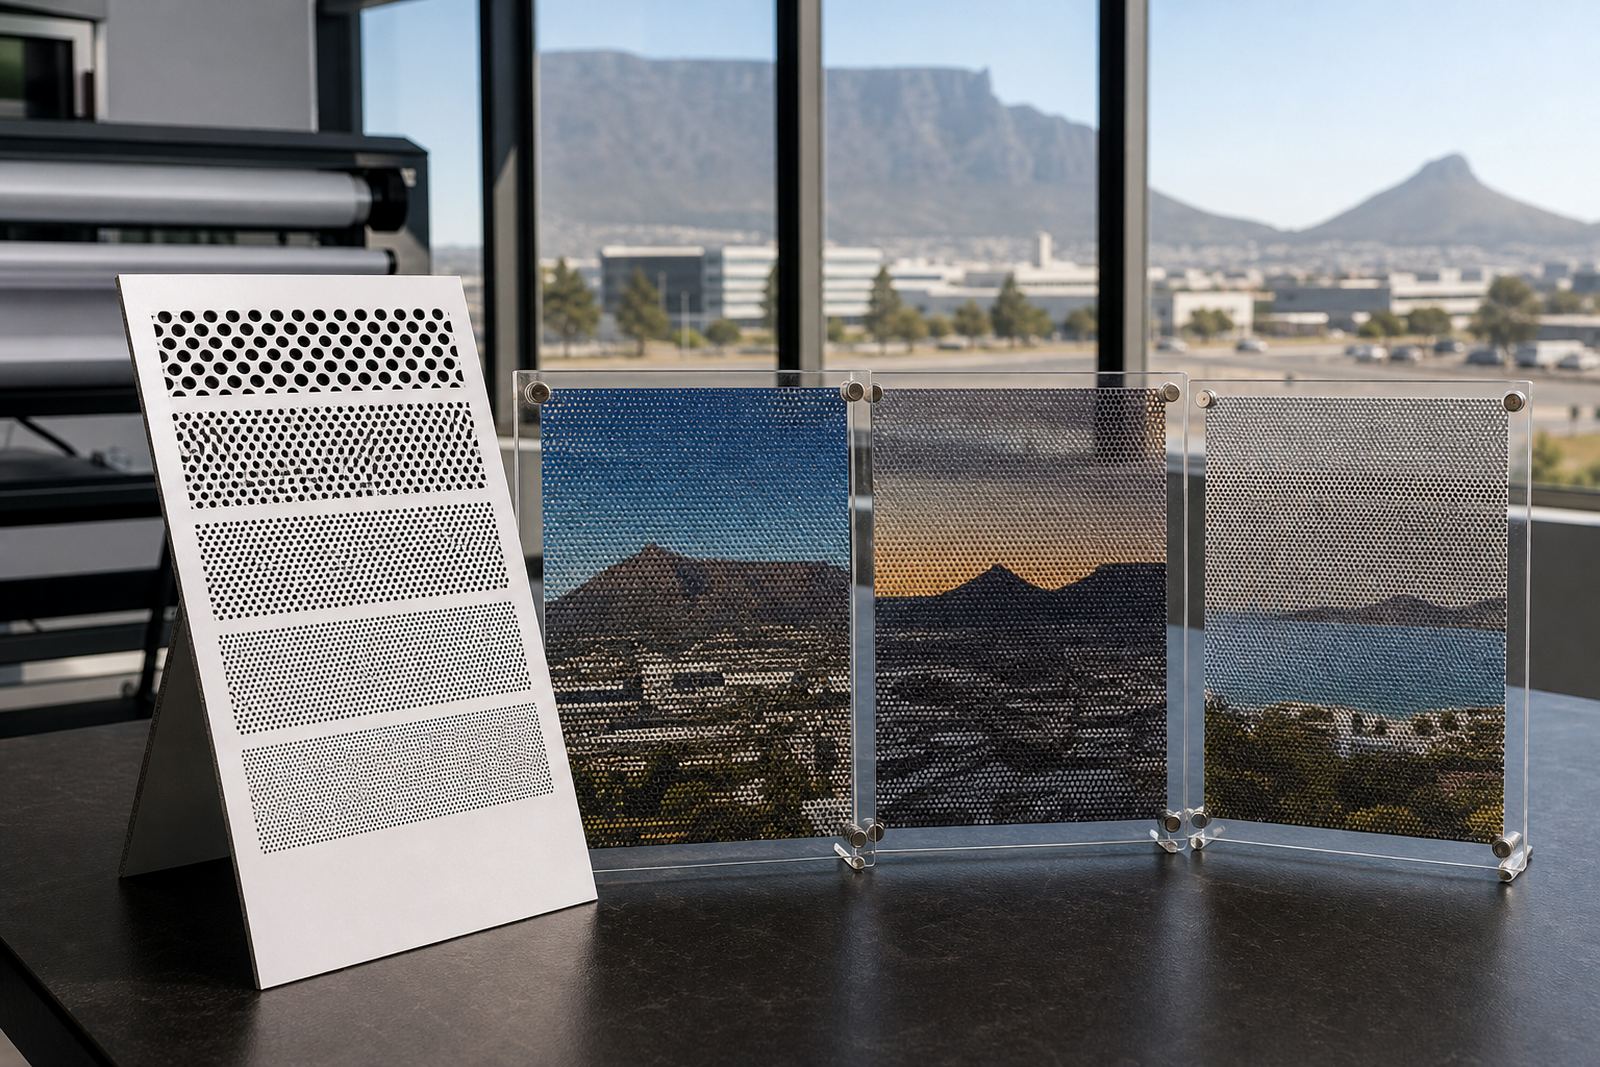
Older film can be harder to remove, especially if it has baked in sun, coastal humidity or years of dust. A print that has been on for two or three summers may lift differently from a newer install. The perforation ratio and lamination type also affect removal. Heavier print layers and overlaminates can leave more adhesive behind if they were applied over a textured or poorly cleaned surface.
- Confirm whether the film was printed, laminated or clear perforated film with applied graphics.
- Look for edge lifting, bubbling, cracking or faded sections.
- Note whether the film is on interior or exterior glass.
- Check if any panels need to stay in place until replacement material is ready.
Prepare the Area So Removal Is Faster and Cleaner
Good preparation saves time and prevents damage. For storefronts, clear stock away from the glass, protect counters and switch off any nearby equipment that might be affected by moisture. For vehicles, wash loose dirt from the windows and body panels first. If the vehicle is parked outdoors in strong sun, allow the panels to cool before starting.
Surface preparation matters because old adhesive, dust and cleaning chemicals can interfere with the next application. A clean edge also makes it easier to line up the replacement film later.
- Move items at least 1 metre back from shop windows.
- Use drop cloths on floors and seats.
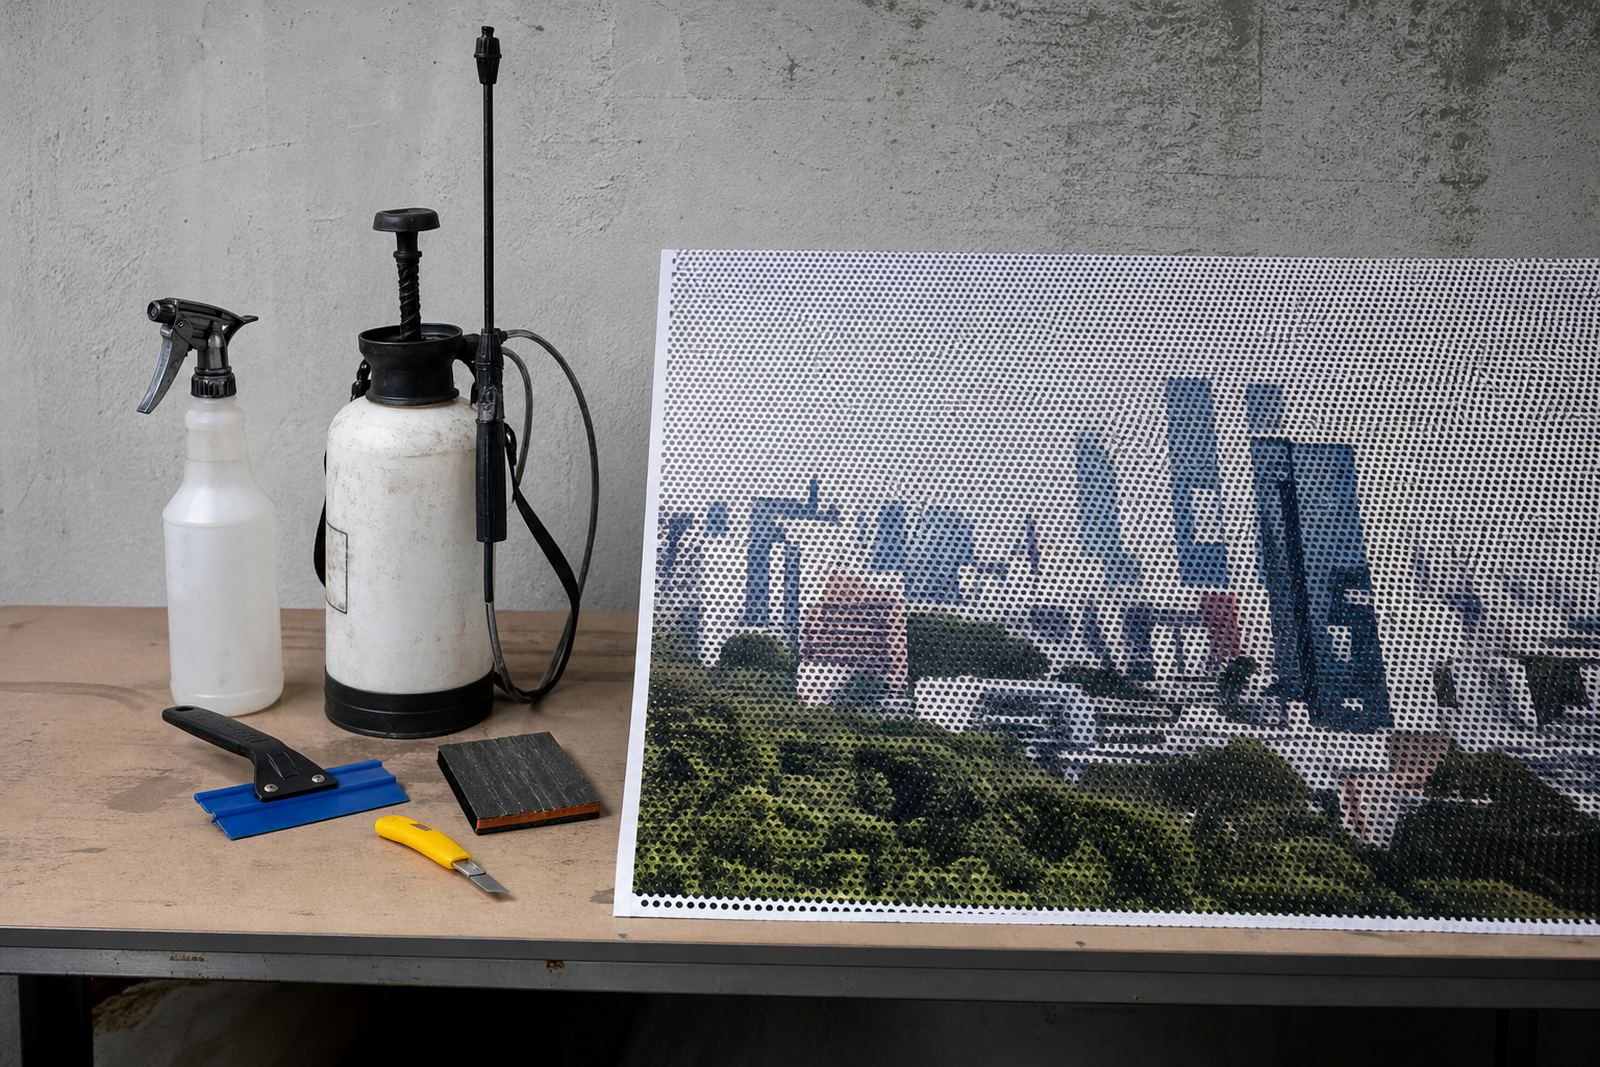
- Keep a scraper, plastic blades, heat source, towels and adhesive remover ready.
- Test a small corner first before lifting a full panel.
Remove the Film Without Scarring the Glass or Window
Lift one corner and work slowly across the panel. On many installations, a low heat source helps soften adhesive so the film comes off in larger sheets. Do not rush with metal blades on glass with coatings or on vehicle windows that have rear demister lines, because those lines can be scratched or lifted.
If the film tears, peel back at a shallow angle and keep the tension even. Smaller fragments are usually easier to clean than one big tear that leaves sticky backing behind. Around curved vehicle windows, a second pair of hands is often useful to keep the pull steady and the film from snapping back.
Deal With Adhesive Left Behind
Once the main sheet is off, inspect the surface for glue haze, ink dust and corner build-up. A suitable adhesive remover and a non-abrasive cloth usually handles most residue, but some older adhesives need repeat passes. Take care on frameless office glass and on vehicle windows near rubber seals, because liquid can creep under trims if too much is used.
On commercial premises, also check whether sunlight has left a hard line where the old film ended. This can show up once the panel is cleared, so the replacement artwork may need a slight layout adjustment. A good clean now makes the next print sit flatter and last longer.
Fit the Replacement Film at the Right Time
Replacement should only go ahead once the surface is fully dry and free of residue. Fresh perforated film needs clean glass, accurate measuring and a careful layout, especially where logos must match door rails or vehicle body lines. If the job includes both removal and refit, it is worth confirming the final artwork before the old film comes off so there is no delay between phases.
Vehicle window film must keep the driver view legal, and current road traffic rules should be checked before installation. If a campaign uses rear side windows or the rear screen, the print and perforation must still allow proper visibility from inside. For shopfronts, check municipal or landlord rules if the display reaches the pavement side or street-facing glazing.
Use a Simple Removal Checklist Before Handover
A short checklist helps avoid call-backs and keeps the next print on schedule. It also gives site teams and drivers a clear handover point once the old material is off. For multi-site rollouts, a consistent process makes it easier to manage branches in different cities at the same time.
- Old film removed from all agreed panels
- Glass or vehicle windows cleaned and dried
- Residual glue removed from edges and corners
- Damage to seals, trims or coatings noted
- Replacement measurements confirmed
- Artwork approved for the next print run
- Install date set, or dispatch arranged for the next site
If you are refreshing a shopfront, a fleet or both, good removal work is the start of a clean finish. It saves time on the next install and keeps the branding tidy from the inside out.