
Start With One Vehicle, Then Build the Fleet Standard
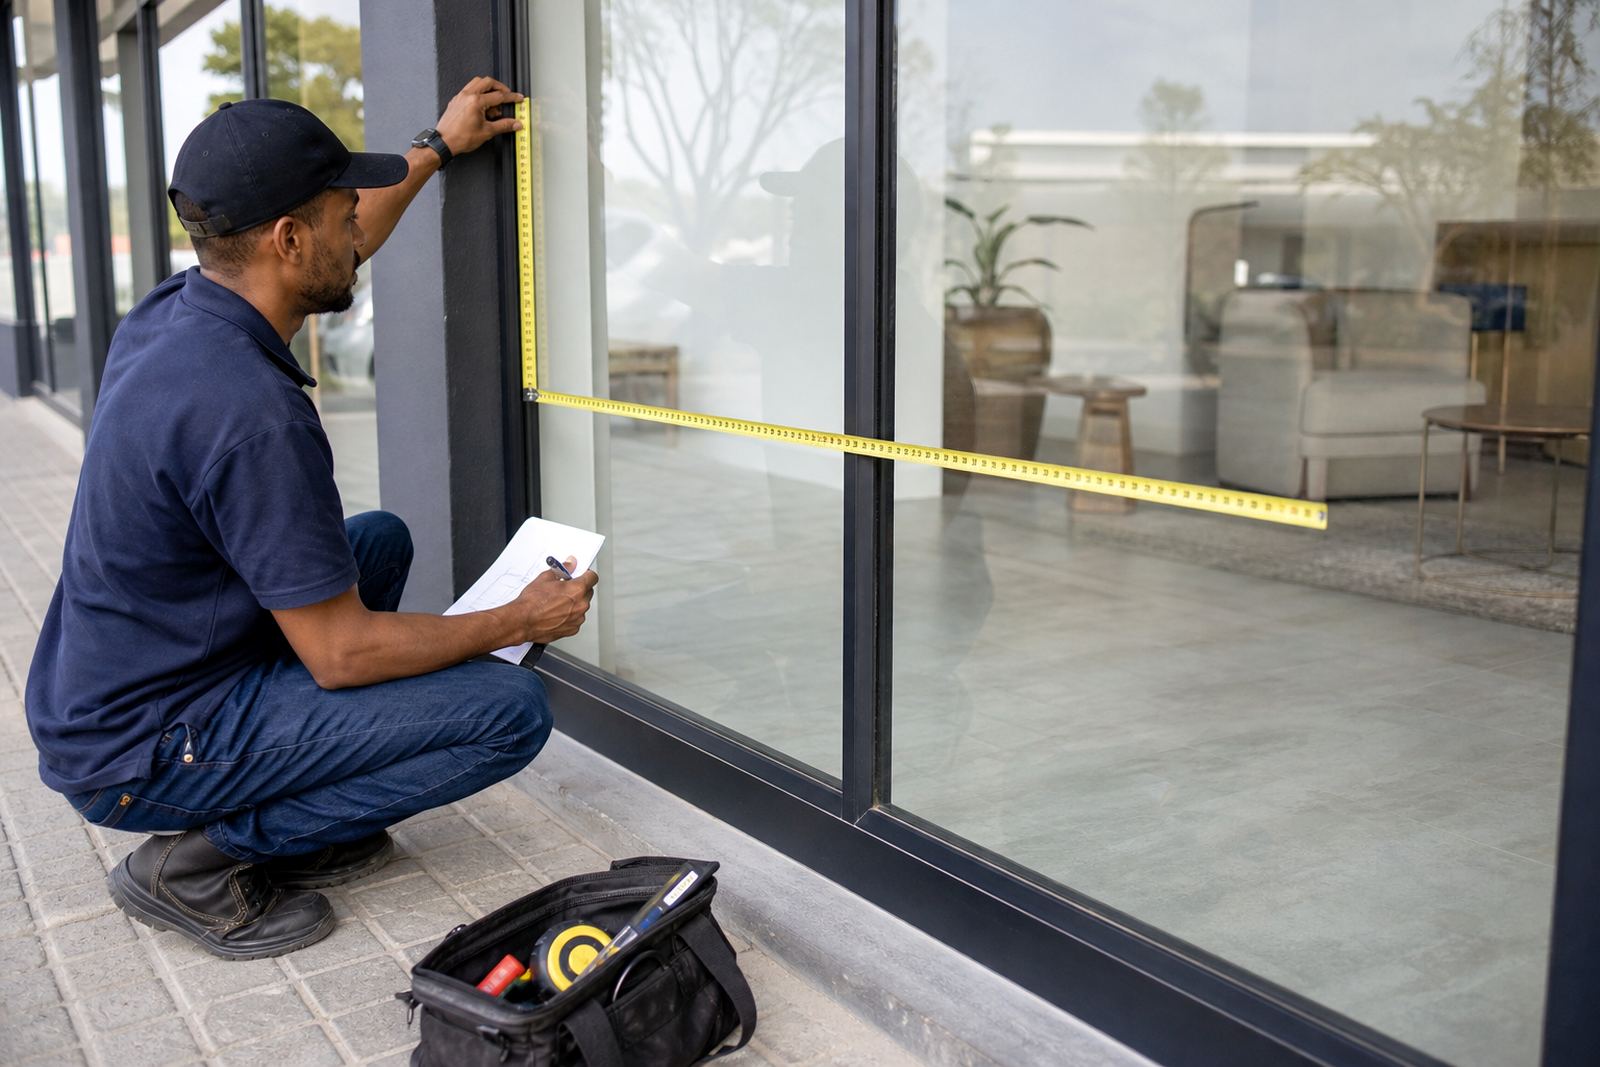
Do not begin with a full batch until the first vehicle has been measured, templated and approved. Rear windows and side glazing vary from one model to another, and even small differences in curve, heating lines, tint shade or window size can affect the final result. A good fleet standard starts with one confirmed layout, then that same layout is adjusted only where the vehicle body demands it.
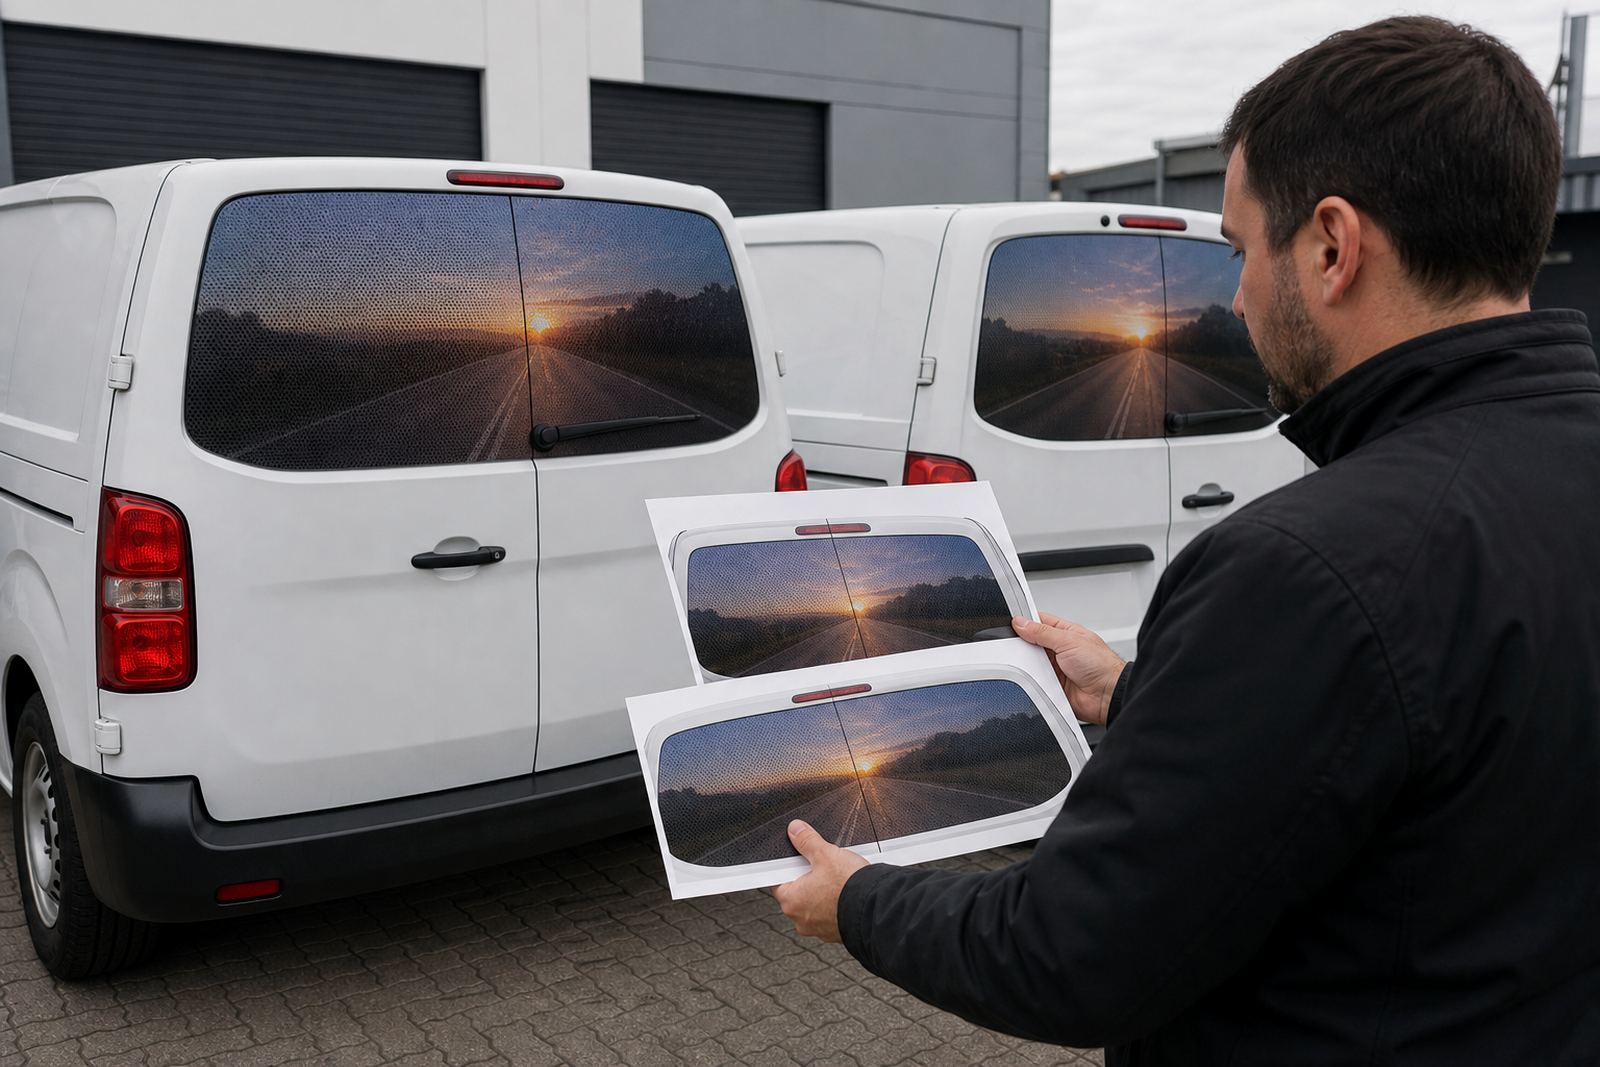
For a mixed fleet, the aim is consistency in logo size, placement and contrast rather than forcing every window to look identical. That keeps the branding neat across bakkies, panel vans, SUVs and service vehicles, while still allowing each body shape to be handled properly. If the fleet works in Cape Town, Johannesburg or Durban, the same approval notes should travel with every unit so there is no guesswork on site.
- Confirm vehicle makes, models and year ranges before artwork starts
- Measure the glass area, including any black ceramic border or dot matrix
- Check rear wiper paths, heated lines and opening panes
- Agree which panel is standard and which panels need local adjustment
Choose the Right Perforation Ratio for the Job
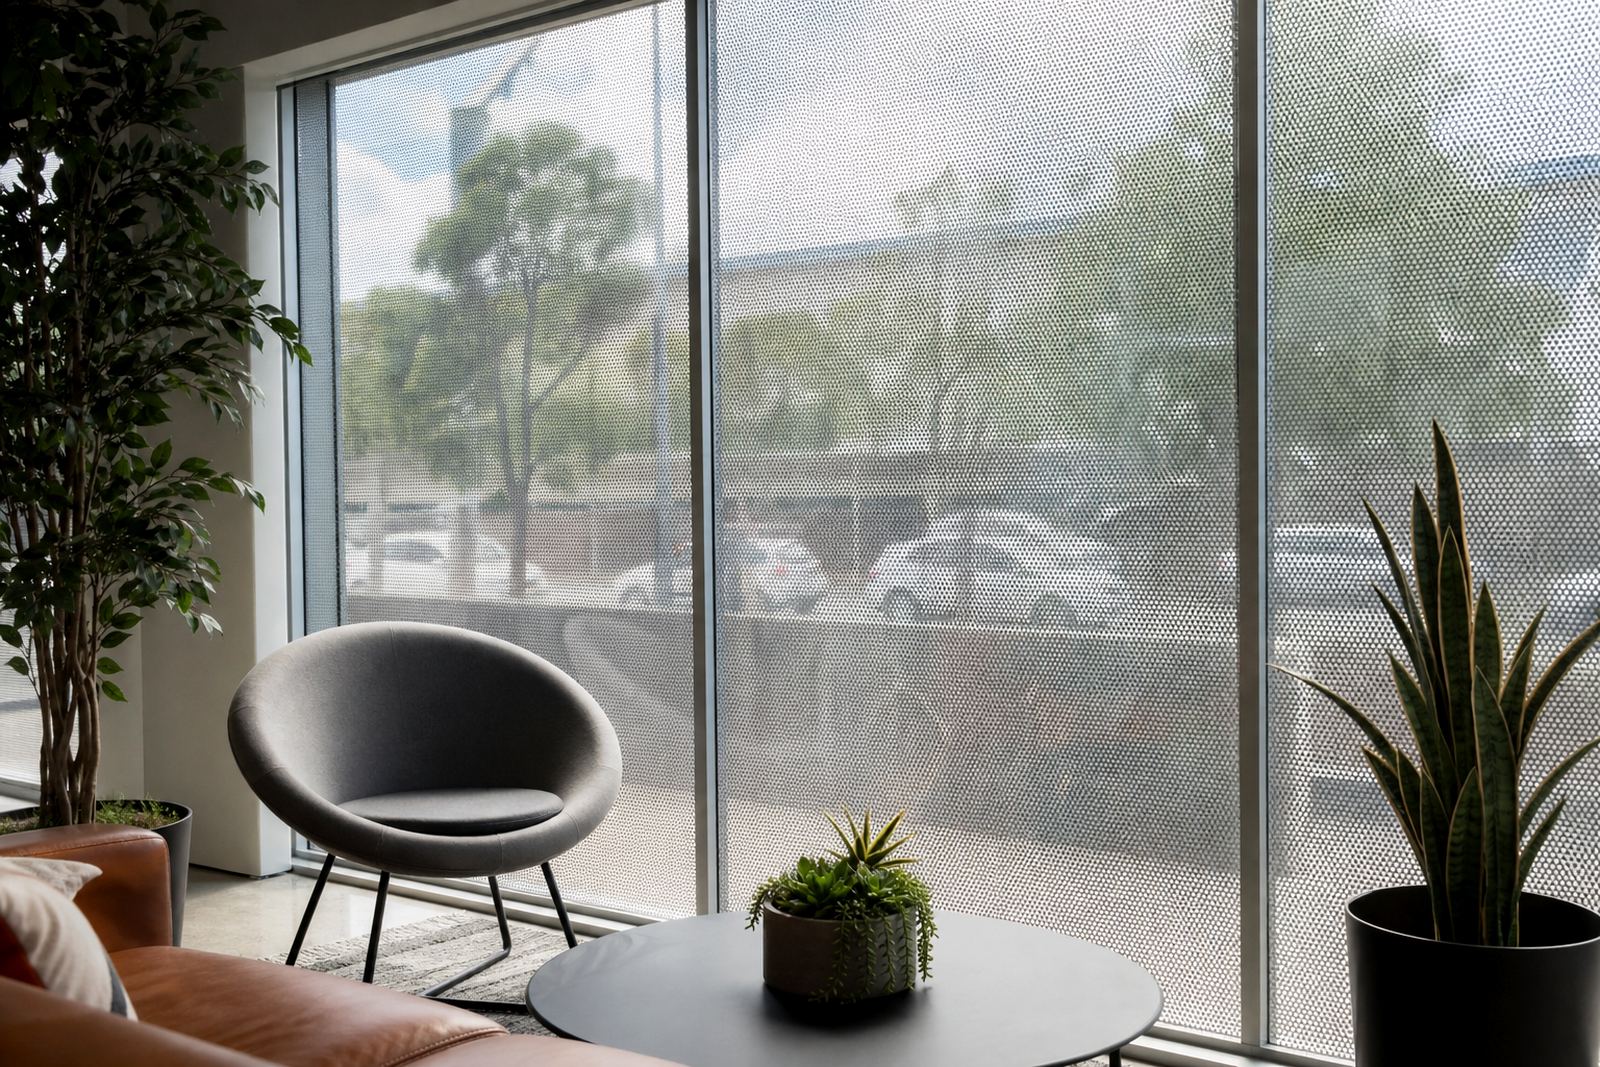
Perforated one way vision film is made with tiny holes that let people inside see out while the printed face carries the graphic. The most common ratios are around 70/30 and 60/40, where the numbers refer to the balance between printed area and open area. A tighter pattern can give stronger colour on the outside, while a more open pattern improves outward visibility from the vehicle cabin.
For rear glazing on fleet vehicles, the choice comes down to how much light is needed inside the cab and how busy the print will be. Heavy full colour artwork, gradients and dark backdrops often need careful testing because the more ink coverage used, the more the view can soften from inside. That is why colour proofing matters before the full run goes ahead.
- Use a ratio that suits both branding and driver visibility
- Keep artwork simple where the glass is very curved or narrow
- Leave enough open area for clear looking through the rear window
- Test the layout against daylight and low light conditions
Artwork Setup That Prints Cleanly Across Multiple Units
Fleet artwork should be set up with the same file structure for every vehicle in the series. Keep logos, strap lines and contact details locked to one master layout, then create vehicle specific versions only where size or window shape requires it. This saves time during reprints and makes it easier to match one van to the next, even months later.
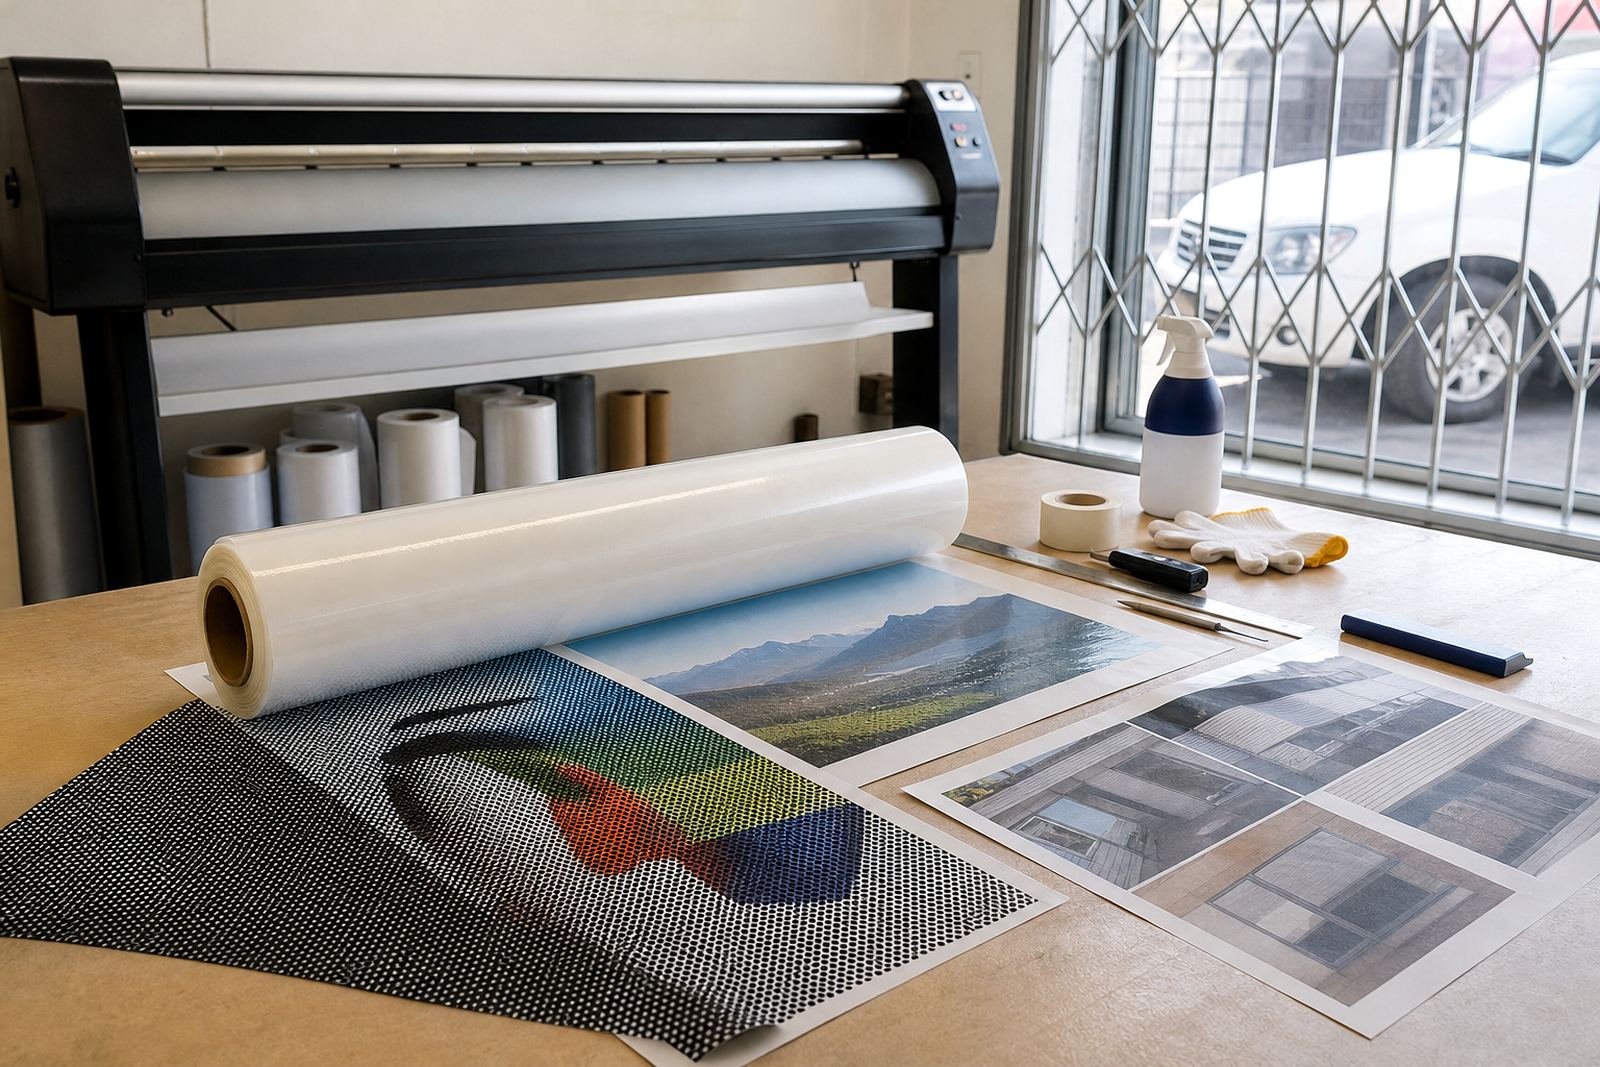
For perforated film, artwork needs to be prepared at the correct size and resolution for wide format printing. Solid blocks of colour, fine text and small icons should be checked carefully because the holes in the film can affect legibility from a distance. It helps to include a colour proof before production so the client can see how the print will read on glass, not only on a screen.
- Supply logos in usable artwork format where possible
- Confirm all phone numbers, web addresses and service lists before print
- Keep small text large enough to read at traffic distance
- Approve a colour proof for each vehicle class, not just one file
Printing, Lamination and Why the Finish Matters
Once the artwork is approved, the film is printed in wide format and then laminated where needed to protect the ink layer from abrasion, cleaning and UV exposure. Lamination can be a useful extra for vehicles that spend long hours in the sun, especially along coastal routes where humidity and salt can shorten the life of poorly protected graphics. It also helps when the fleet is washed often or used on rough municipal roads.
The finish should suit the job. A gloss face can make the artwork stand out more on a bright day, while a matt or low glare finish may work better where reflections are a problem. The important thing is that the print stays readable and the edges remain stable after cutting. If panels are rushed, lifting at the corners or poor alignment can show up quickly.
- Use protection that suits the exposure of the vehicle
- Check edge adhesion after trimming and before dispatch
- Allow correct curing time before cleaning or heavy use
- Store printed rolls flat or upright as advised, not crushed
Fitment on Glass and Vehicle Windows
Application starts with proper surface preparation. Glass must be clean, dry and free of polish, silicone or old adhesive. On vehicles, rear windows and side glass may need old film removal first, then careful cleaning of residue before the new film goes on. If the glass is curved, the installer must work slowly so the print sits flat and the perforations line up without wrinkles.
On shopfronts, the same film can be fitted to glass panels where an outward-facing graphic is needed without blocking the view from inside. For vehicles, the install must follow the shape of the window and any heating elements. The rear glazing of a fleet vehicle is not the place for guesswork, and a rushed fit can cause bubbles, edge lift or sight-line problems.
- Remove old film and residue properly before new fitment
- Prepare the glass with clean water, approved slip and squeegee technique
- Trim carefully around seals, heating lines and handles
- Check for trapped moisture before the vehicle leaves site
Legal Visibility and Final Sign-Off Before Release
Any film fitted to vehicle windows must keep the driver view legal. Rules can change, and requirements may differ depending on the window position, the vehicle type and the intended use, so clients should check the current road traffic rules before approving a rear glazing treatment. If a design affects rearward vision too much, it should be adjusted before production rather than after fitment.
The final sign-off should confirm that the graphics are accurate, the driver can see safely, and every vehicle in the fleet matches the agreed standard. This is also the point to record the template version, the print date and any unit specific notes for future refits or replacements. A tidy record makes the next rollout quicker, especially when vehicles are replaced or refreshed one by one.
- Confirm legal visibility requirements for the vehicle class
- Approve the final placement and wording before installation
- Keep a file note for each fleet unit and its template
- Plan for future refits if the fleet grows or changes