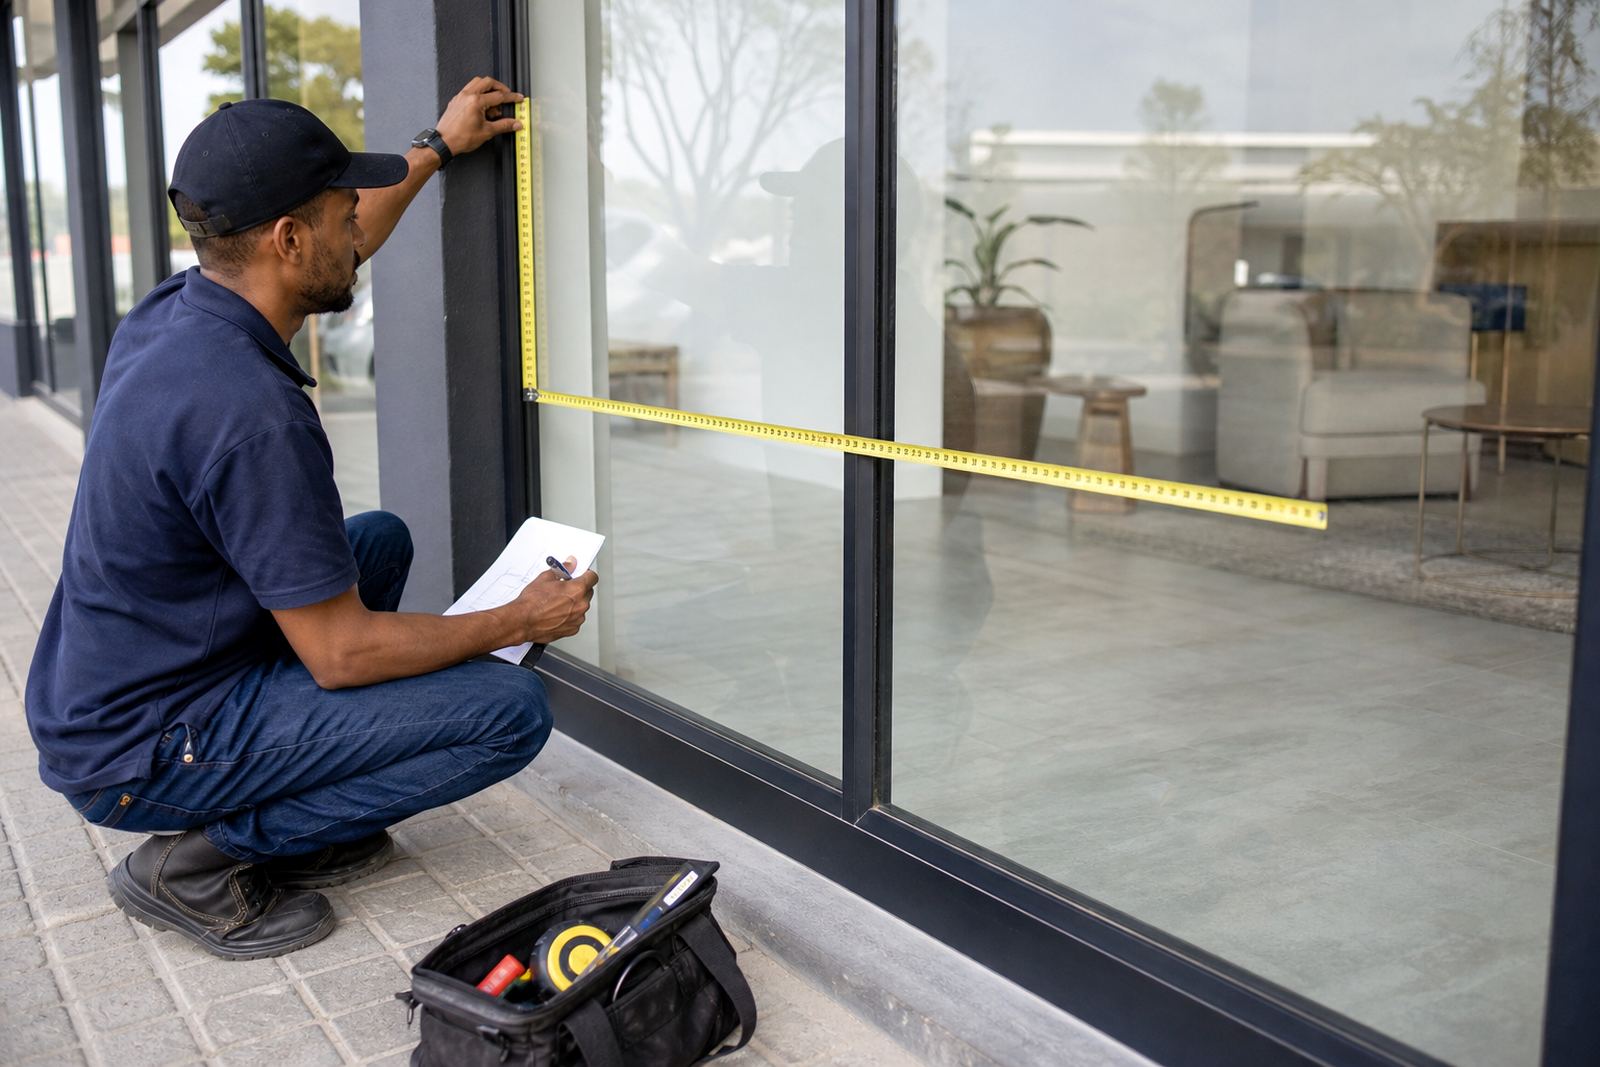
Why accurate measuring matters before ordering
Proper measuring from the start gives perforated one-way vision film its best chance of fitting each pane, panel and window correctly. Clean measurements help with panel matching, graphic placement and the amount of overlap needed for a neat finish, especially on glass with frames, seals or slight size differences. In busy areas like Montague Gardens, Bellville, Milnerton and Cape Town city centre, a careful measure also saves time when work needs to move quickly between printing and installation.
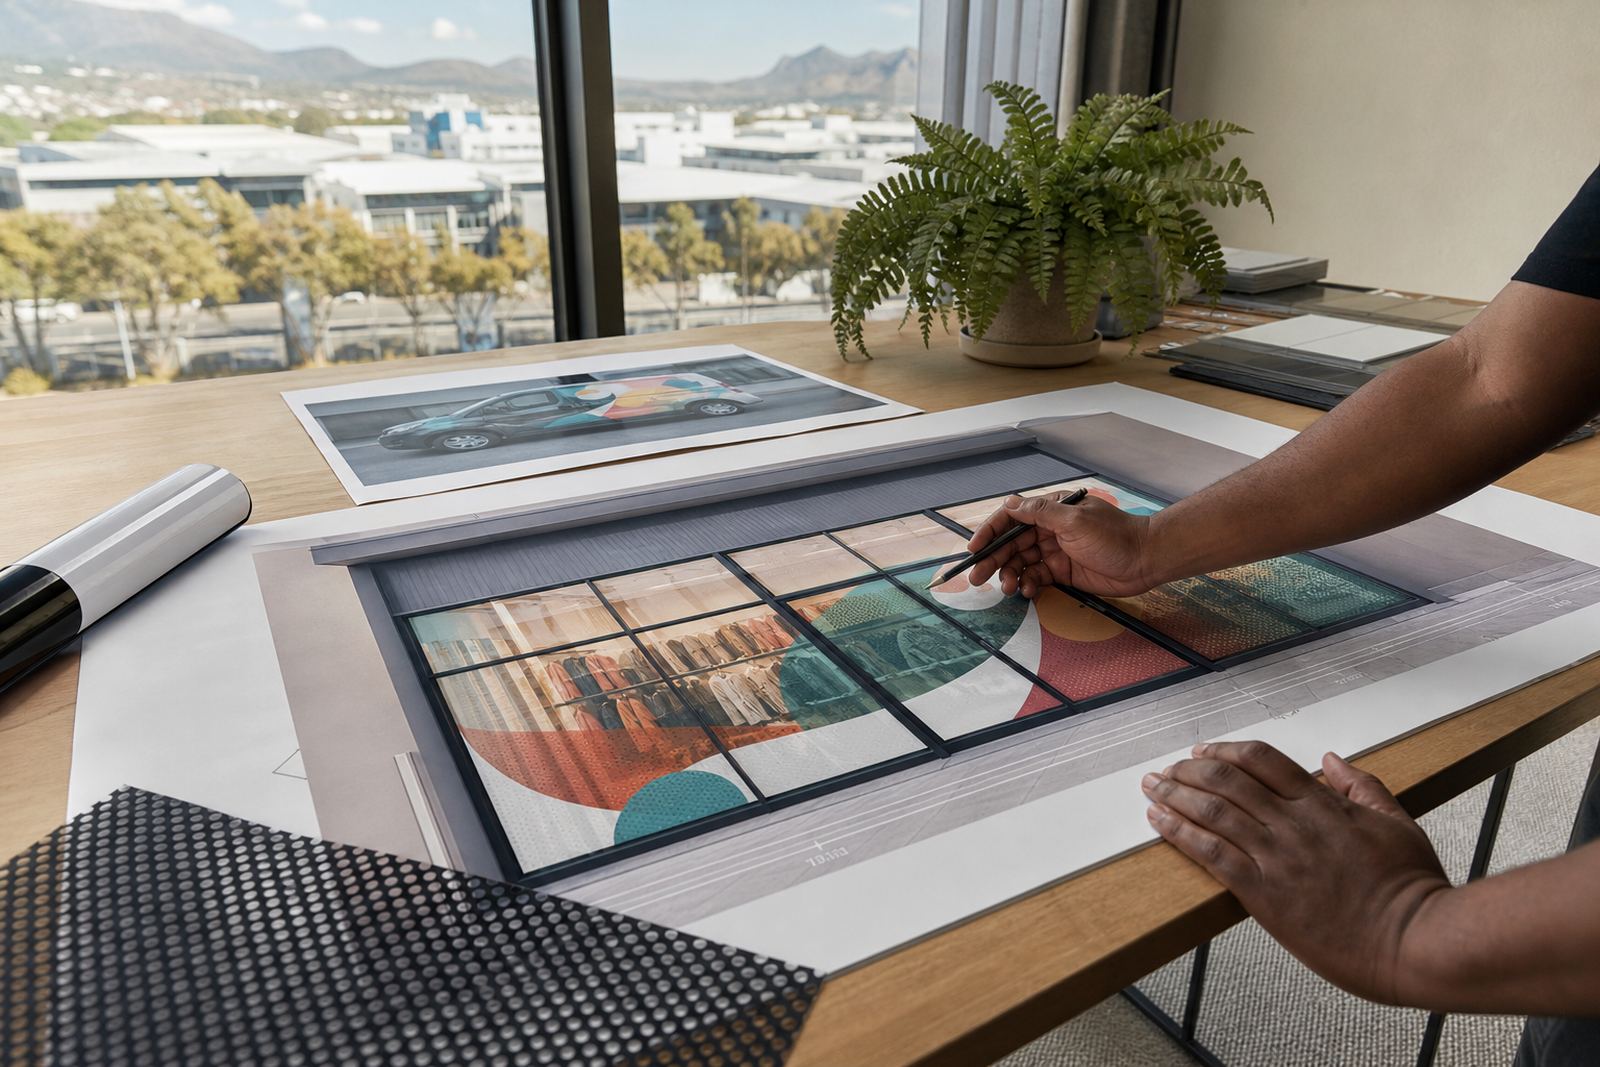
For shopfronts, the visible image usually spans several panes, so the width and height of each section matters. For vehicles, side windows and rear windows can vary a lot between models and body shapes. That is why site measuring and vehicle templating are part of a good setup process before printing, lamination and fitment.
How to measure shopfront glass step by step
Start by identifying every pane that will receive film. Measure the visible glass only, not the full frame unless the film is meant to run behind a bead or into a recess. Use a steel tape measure and note all readings in millimetres. Take each width at the top, middle and bottom, then each height on the left, centre and right. If the glass is not square, use the smallest reading and flag the difference for the production team.
On commercial windows, seals and silicone lines can change the final cut size. Leave enough room for a tidy edge and for any required gap from handles, locks or opening sections. If the pane has a vent or hinge line, record it clearly so the printed artwork does not hide it by mistake.
- Measure each pane separately, even if they look the same.
- Record width and height in millimetres.
- Check for out of square glass by comparing corner to corner.
- Note frames, seals, handles and opening sections.
- Photograph the full frontage for reference.
Vehicle window measuring for legal and practical fit
Vehicle graphics on perforated film need a different approach from shopfront glass. Measure the glass area that can safely carry print, then check how the curve, heating lines, demister pattern and window mechanism affect the usable space. Rear windows and side windows on vans, bakkies and fleet vehicles in Johannesburg, Durban, Pretoria and Gqeberha often have different shapes, so one set of numbers does not suit every model.
It is important that vehicle window film keeps the driver view legal. Check the current road traffic rules before choosing coverage for front side windows, rear windows and the rear screen. In practice, the film must allow safe visibility from inside and must not interfere with mirrors, indicators or reversing view where this applies. If the vehicle has tinted glass already, that should be noted because it changes how the print will look from the outside and the inside.
- Measure the full glass shape and the safe printable area.
- Note curves, heating lines and any obstruction.
- Check whether the window opens fully or partly.
- Confirm which windows will carry print and which must remain clear.
- Keep legal visibility in mind for the driver view.
What details to send with your measurements
The best measurements are the ones supported by clear notes. Along with width and height, include where the film will be used, the type of surface and whether the job is a fresh fit, a replacement or a refit and refresh. If old film is still on the glass, say whether it is peeling, cracked or needs full removal before new film goes up.
For printed one way vision film, artwork placement depends on the viewing direction and the size of the graphics. A logo, opening hours or promotional message should be allowed for in the layout, not added at the last minute.These details help with colour balance and how the print reads from the street.
- Glass or vehicle details and full dimensions.
- Photos from inside and outside.
- Location of the installation site.
- Any existing film or vinyl to remove.
- Artwork notes, logo position and messaging size.
Allowance, overlap and panel matching
Printed perforated film is usually supplied in panels that need to align neatly across large glass areas. Allowing for a small overlap or trim margin can make a big difference on wide shopfronts and long vehicle windows. Too little allowance can leave exposed edges, while too much can affect the look from both sides.
On larger runs, especially where a frontage is split into several panes, the print should be planned so the image flows properly from one section to the next. This is where proper panel ordering helps. It also matters for lamination, because a laminated print handles cleaning and weather exposure better than an unprotected face when installed on glass or vehicle windows. In coastal areas, salt air and frequent wiping can be hard on edges, so clean finishing is worth the effort.
Simple site checklist before installation day
Before fitment, the glass should be clean, dry and free from dust, grease and old adhesive. If the surface is freshly painted nearby, allow proper curing time because solvent fumes and moisture can affect adhesion. The area should also be accessible, with enough room for ladders, tools and safe working space. For vehicle installations, the bodywork and windows must be washed and dried properly so the film bonds well.
A short checklist helps avoid delays on the day, especially when teams are working across Cape Town, Durban, Pretoria or Gqeberha. If the job is at a retail centre or office park, check access times and any site rules in advance. For roadside or fleet work, make sure the vehicle is parked in a safe place and can stay still while the film is applied and trimmed.
- Clean the surface thoroughly.
- Remove loose old film, dust and stickers.
- Confirm access and site timing.
- Keep the glass dry and free of residue.
- Have measurements and photos ready for review.
When to ask for a site measure or vehicle templating
If the window shape is unusual, the frontage is large, or the vehicle model is not a standard panel van, a site measure or vehicle templating is the safest route. It helps with artwork setup, colour proofing and print sizing before the film is cut. That is especially useful for full shopfront graphics, curved rear screens and mixed fleets where every unit is slightly different.
OneWayVision works from Montague Gardens, Cape Town and supplies nationwide, so measurements from the field can be used to keep production accurate for stores and vehicles across South Africa. Whether the job is in Johannesburg, Durban, Pretoria, Gqeberha or along the Western Cape coast, a clear set of measurements gives the best chance of a tidy result that prints well and fits first time.
If you are unsure about any dimension, rather measure twice and send the note through with your enquiry. It is easier to adjust a panel on paper than on glass after production has started.