Start with the job the film has to do
Where a printed outside surface and usable visibility from inside are both needed, perforated one-way vision film is a common choice. The hole pattern, print coverage and lamination all affect how the film looks in daylight and how clear the view remains from within. For a shopfront in Montague Gardens or a fleet vehicle moving between Cape Town and Johannesburg, the right ratio depends on the window size, viewing distance and how much privacy you need.
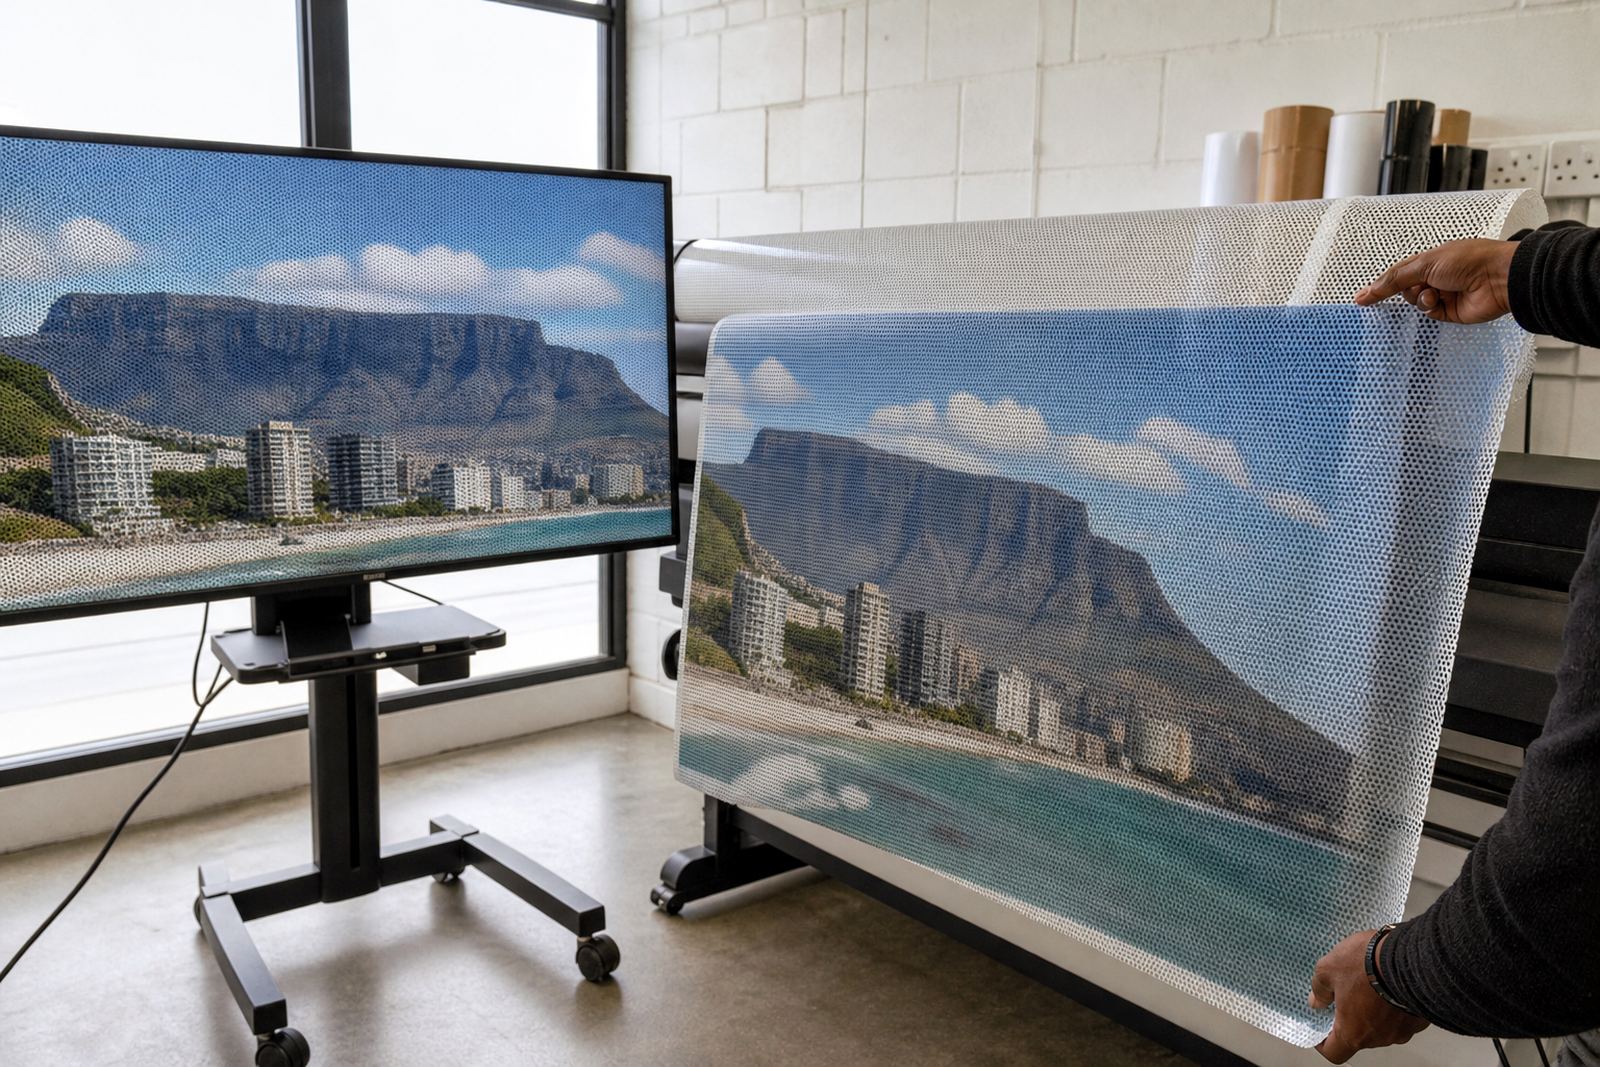
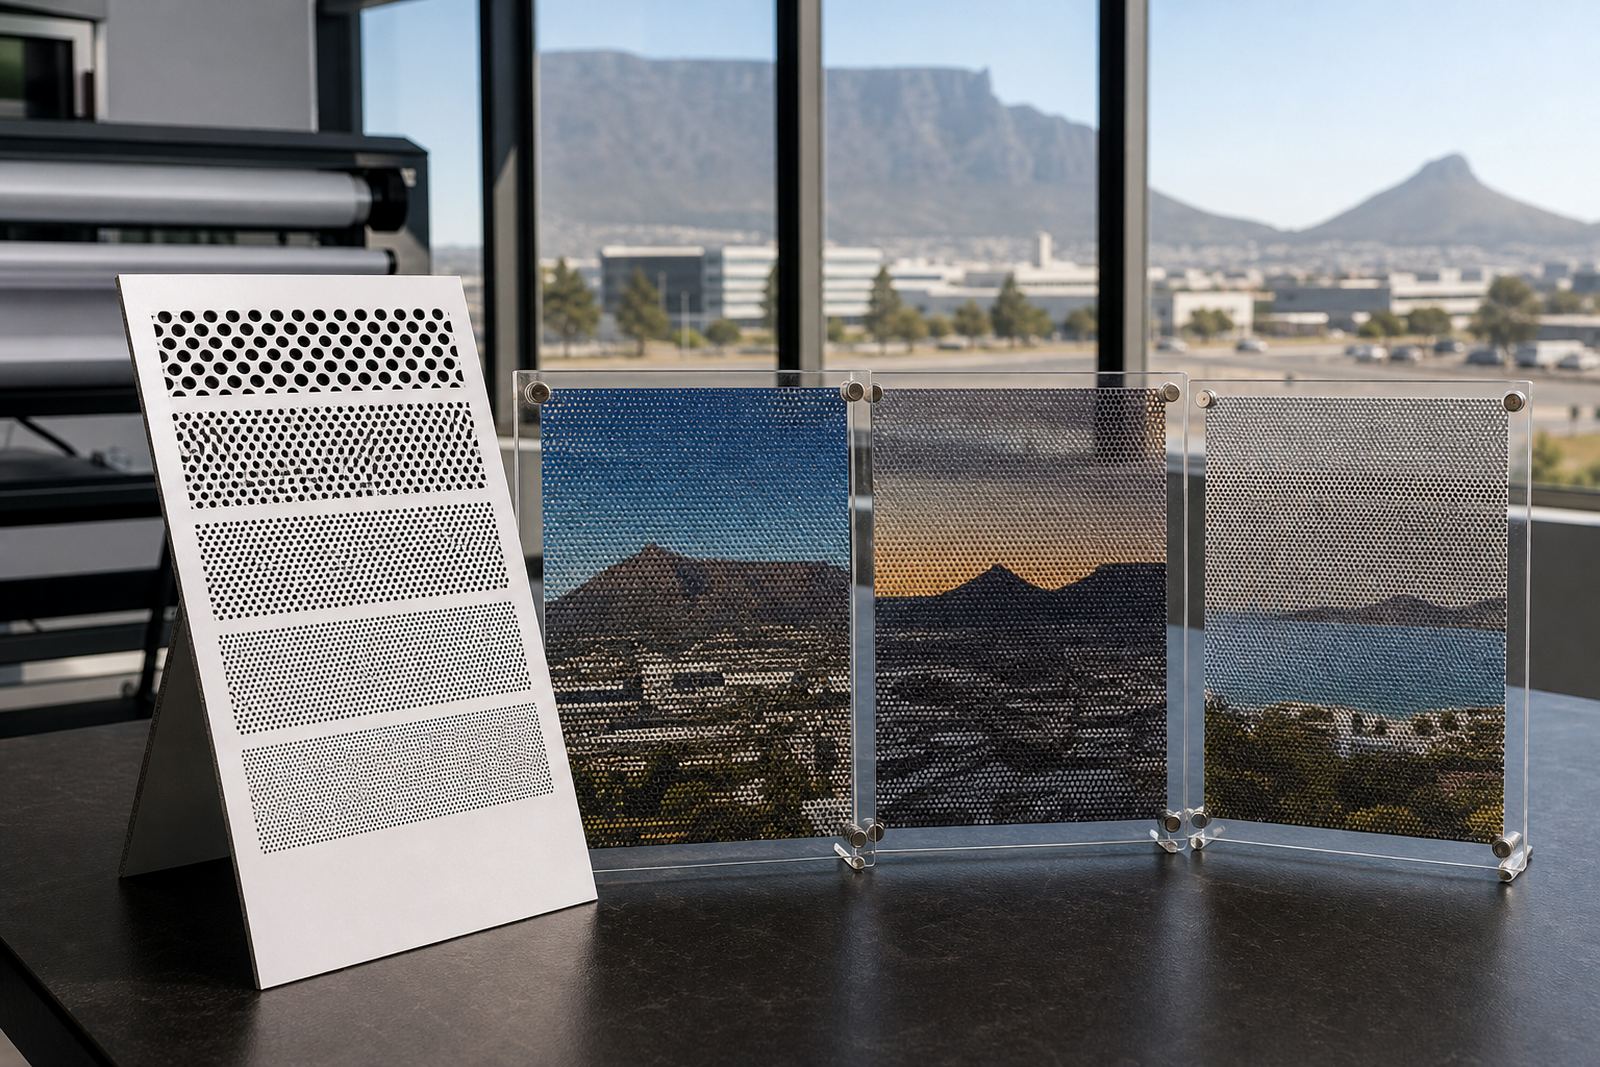
A finer perforation gives a fuller image and stronger colour density on the printed side. A wider perforation gives more open area, which helps with outward visibility and can be useful on vehicle rear and side windows, especially where reversing or lane changes matter. The best choice is usually the one that suits the real use of the glass, not just the artwork.
How perforation ratio changes the result
Ratio refers to the balance between printed area and open area in the film. A common way to think about it is this: a higher open area improves visibility from inside, while a lower open area gives a more solid-looking print from outside. The choice affects colour strength, detail, privacy and glare control. It also changes how the artwork reads at different distances.
- Smaller perforations suit detailed logos, text and larger shopfront panels.
- More open perforation suits vehicle windows where visibility matters most.
- Dark or busy artwork may need a different ratio to keep the image legible.
- Bright sunlight in Durban or Gqeberha can make stronger print contrast useful on glass that gets a lot of exposure.
If you are comparing options, ask for a view of the artwork at scale and from a few metres away. That helps you judge whether the graphic will still carry your message from the road, pavement or forecourt.
Choose a ratio for shopfronts, forecourts and glass panels
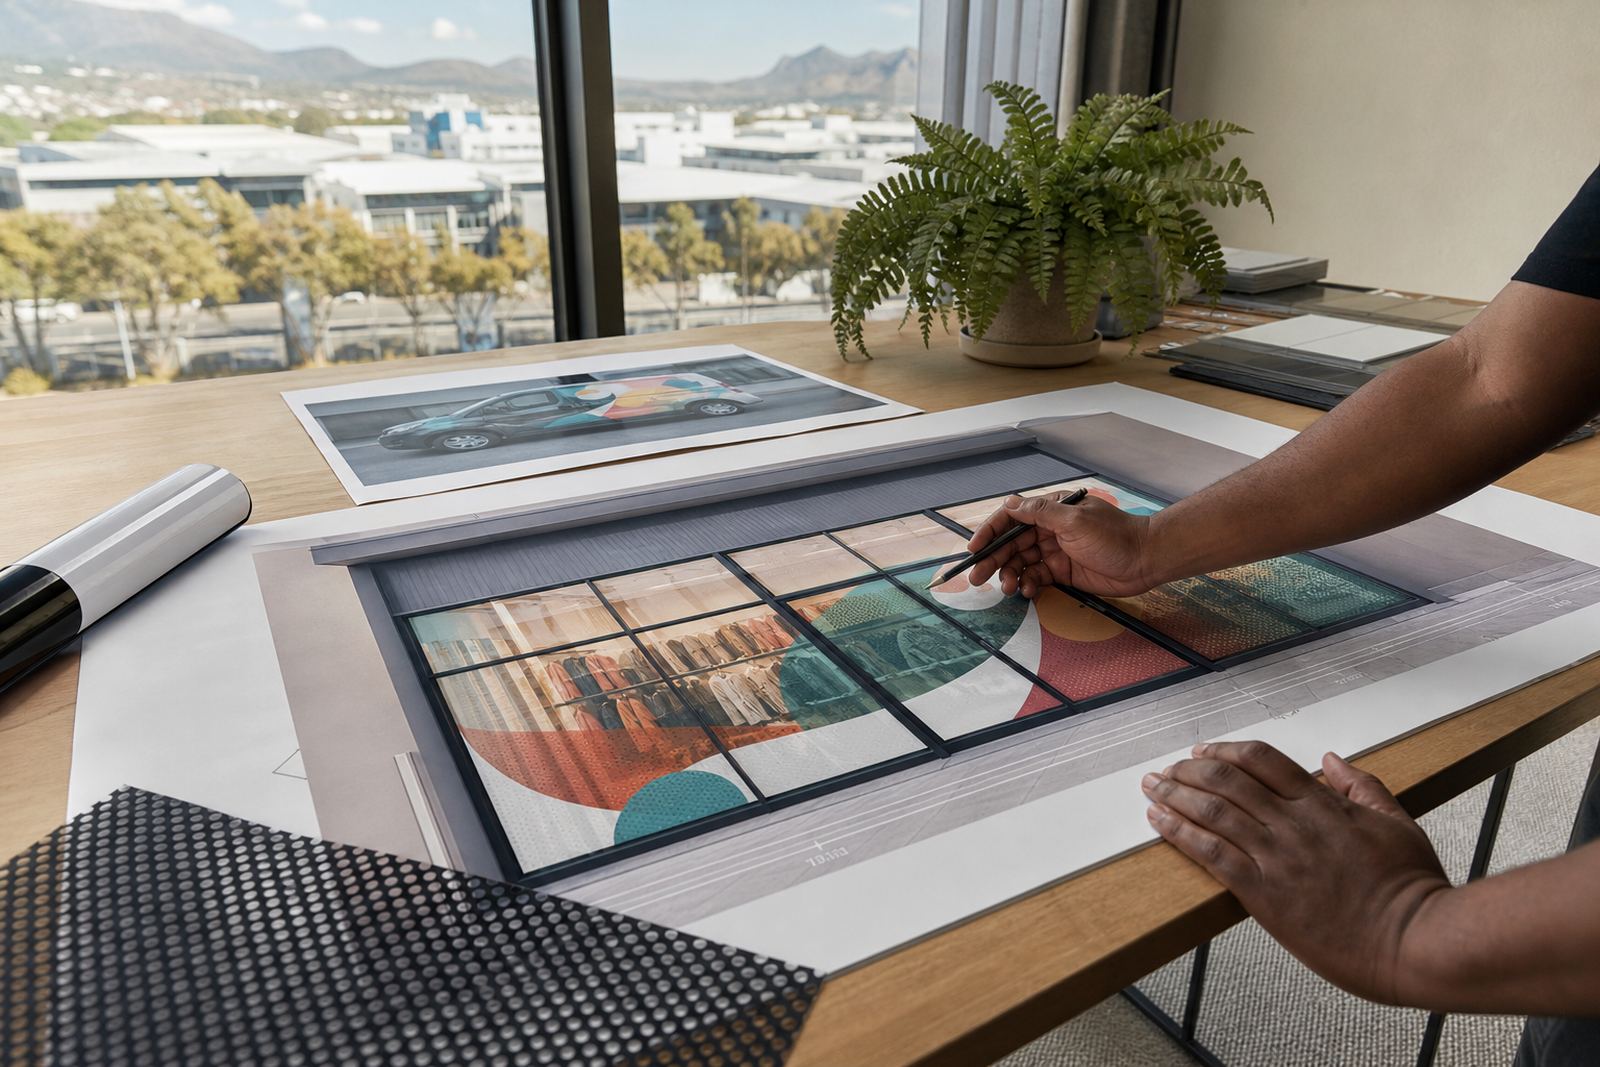
Shopfront glass usually allows for a stronger print effect because the viewer stands outside at a short to medium distance. In retail streets, service counters and trade yards, you can often choose a ratio that leans more towards visual impact than open visibility, provided staff still need a clear inward view. For glass behind tills or reception areas, privacy can matter just as much as branding.
- Use a tighter ratio where the goal is to mask clutter or create more privacy.
- Use a more open ratio where staff must keep a clear watch on the entrance and pavement.
- Check the glass size and any existing tint before finalising the layout.
- For exposed coastal sites, plan for regular cleaning because salt and dust can build up on any printed glass.
On larger panes, the image can be broken into panels if needed for handling and installation. That is often part of the site measuring process, especially where municipal access, shop hours or security rules limit work times.
Match the ratio to the vehicle and the driving task
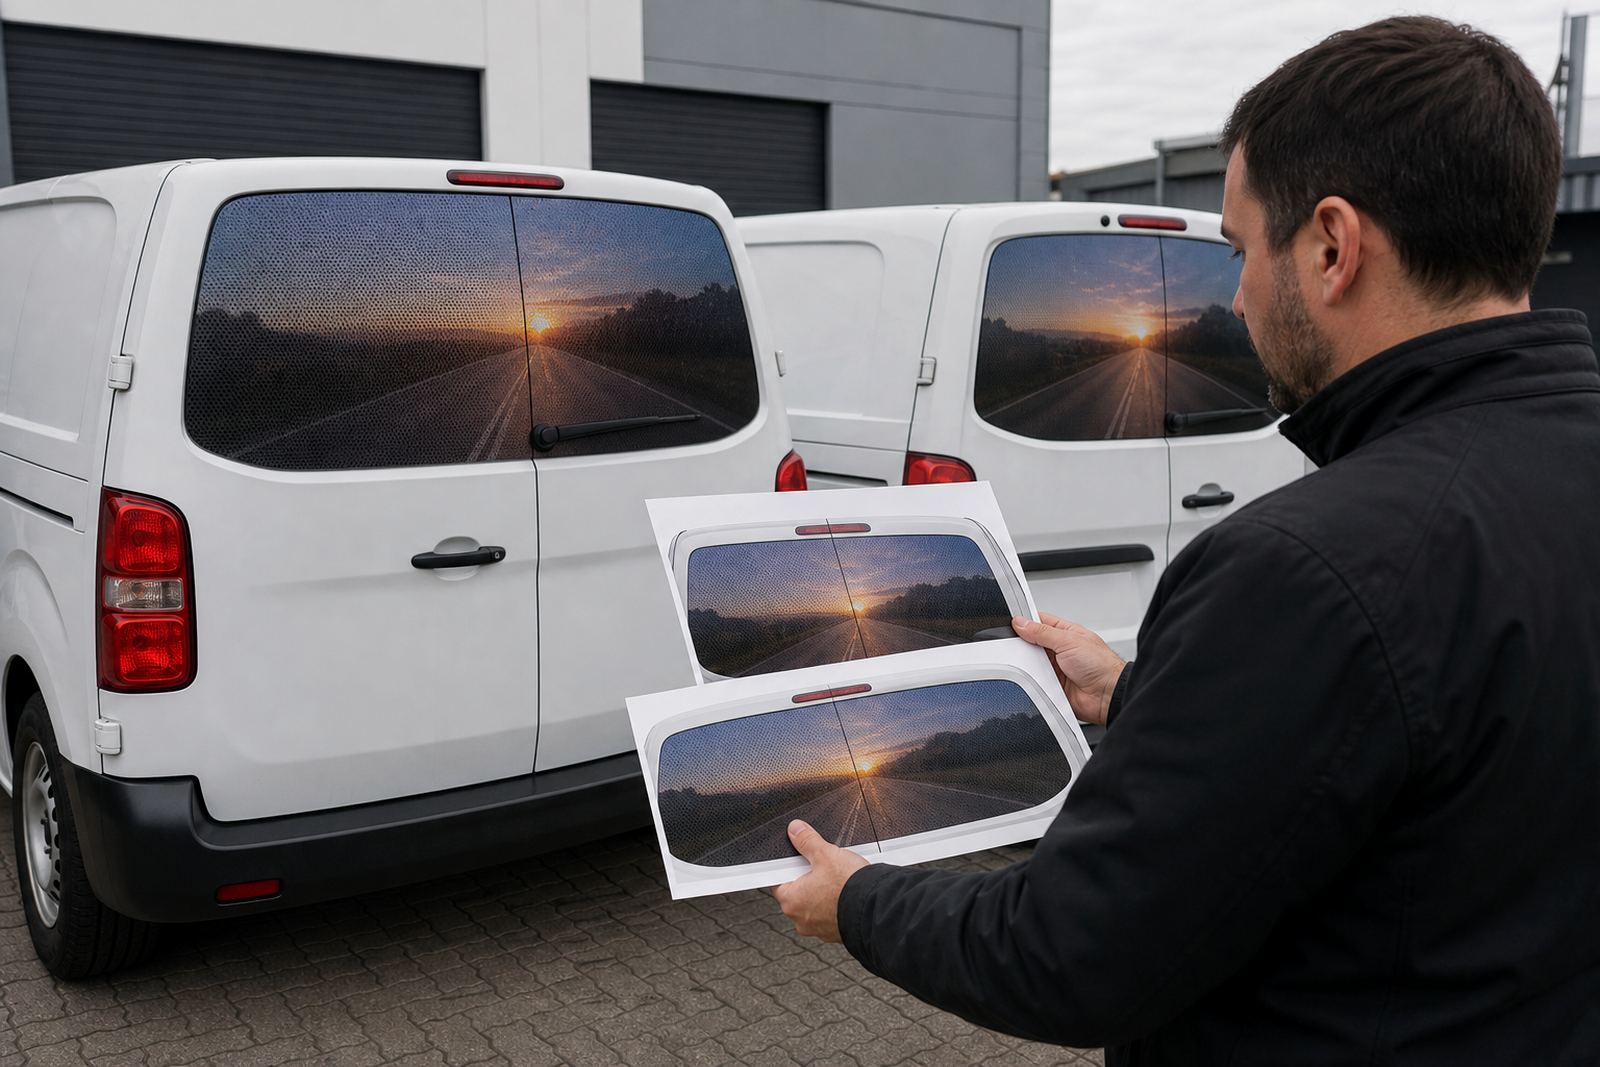
Vehicle window film needs a careful balance. Rear windows, rear quarter glass and cargo-area windows may take more coverage than a driver side window, but the driver view must remain legal. Before fitting any perforated film to a vehicle, check the current road traffic rules and make sure the chosen layout does not interfere with safe visibility. This is especially important for taxis, service vans and delivery vehicles that spend long hours in traffic and parking bays.
On vehicles, the ratio should also suit the shape of the glass. Curved windows, heating lines and wiper sweep areas can affect print placement and the final view from inside. A good vehicle template helps avoid blocking important sightlines and reduces the risk of lift, edge peel or awkward joins.
- Keep the driver’s line of sight clear and legal.
- Avoid placing critical text over high-use viewing areas.
- Allow for defogging, heating elements and opening windows.
- Ask for old film removal and surface preparation if the glass already carries a tired wrap or adhesive residue.
Use print setup and lamination to control the final look
Once the ratio is chosen, the artwork setup matters just as much. Fine text, logos and line work need to be adjusted for the hole pattern so the image does not disappear into the perforations. Colour proofing is useful before wide format printing because some shades read better on perforated film than others. Solid blocks, clean contrast and simple layouts usually work best.
Lamination can help protect the printed face from weather, handling and cleaning, especially on vehicles that wash often or stand in the sun. It also supports the film during installation. For glass in windy spots, such as exposed corners in Bellville or Milnerton, good preparation and lamination help the film settle properly and stay looking neat.
- Use strong contrast for text and logos.
- Keep fine detail away from the edges where trimming may occur.
- Allow enough bleed for trimming and fitting.
- Confirm whether the job needs glass installation or vehicle installation before production starts.
A selection checklist before you place the order
Before you confirm a ratio, work through the practical details. A clear brief saves time and helps the final result suit the site or vehicle. If the film is going onto multiple branches, such as Cape Town, Johannesburg, Durban, Pretoria and Gqeberha, make sure the same artwork is approved for each location unless the window sizes differ. That keeps the look consistent across the fleet or storefronts.
- Where will the film be seen from and how far away is the viewer?
- How much outward visibility must be kept from inside?
- Is the main goal branding, privacy or both?
- Will the film be fitted to glass, a vehicle window, or both?
- Does the surface need site measuring, surface preparation or old film removal?
- Will the project need nationwide dispatch or on-site fitting in the local area?
At OneWayVision, the team handles everything from vehicle templating and artwork setup to film lamination, glass installation and vehicle installation. If you are unsure which ratio will suit your job, start with the window size, the viewing distance and the legal visibility requirement, then build from there.