
Where Rear Window Graphics Work Best
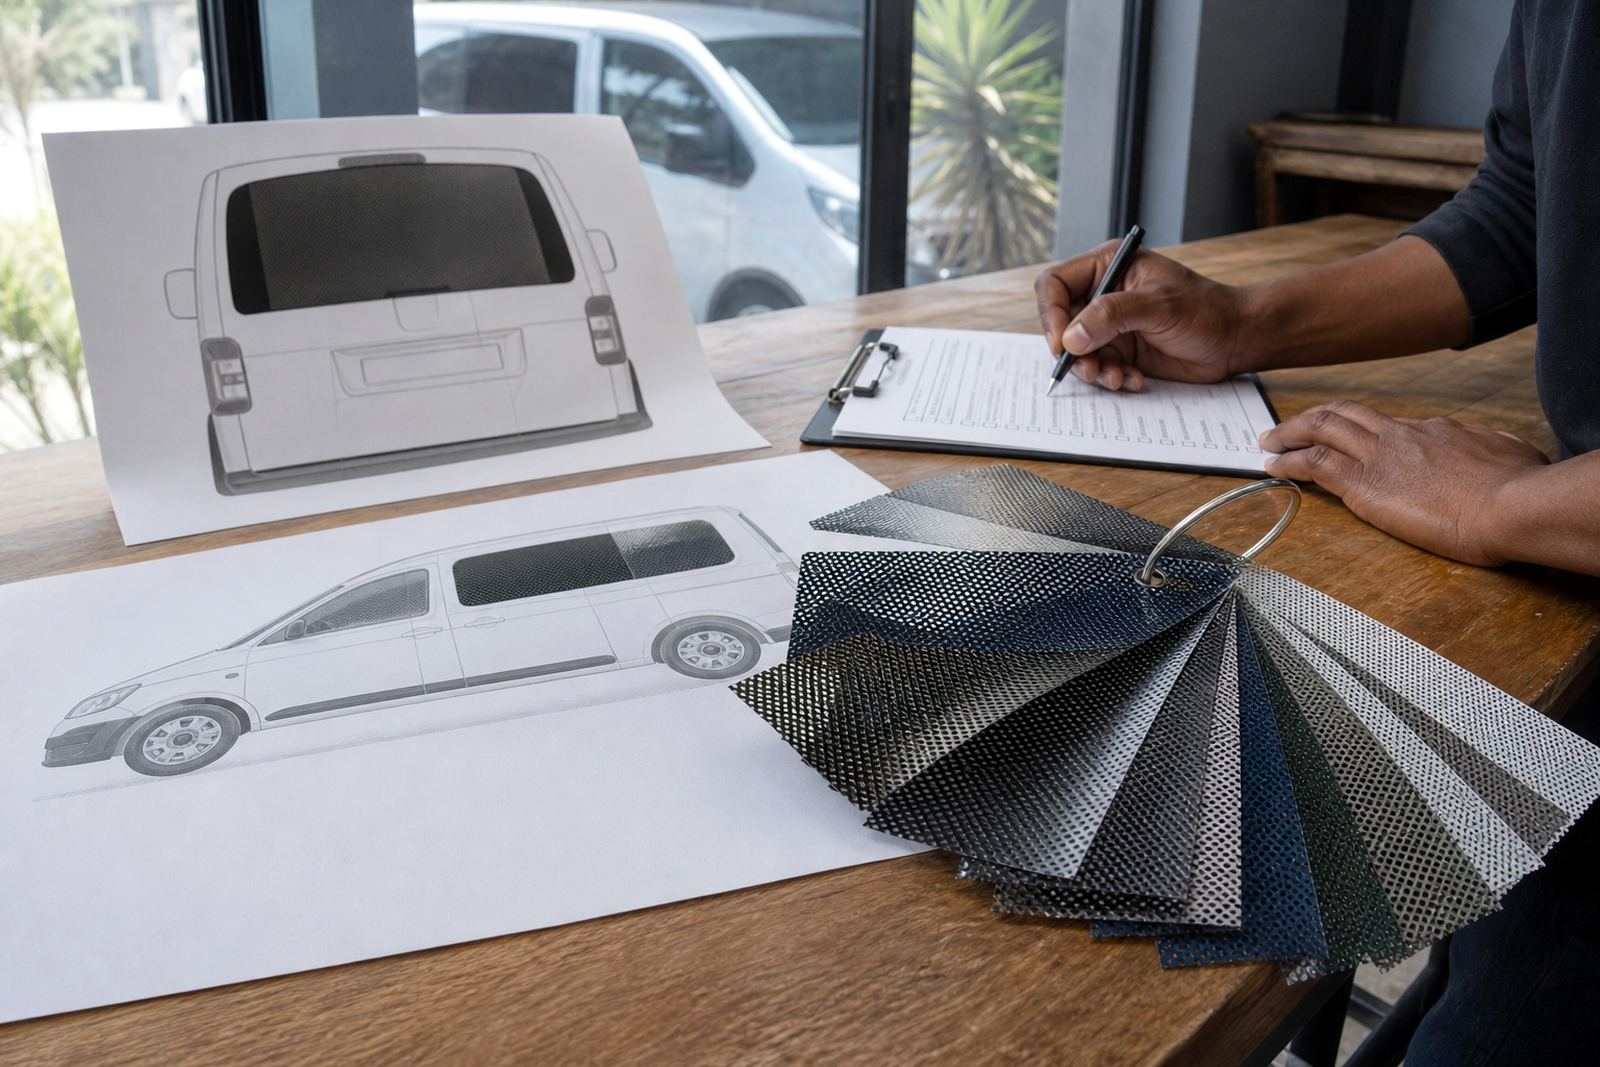
Rear side windows, panel van back windows, and fixed glass on bakkies or service vehicles are common places for this perforated one-way vision film. It is used where you want outside graphics to carry your message while the person inside still has some view out through the perforations. On a moving vehicle the rear glazing is often the safest place to carry this type of graphic because it is less likely to affect the driver’s forward view.
The exact fit depends on the vehicle body shape, the size of the glass, and whether the windows open or are fixed. A clean layout should allow for door handles, rubber seals, heated rear screens and any sensors already on the glass. In Cape Town, Johannesburg, Durban, Pretoria and Gqeberha, many clients use this on delivery vehicles, service vans and shuttle units where the rear area gets seen in traffic, parking bays and at loading zones.
- Rear side windows on vans and crew vehicles
- Back windows on panel vans and service vehicles
- Fixed rear glass on light commercial vehicles
- Non-opening glass areas where full print coverage is needed
How Perforated Film Lets Light and Print Work Together
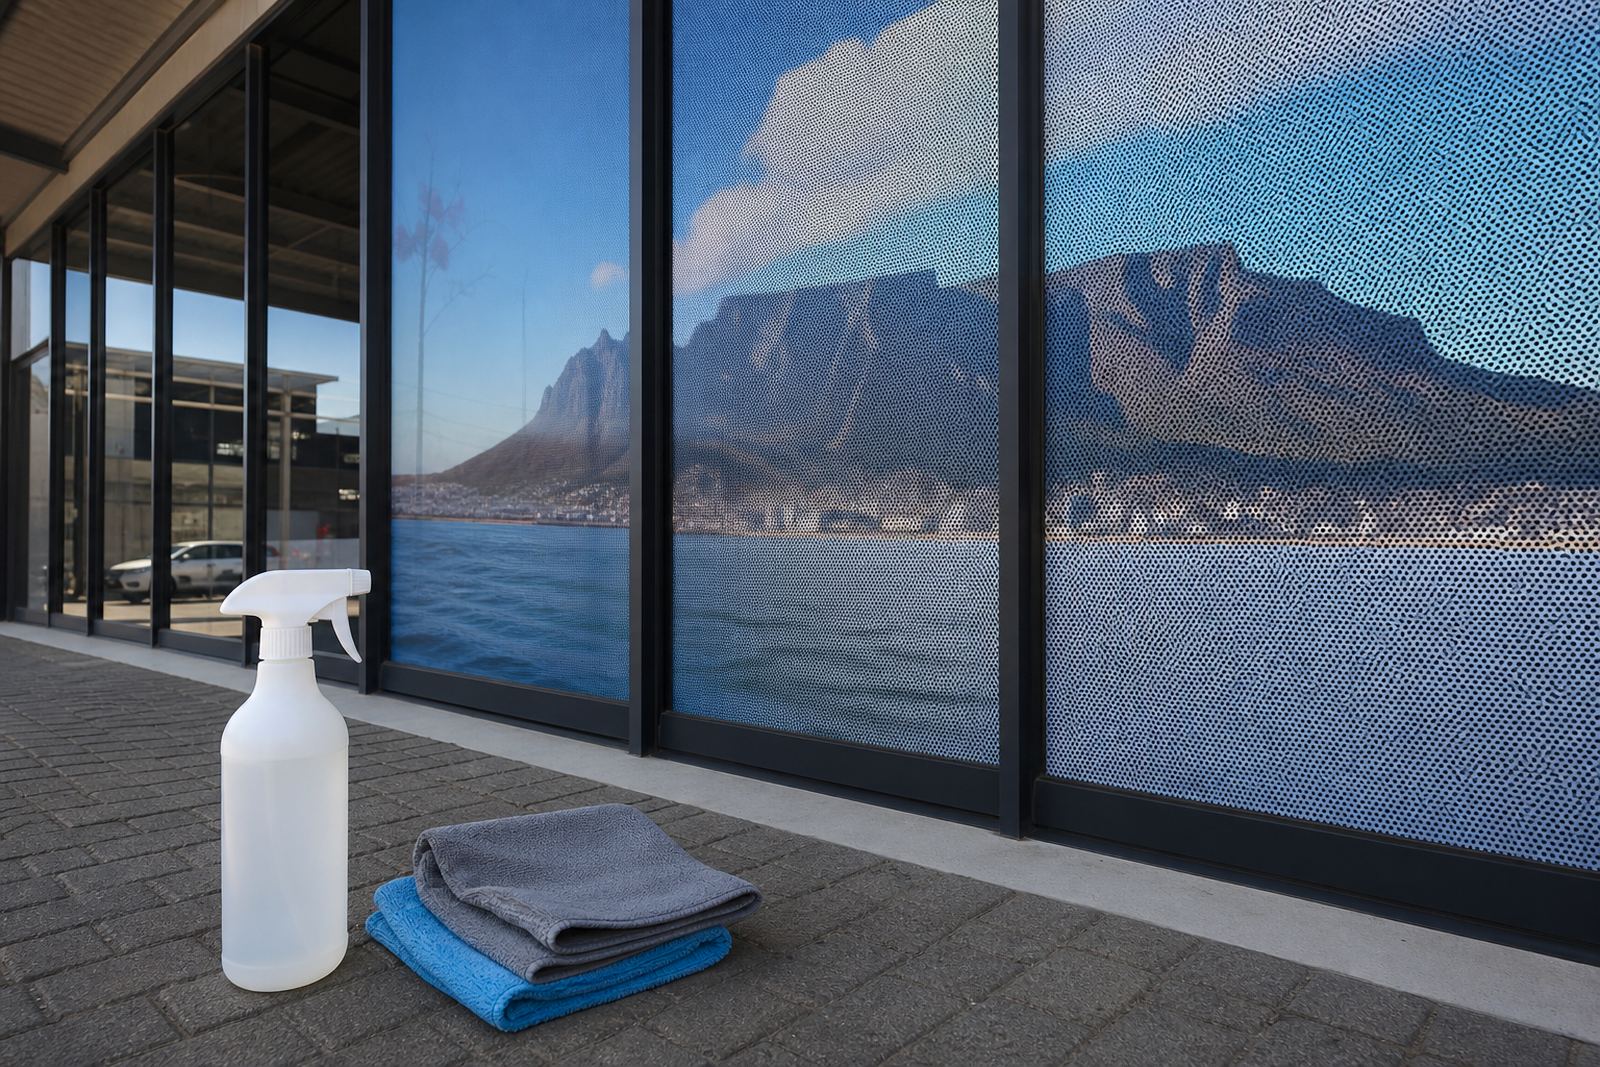
Tiny holes are distributed across the printed face of perforated one-way vision film. The printed side carries the graphic, while the perforation pattern allows a degree of visibility from the inside. Common patterns are described by the open area ratio, often around 30/70, 40/60 or 50/50. In simple terms, a higher open area can let in more light and improve outward visibility, while a lower open area can give a denser printed look outside.
The right choice depends on the glass size, the amount of daylight the cabin gets, and how much outside visibility the driver or passengers need. Heavily tinted windows, night driving and wet weather can all reduce visibility from inside, so a pattern that looks fine in a showroom may feel different on the road. A careful supplier will check the vehicle use first and then suggest a format that suits the job, not just the print.
- 30/70 patterns give stronger print density and less transparency
- 40/60 patterns often balance image clarity and inside visibility
- 50/50 patterns may suit areas that need better light through the film
- Cabin tint, rear wipers and heating elements should be considered before print approval
Artwork, Printing and Lamination Checks Before Fitment
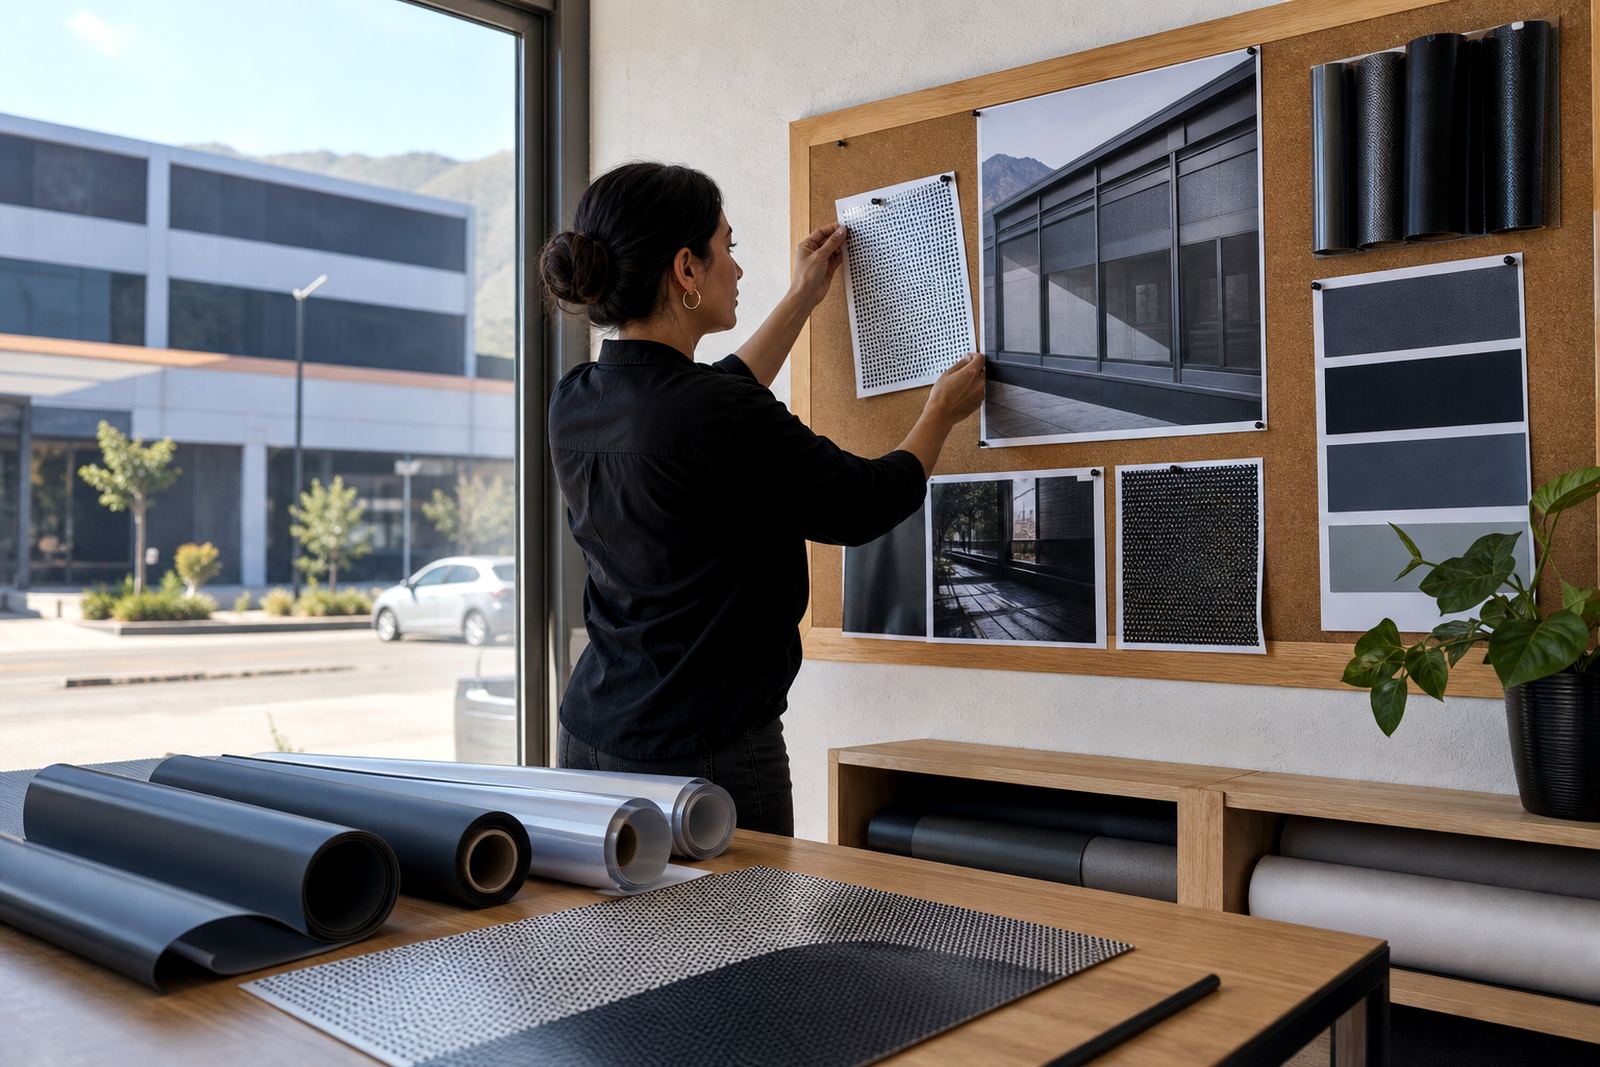
Good vehicle graphics start with clean artwork and a proper print setup. The design should be scaled to the actual window size, with text kept large enough to read from a normal traffic distance. Fine type, thin borders and small logos can disappear once the perforation pattern is printed, especially on smaller rear windows or on vehicles with curved glass. Colour proofing is useful before production, because glass, tint and outside light can all alter how colours read from the road.
Printed film is usually laminated for added surface protection during handling and outdoor use. Lamination helps guard against scuffing, cleaning wear and UV fade, and it gives the installer a better working surface. On vehicles that face strong coastal humidity, dust, or regular washing, the print and laminate combination needs to be handled carefully during both preparation and curing. If the film is being used on a rear screen with heating lines, the installer should inspect the glass first and make sure the surface is clean and dry before anything goes down.
- Check artwork scale against the actual glass measurements
- Keep important text away from the edge seals and heating lines
- Use a laminate suited to outdoor exposure and regular cleaning
- Confirm colour proofing before the job is printed
Legal Visibility and Driver Safety on South African Roads
Vehicle window film must never compromise the driver’s view or create a hazard. For rear glazing, the main concern is whether the film still allows safe visibility where it is needed, and whether the vehicle remains compliant with current road traffic rules. Requirements can change, and the position of the film, the opacity of the print, and the type of vehicle all matter. If a vehicle is used for business, the driver should still be able to reverse, merge and check surroundings safely.
Before fitting any rear window graphic, check the current legal position for the vehicle class and the planned fitting area. This is especially important where the graphic will cover large rear windows or where the driver relies on mirrors and rear visibility more than usual. For passenger vehicles and commercial fleets alike, it is better to confirm the legal position first than to remove film later. A practical fitting plan will respect the law and still leave enough room for the branding to do its job.
- Check current South African road traffic rules before installation
- Confirm whether the film will affect reversing or rear visibility
- Do not cover safety markings, lights or required glass areas
- Keep a record of the fitting position for fleet management
Fitting Steps for a Clean and Durable Install
A proper install starts with surface preparation. The glass must be washed, decontaminated and dried, with old film removal done carefully where there is already graphics on the vehicle. Any residue, adhesive or dust can cause bubbles or lifting edges. On site work in Cape Town or surrounding areas often happens in busy yards and loading bays, so the installer should work with enough space, shade and time for the surface to stay clean.
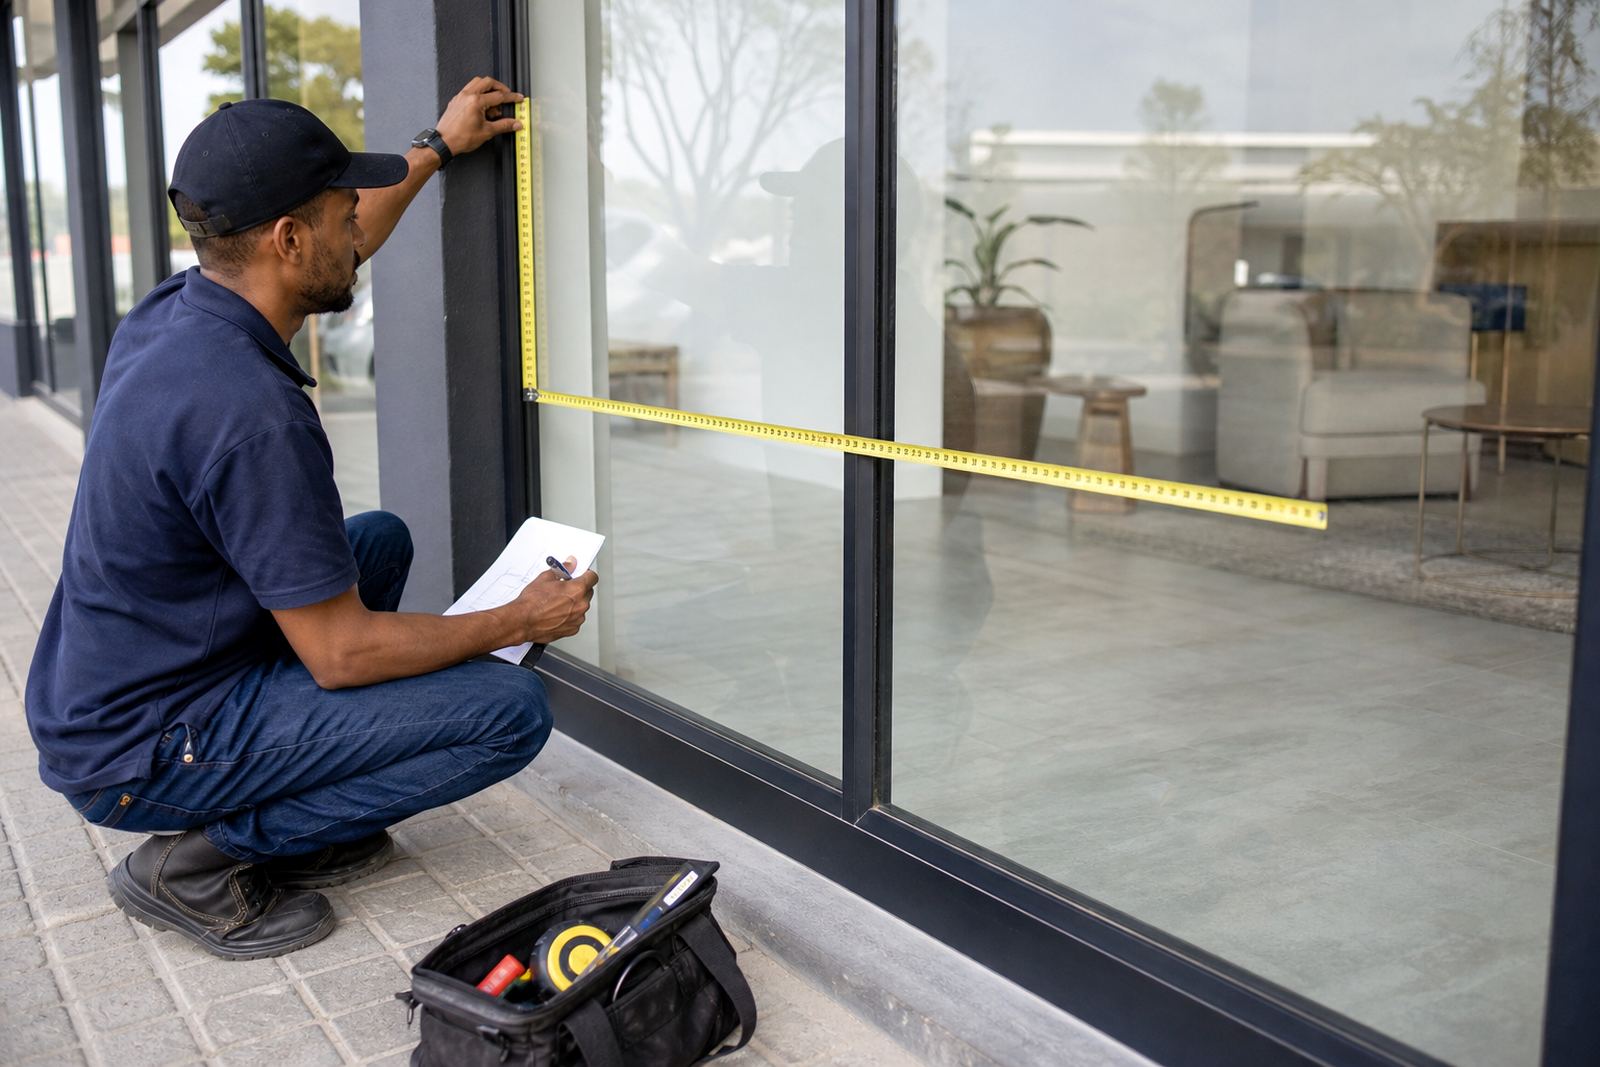
After prep, the film is measured against the pane, trimmed and positioned with care. Water application and squeegee work are used to set the film, and the installer then checks for trapped moisture, edge lift and alignment with the glass borders. On vehicles with curved rear windows, the fit can take a bit more patience because the film must settle without wrinkling. A good finish is even, secure and neat from both inside and out, not just on the street side.
- Remove dust, wax and old adhesive before fitting
- Measure each pane separately, dont assume all windows match
- Allow curing time before heavy washing or repeated opening of windows
- Inspect edges, corners and printed alignment after installation
When to Refit, Refresh or Replace Vehicle Window Film
Vehicle graphics do not stay in top condition forever. If the print has started to fade, the laminate is lifting, or the glass has been damaged in a minor knock, it may be time for a refresh. Some fleets replace only the rear graphics when branding changes, while others remove old film and reapply a new layout after a vehicle is reassigned. In hot inland areas and salt air near the coast, wear can show at different speeds, so a regular inspection helps keep the vehicles tidy.
Refit and refresh work is often straightforward when the base glass is still sound. The old film is removed, the surface is cleaned, and a new design is fitted to the same area or adjusted for a changed layout. For business owners running vehicles between Montague Gardens and branch points across the country, this keeps the fleet looking consistent without having to replace the whole vehicle. It also helps if you are updating contact details, changing the message or reworking the rear window coverage for a different route or use.
- Replace film when fading, lifting or cracking appears
- Refresh graphics after branding or route changes
- Inspect vehicles regularly after long coastal or high-sun use
- Use old film removal before applying a new layout