
Before the installer arrives: access, parking and surface prep
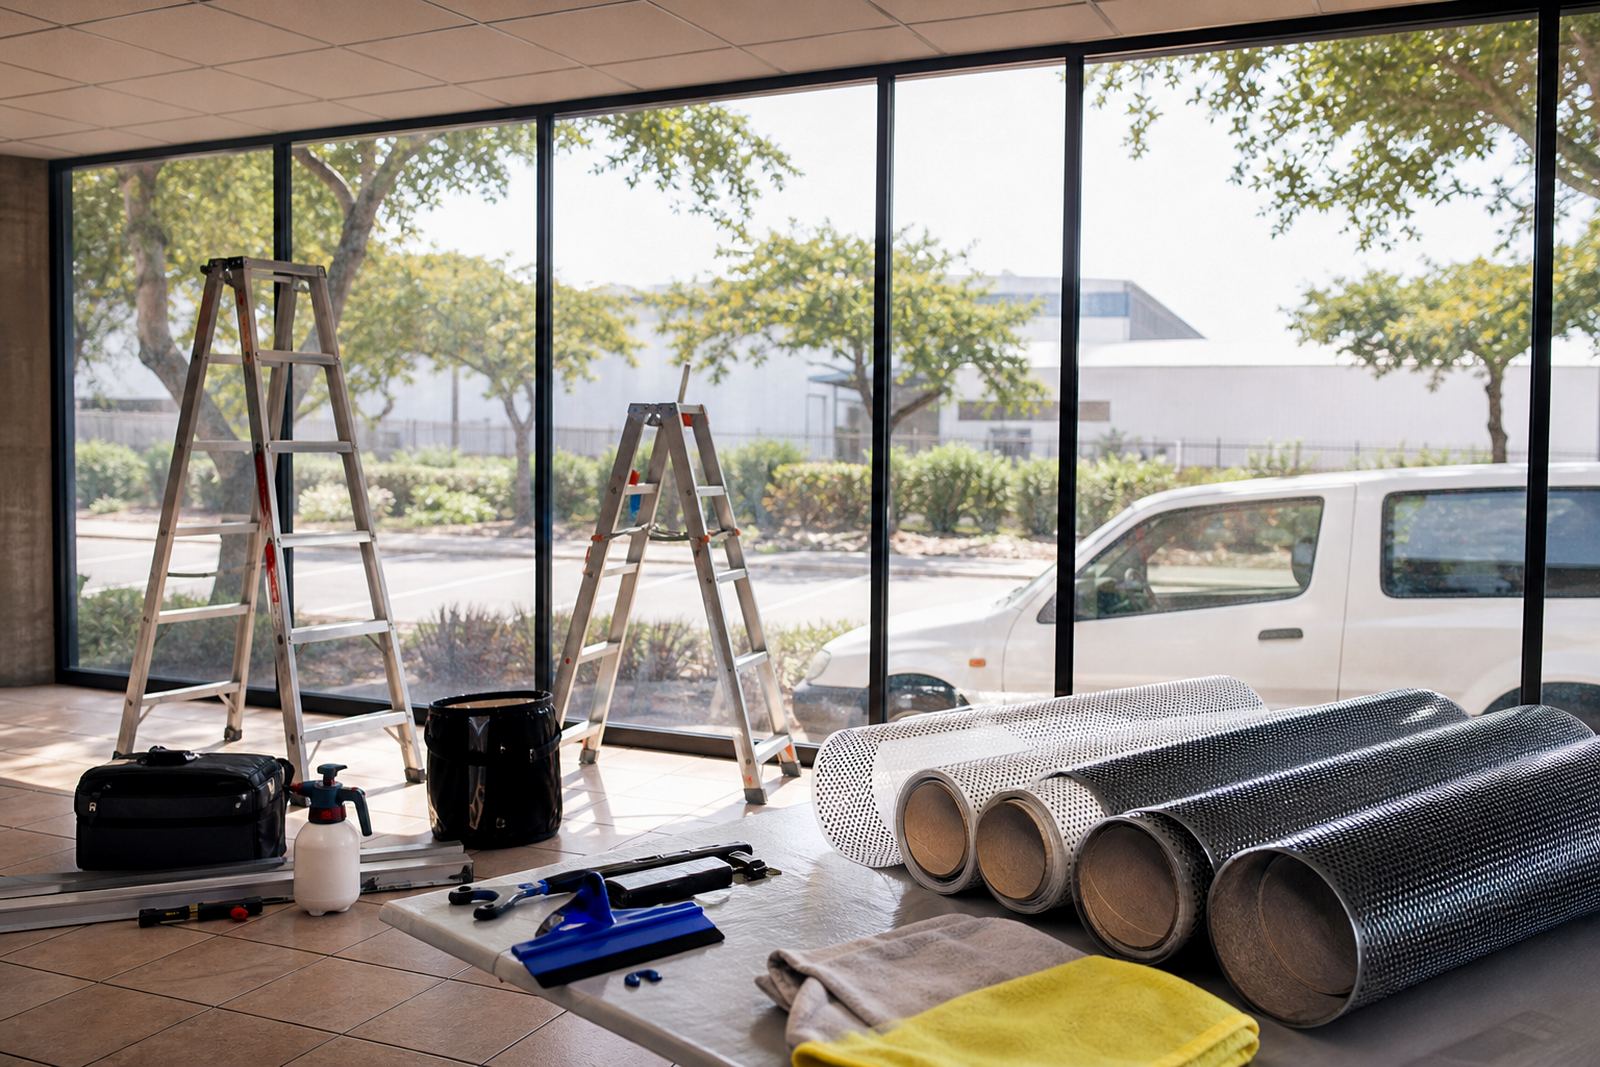
Good installation starts before the first panel of film comes out of the roll. Make sure the site is open, the relevant windows are accessible, and any gates, security gates or loading areas can be used without delay. In Montague Gardens, Bellville, Milnerton and other busy commercial areas, parking and access can be tight, so it helps to clear a space close to the entry point for tools, ladders and cleaning gear.
For shopfronts, the glass must be clean, dry and free from stickers, paint overspray, tape residue and silicone. For vehicles, the windows need to be washed properly inside and out, with no dust, polish or old adhesive left behind. If old film is being removed, allow extra time because adhesive can stay on the glass and needs proper surface prep before the new film is fitted.
- Open the correct doors, gates and roller shutters before the appointment time.
- Move stock, display items or parked vehicles away from the glass line.
- Let the team know if the site has access restrictions, security rules or after-hours procedures.
How perforated one-way vision film is fitted
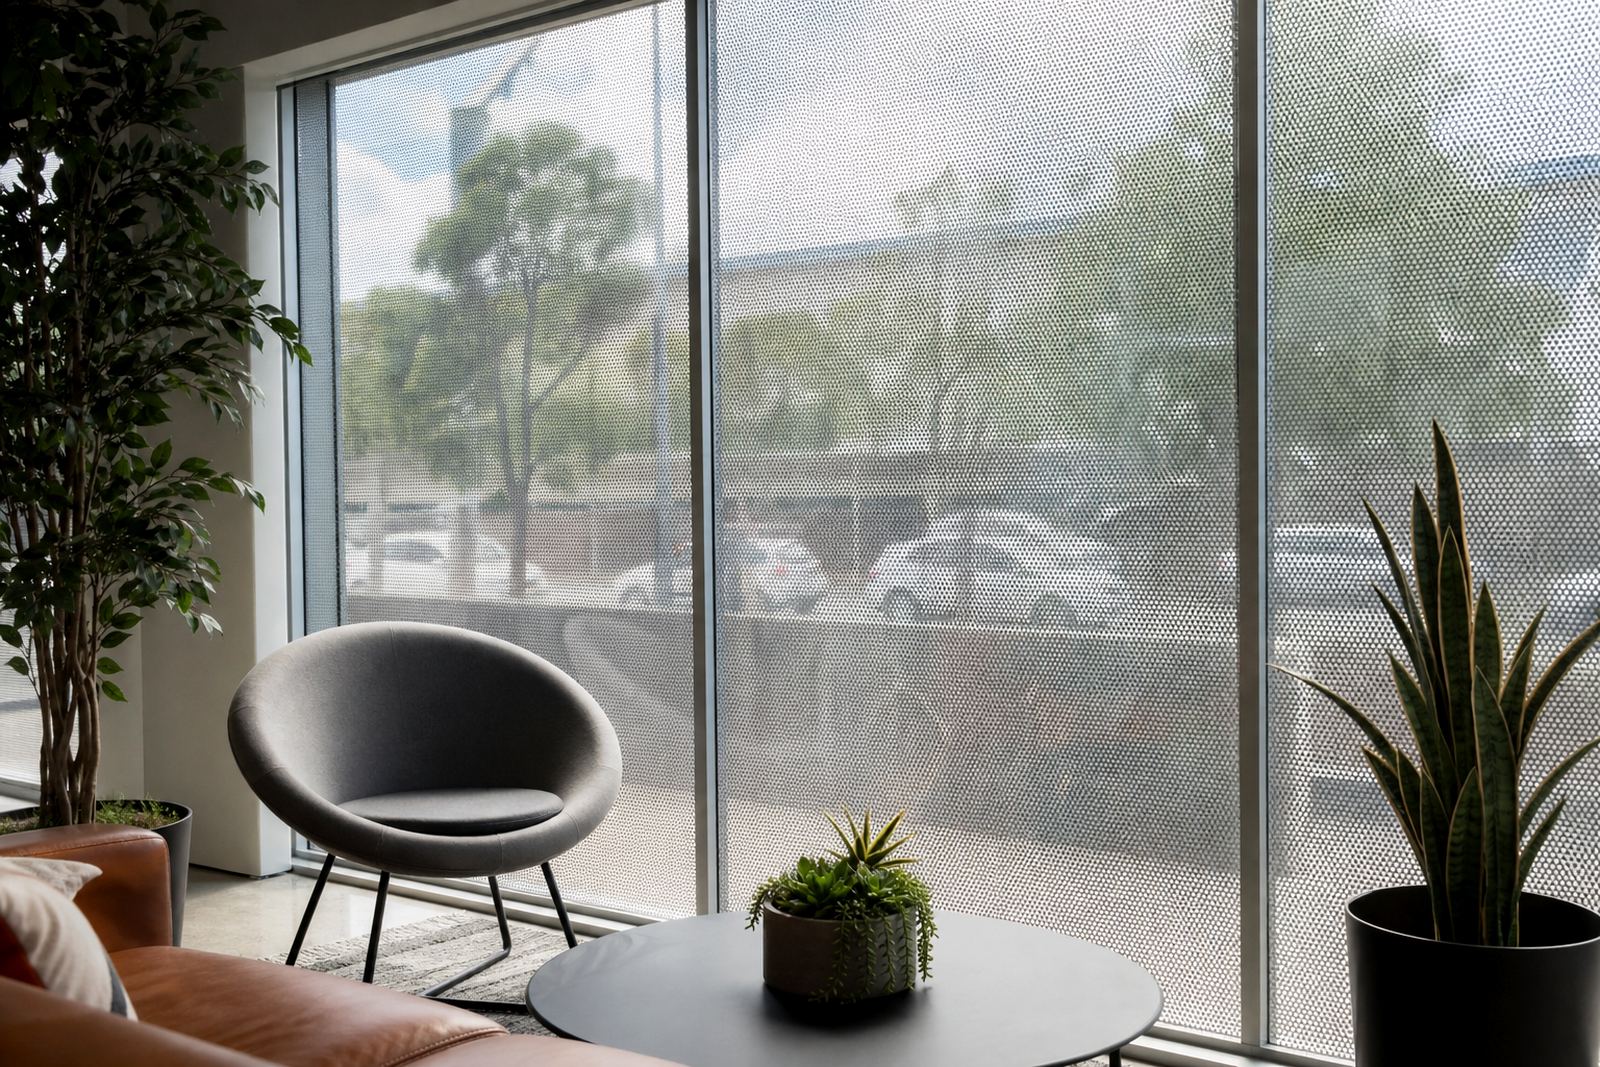
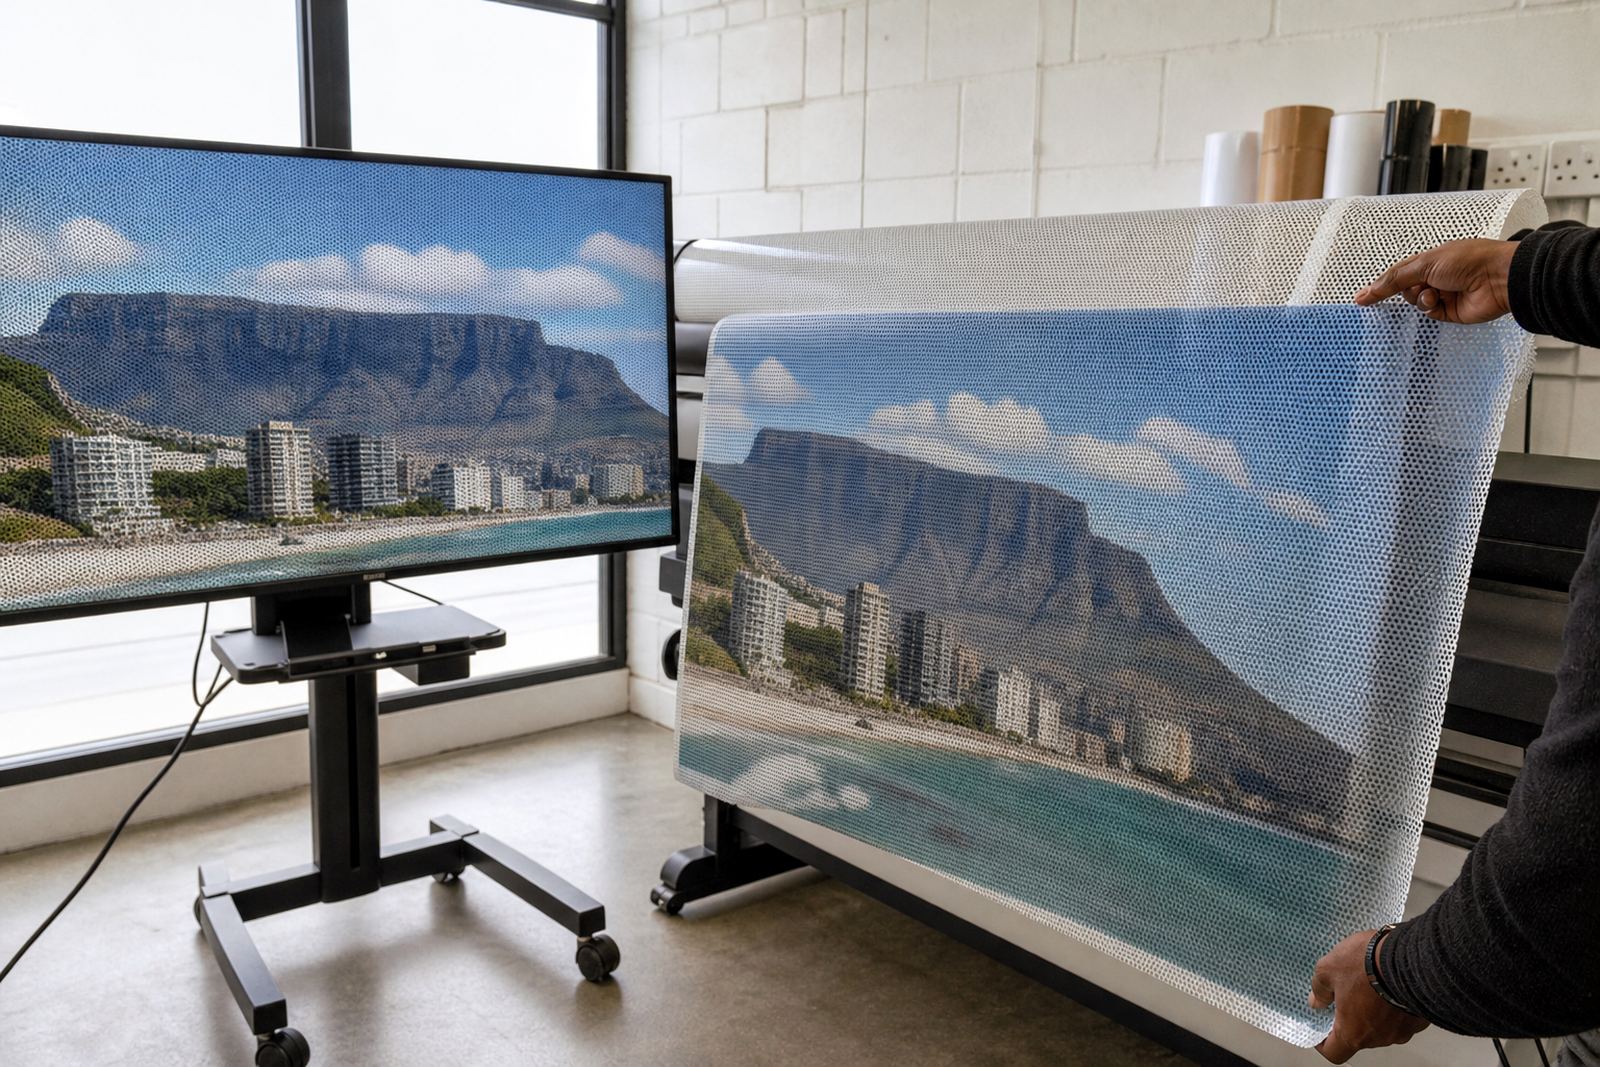
For street-facing display, perforated one-way vision film is printed for outside viewing and applied with the graphic visible on the outer face. The small perforations allow a clear view from the inside while giving strong graphics on the outside. The exact perforation ratio depends on the viewing need, the amount of light coming through the glass, and whether the film is going onto a shopfront or vehicle window.
On the day, the installer will position the film carefully, check alignment against the frame or window edge, then apply it using the correct wet or dry method for the surface and the film type. Large panels are usually handled in sections so there is no creasing or trapping of air. On curved vehicle windows, preperation and templating are important because the panel has to fit the glass shape without lifting at the corners.
For shopfronts, the film is cut to match the visible glass area and any logos, opening handles or safety markings that need to stay visible. On vehicles, the installer works around seals, trims, wipers and rear heating lines where needed, while keeping the driver view legal. Current road traffic rules must always be checked before fitting rear or side window film on a vehicle, especially where visibility requirements apply.
- Expect careful alignment before any full adhesion is committed.
- Minor trimming is normal around edges, rubber seals and frame lines.
- Some windows may need two installers for larger panels or higher glass.
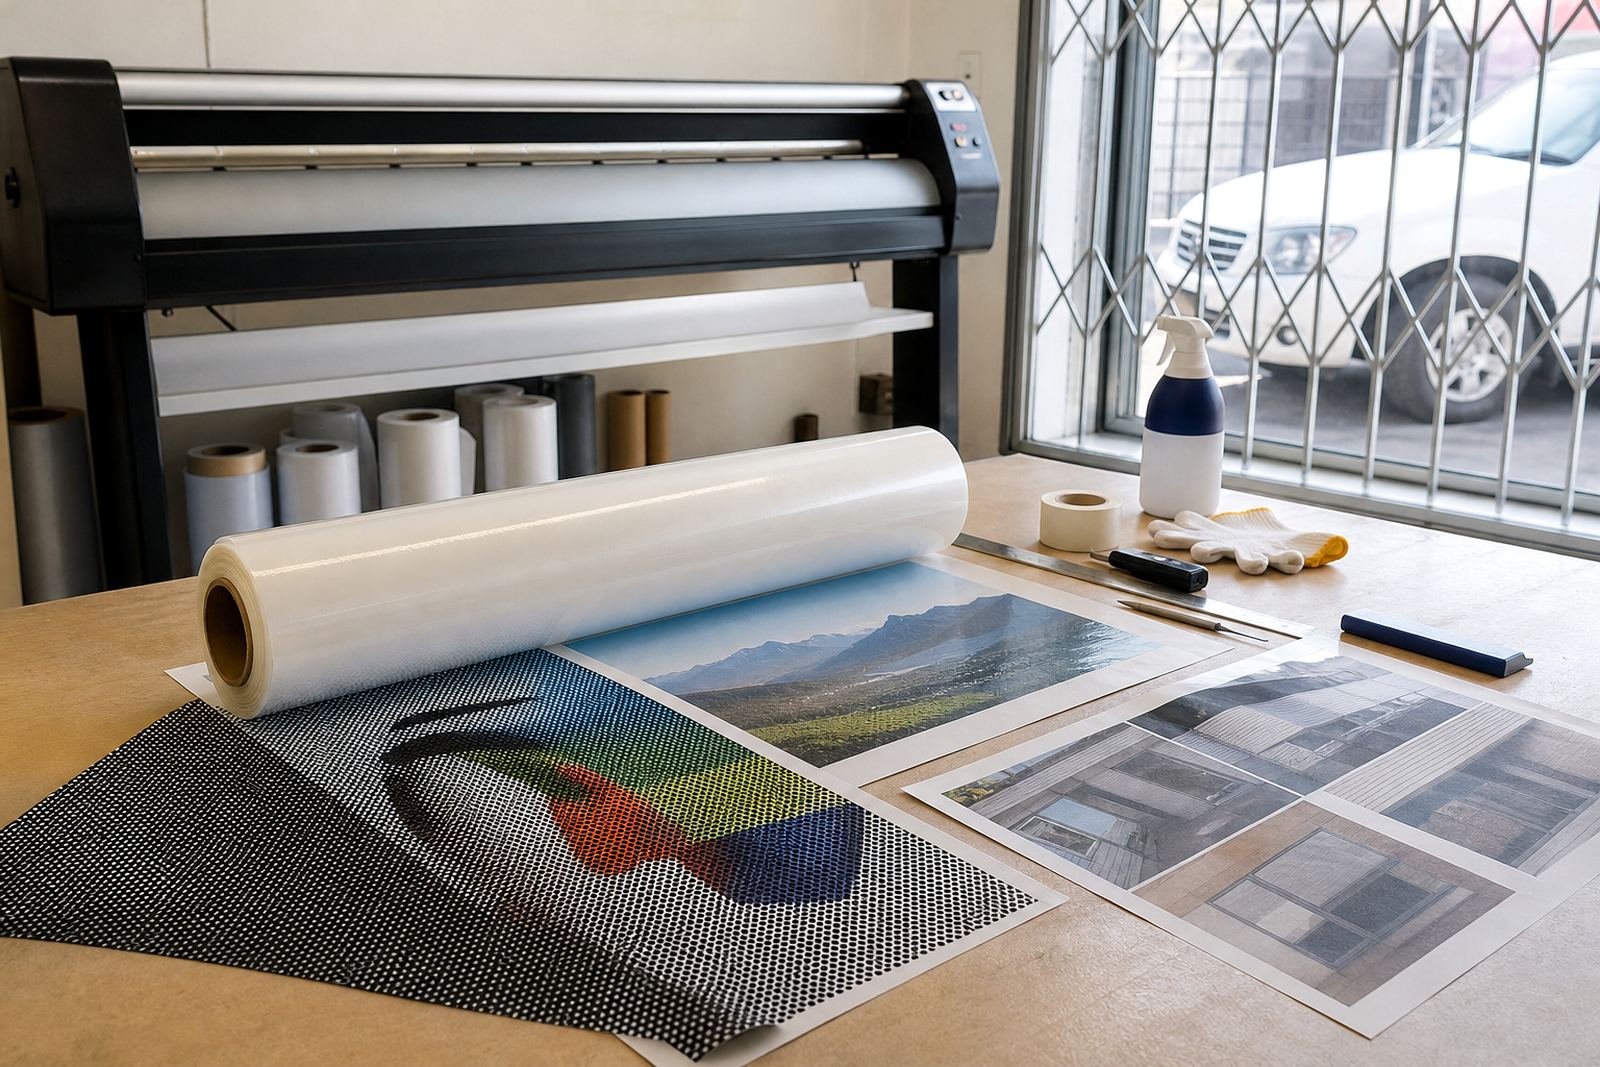
- Printing quality and lamination affect how the graphics look from outside and how the film handles cleaning later on.
What happens during printing, lamination and final fitting
If your film has been printed for branding or promotional use, the print should be checked before installation so colour, text and layout match the approved artwork. A protective laminate is often used to help the printed face resist scuffs, cleaning and weather exposure. This matters on Cape Town shopfronts facing salt air, Durban humidity and strong sun in many inland areas.
During fitting, the installer will remove any backing, position the film, and smooth it onto the glass to remove moisture and bubbles. The edges are then pressed down properly so wind, heat and regular use do not cause early lifting. On vehicle windows, the film must also sit well against opening and closing movement, and against the flex of the glass when doors are used every day.
If the job includes multiple vehicles or several shopfront panels, the team may work in stages so each section is checked before moving on. This is common for retailers with full frontage glass, service providers with branded waiting areas, and fleet vehicles that need consistent results across all units.
Cleaning the glass before and after installation
Cleaning is one of the most important parts of the day. Even small bits of dust, grease or adhesive can show through the film, especially on large clear panels. The cleaner the glass, the better the bond and the neater the finished look. That includes inside surfaces, outside surfaces and edges where dirt often hides.
After fitting, the glass should not be scrubbed immediately. Fresh film needs time to settle and the adhesive needs time to cure. In most cases, the surface can be lightly checked after installation, but harsh wiping, blade cleaning and strong detergents should be avoided at first.
- Use clean cloths and recommended glass cleaner only after curing.
- Do not pick at corners or try to flatten small moisture pockets by hand.
- Keep the windows closed on vehicles until the installer says they are ready for regular use.
- Leave shopfront glass alone until the film has had enough time to bond properly.
Curing time and weather conditions to watch for
Curing time depends on temperature, wind, humidity and how much glass was covered. Warm days help the adhesive settle faster, while cold mornings or coastal moisture can slow things down. If there is rain, strong wind or heavy dust, the installer may adjust the timing or plan the work so the film is protected during the first critical hours.
On vehicles, freshly installed film should not be rolled down straight after fitting unless the installer confirms it is safe. On shopfronts, avoid washing the glass or applying pressure to the film during the curing period. The finish may look slightly hazy or show tiny moisture marks at first, but that usually clears as the film settles.
A steady preperation routine usually saves more time than trying to work around last-minute interruptions.
Final checks before the team leaves
Before the job is signed off, the installer should walk you through the finished glass and check that the graphics are straight, the edges are clean, and the film sits properly on every panel. This is the best time to spot any small issue, whether it is a trapped speck, a trim edge that needs attention, or a panel that needs one more pass at the corners.
For vehicle work, check the view from the driver seat as well as the outside appearance. For shopfronts, stand back from the pavement or parking area and see how the design reads at normal viewing distance. The whole point of one-way vision film is to carry your message outside while still allowing a view from inside, so both sides need to work as intended.
- Check all panels for straight alignment and neat edges.
- Confirm that access doors, handles and moving parts still operate normally.
- Ask when the film can be cleaned and what products are safe to use.
- Keep the contact details for any follow-up or refit work if needed later on.